Configure Blender MCP Using Gemini CLI
Complete step-by-step guide to set up Blender MCP with Google's Gemini CLI for AI-powered 3D modeling
Complete step-by-step guide to set up Blender MCP with Google's Gemini CLI for AI-powered 3D modeling
Gemini CLI is a powerful command-line interface that allows you to interact with Google's Gemini AI model directly from your terminal. By integrating Blender MCP with Gemini CLI, you can leverage AI capabilities to enhance your 3D modeling workflow in Blender.
This guide will walk you through the entire setup process, from installing Node.js to verifying that your MCP service is working correctly with Gemini CLI.
Gemini CLI and the Blender MCP server require Node.js to run. Follow these steps to install it:
brew install nodeUse your package manager. For example, on Ubuntu/Debian:
sudo apt update
sudo apt install nodejs npmOpen a terminal or command prompt and run:
node --version
npm --version
Both commands should return version numbers if Node.js is correctly installed.
Now that Node.js is installed, you can download and set up Gemini CLI:
gmcp)mkdir gmcp
cd gmcpnpm install -g @google/generative-ai-clinpx @google/generative-ai-cliThe MCP (Model Context Protocol) service configuration is the key step that connects Blender MCP with Gemini CLI.
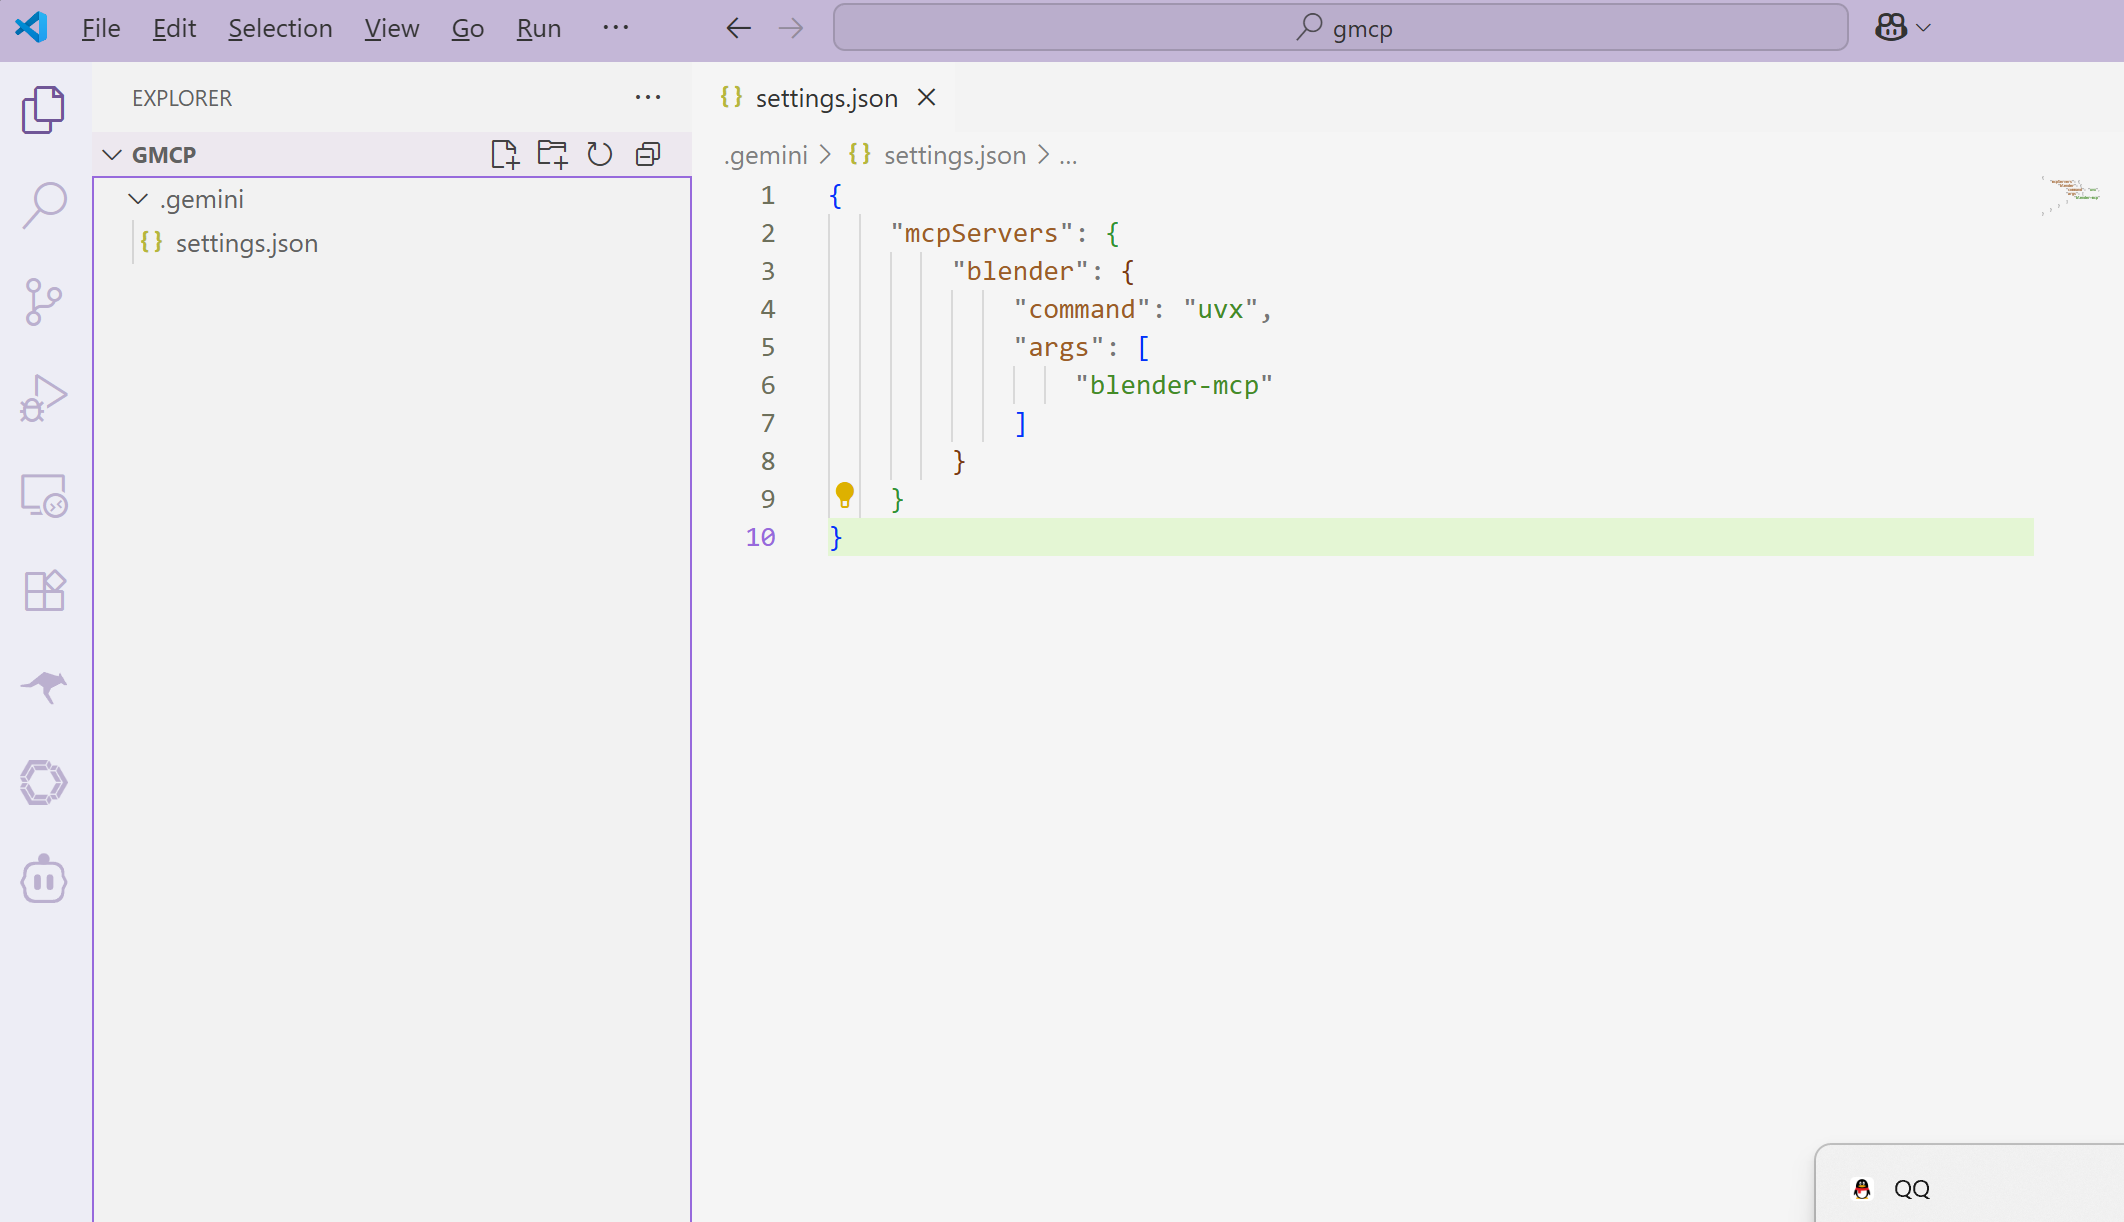
The Gemini CLI stores its configuration in a settings file located at:
D:\seocode\tmp\gmcp\.gemini\settings.jsonOpen the settings.json file with your preferred text editor (e.g., Visual Studio Code, Notepad++, or even Notepad).
Add or update the following configuration to enable the Blender MCP service:
{
  "mcpServers": {
    "blender": {
      "command": "uvx",
      "args": [
        "blender-mcp"
      ]
    }
  }
}uvx is a package runner for Python)blender-mcp is the Blender MCP package)After adding the configuration, save the file. Make sure the JSON is properly formatted with no trailing commas or syntax errors.
To apply the new MCP service configuration, you need to restart Gemini CLI:
If Gemini CLI is running, exit it by typing:
exitRestart Gemini CLI in your terminal:
npx @google/generative-ai-cliOr if you installed it globally:
gemini-cliOnce you've logged back into Gemini CLI, verify that the Blender MCP service is properly configured and accessible:
In Gemini CLI, you should see output indicating that the MCP service has been loaded. Look for messages similar to:
[INFO] Loading MCP services...
[INFO] Blender MCP service loaded successfully
[INFO] Available tools: blender_create_object, blender_modify_object, ...Try issuing a simple command that uses the Blender MCP service. For example:
Create a cube in BlenderIf Blender is running with the MCP plugin installed, you should see the cube appear in your Blender scene. Gemini will process your request and send commands through the MCP protocol to Blender.
Solution: Manually create the .gemini folder in your project directory and create a settings.json file with the configuration provided above.
Solution: Install the required Python tools package:
pip install uvSolution: Check the following:
D:\seocode\tmp\gmcp\.gemini\settings.jsonuvx blender-mcp --versionSolution: Ensure that:
Now that you have Blender MCP configured with Gemini CLI, you can:
For more information on using Blender MCP, visit the official GitHub repository.
Setting up Blender MCP with Gemini CLI opens up a world of possibilities for AI-assisted 3D modeling. While the configuration process involves several steps, following this guide should have you up and running in no time. Remember that the key to success is ensuring your configuration files are properly formatted and all components are correctly installed.
If you encounter any issues or have questions, refer to the troubleshooting section or consult the Blender MCP documentation.