After over a decade of pushing vertices in Blender, I can tell you this: everyone feels like their hands won't obey when they first start. The 3D viewport is disorienting, objects seem to have a mind of their own, and the keyboard shortcuts feel like you need six fingers on each hand.
This tutorial changes that. We're going to break down Blender's fundamentals into digestible pieces — the way I wish someone had taught me years ago. And here's the best part: you'll learn both traditional workflows and how to control Blender using natural language through MCP (Model Context Protocol).
The Essentials: What You Need to Know
Version
Blender 2.8+ (The 2.8 overhaul unified the UI — everything here applies to 3.x and 4.x)
Focus
Viewport Navigation, Object Control, View Switching
Timeline
~10 minutes core content + MCP command practice
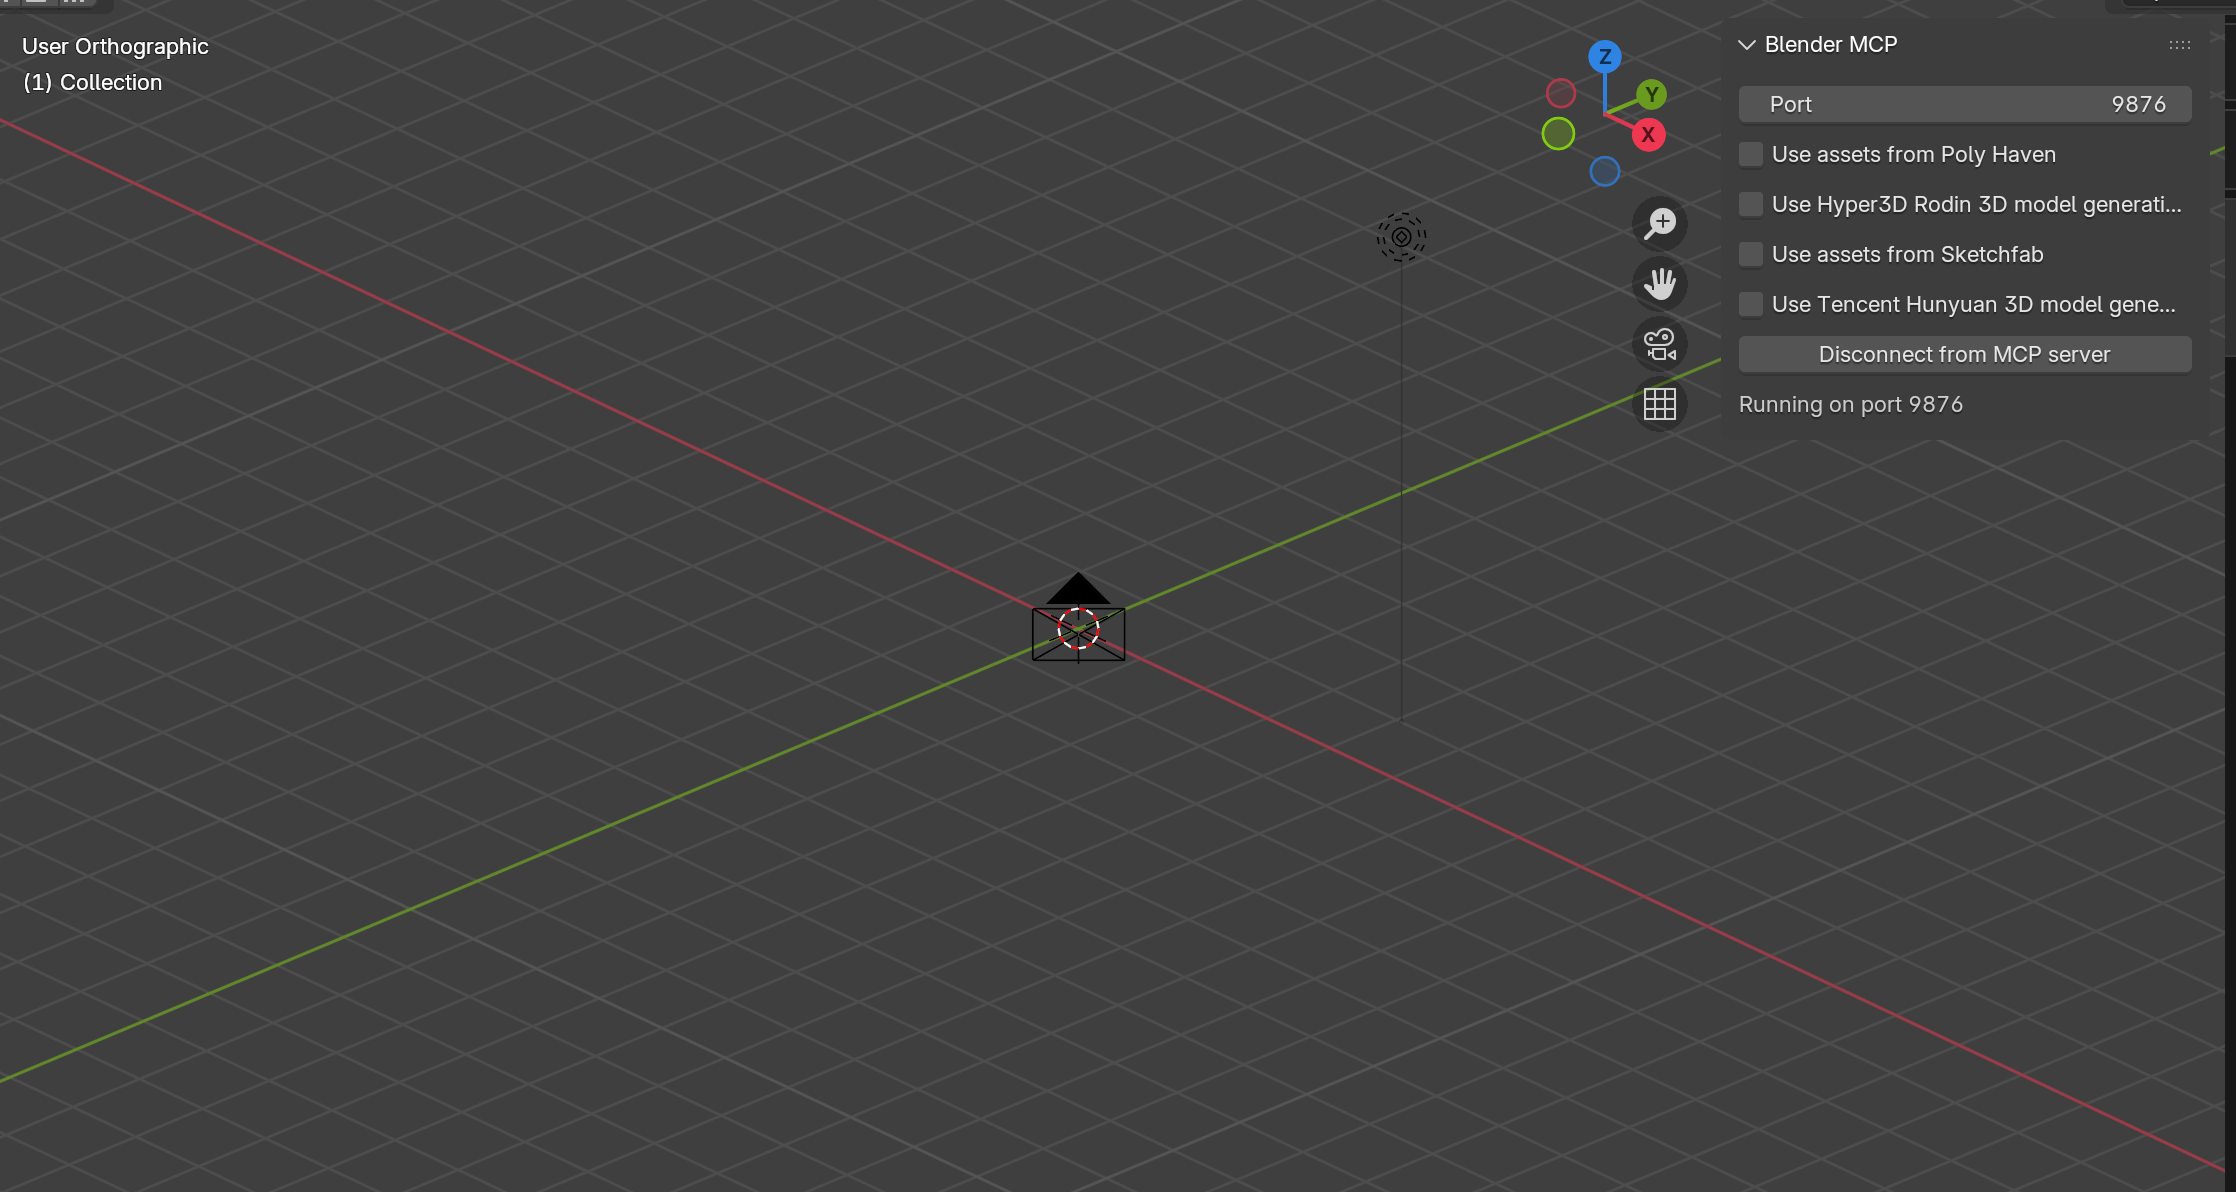
Understanding the Blender Interface
The Startup Screen
When Blender launches, you'll see a splash screen. Click anywhere to dismiss it and enter the default scene. Let's break down what you're seeing:
Key Panels Explained
- Toolbar (Left): Transform tools, selection modes, snap utilities
- Outliner (Top Right): Your scene hierarchy — every object in your scene lives here
- Properties Editor (Bottom Right): Object data, modifiers, materials, render settings
- Timeline (Bottom): Animation keyframes and playback controls
Pro Tip: Workspaces
Those tabs at the top? Those are Workspaces — pre-configured layouts for different tasks. Modeling has different panels than Sculpting or UV Editing. You can create your own, but mastering the default Layout workspace should be your first priority.
The Holy Trinity of 3D Scenes
Every 3D scene boils down to three essential elements:
Mesh (Model)
The geometry — vertices, edges, and faces that form your objects
Light
Illumination that makes your scene visible and sets the mood
Camera
The viewpoint that defines your final render
Viewport Navigation: The Foundation
If you can't navigate, you can't create. These are the movements that'll become muscle memory.
Mouse Controls — The Three Pillars
Orbit
Rotate around the center of your viewport
Pan
Move sideways without changing angle
Zoom
Move in and out of your scene
The Viewport Gizmo
That colorful axis widget in the upper-right corner? It's not just decoration:
- Click & Drag the Gizmo: Orbit in that direction
- Hand Icon: Pan the view
- Magnifying Glass: Zoom in/out
- Camera Icon: Toggle between User View and Camera View
- Grid Icon: Switch between Perspective and Orthographic
Important: Perspective vs Orthographic
Perspective shows things as your eye sees them — things get smaller as they're farther away. Orthographic removes this distortion — parallel lines stay parallel. Great for precision modeling, but lacks depth perception.
Object Transforms: The Big Three
Everything you do in Object Mode comes down to three operations. Memorize these single-key shortcuts — they'll save you years of cumulative time:
Grab (Move)
Move objects freely. Press X, Y, or Z to lock to an axis.
Rotate
Spin objects around. Press X, Y, or Z for axis rotation.
Scale
Resize objects. Press X, Y, or Z for single-axis scaling.
The Golden Rule: Confirm or Cancel
Every transform operation follows this pattern:
Axis Constraints — Precision Control
After initiating a transform, press an axis key to constrain movement:
G → Z = Move along Z-axis only
S → Shift + Z = Scale on X and Y, ignore Z
R → X → X = Rotate around object's local X-axis
Adding Objects to Your Scene
Add Menu
Access all primitives — meshes, curves, lights, cameras, etc.
Essential Mesh Primitives
These are your building blocks. Everything complex starts here:
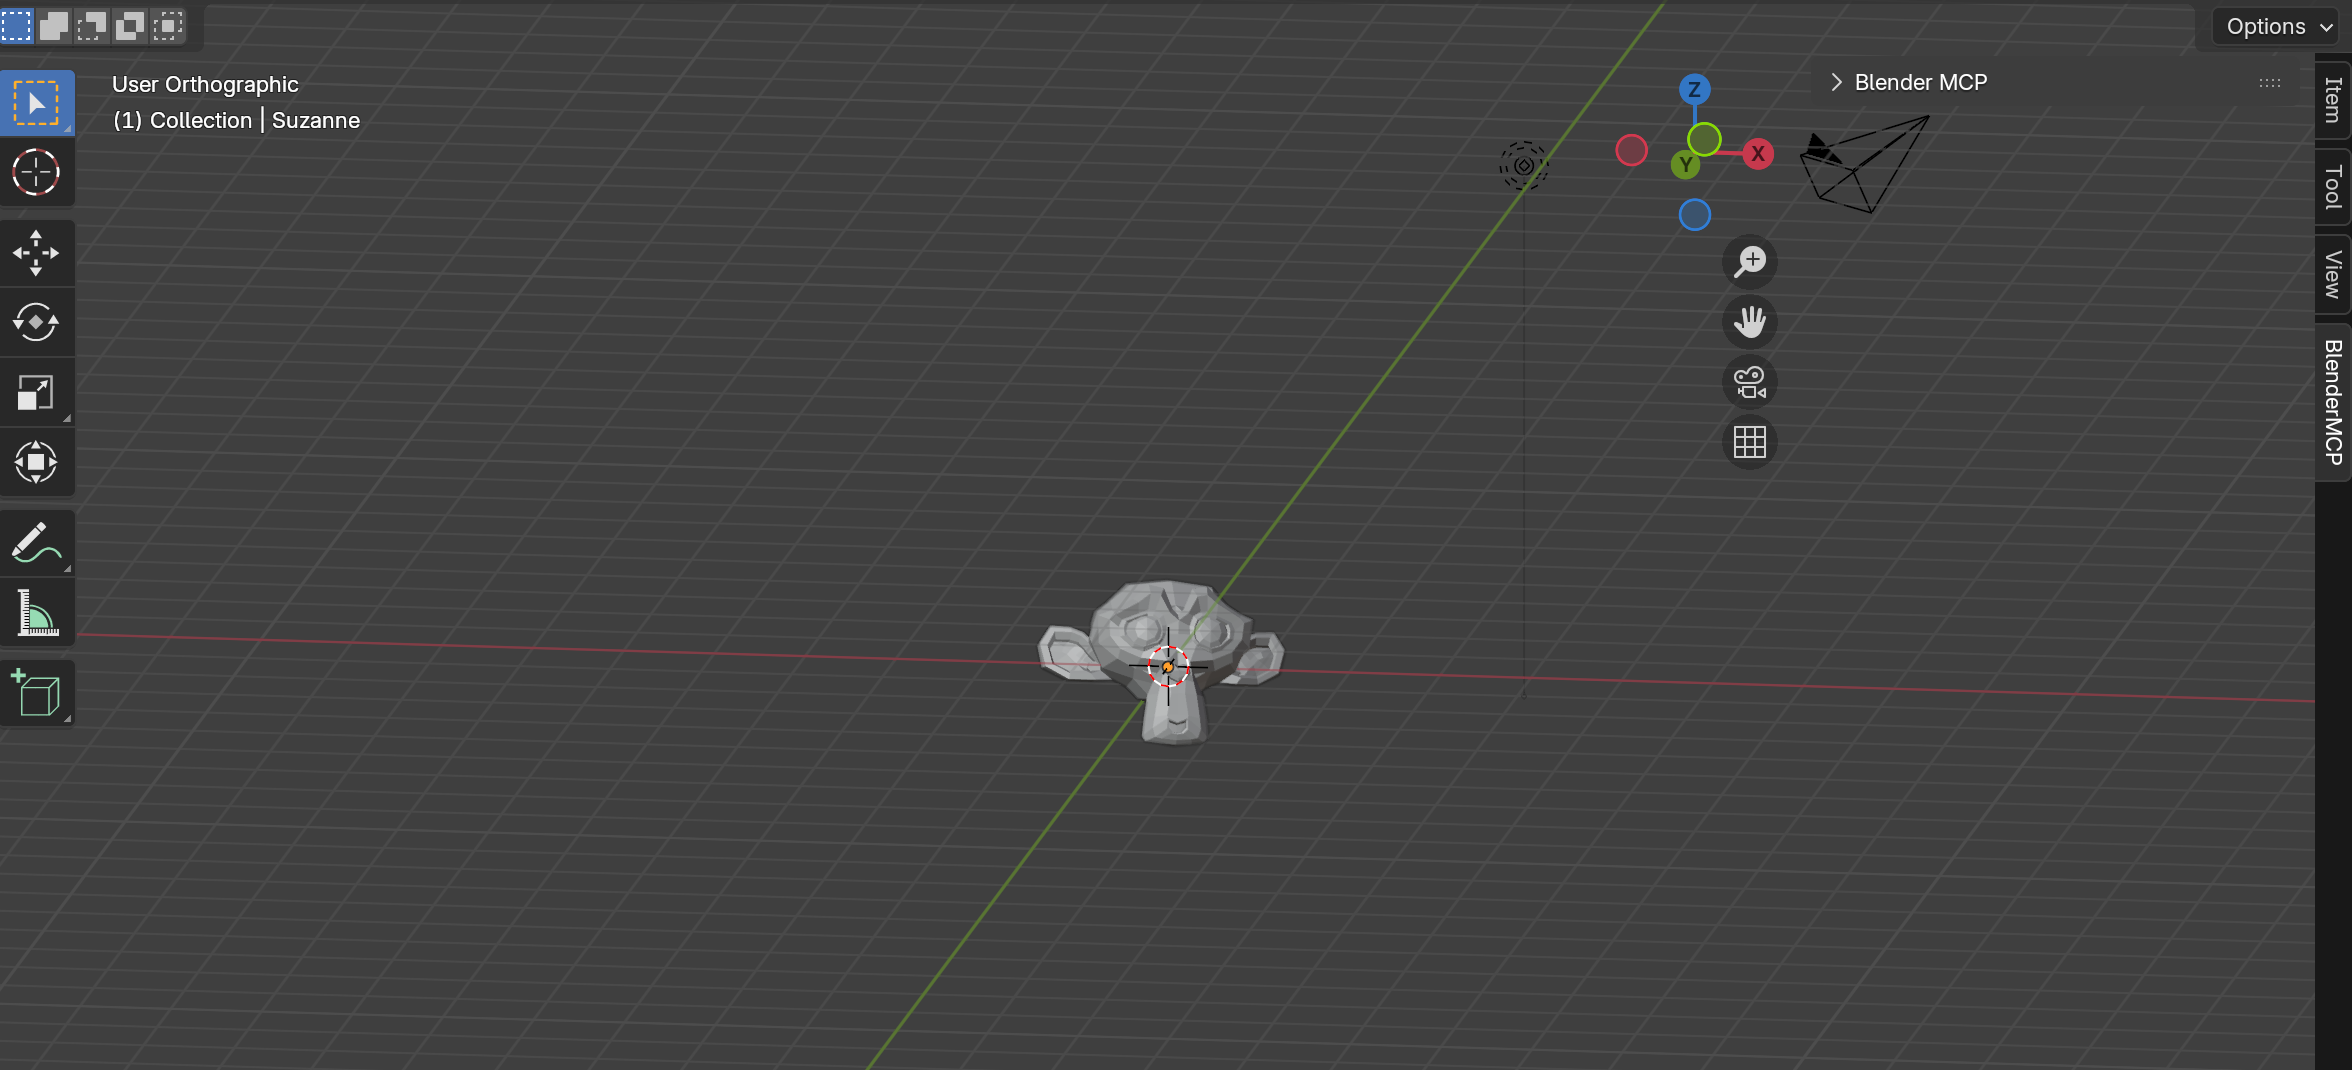
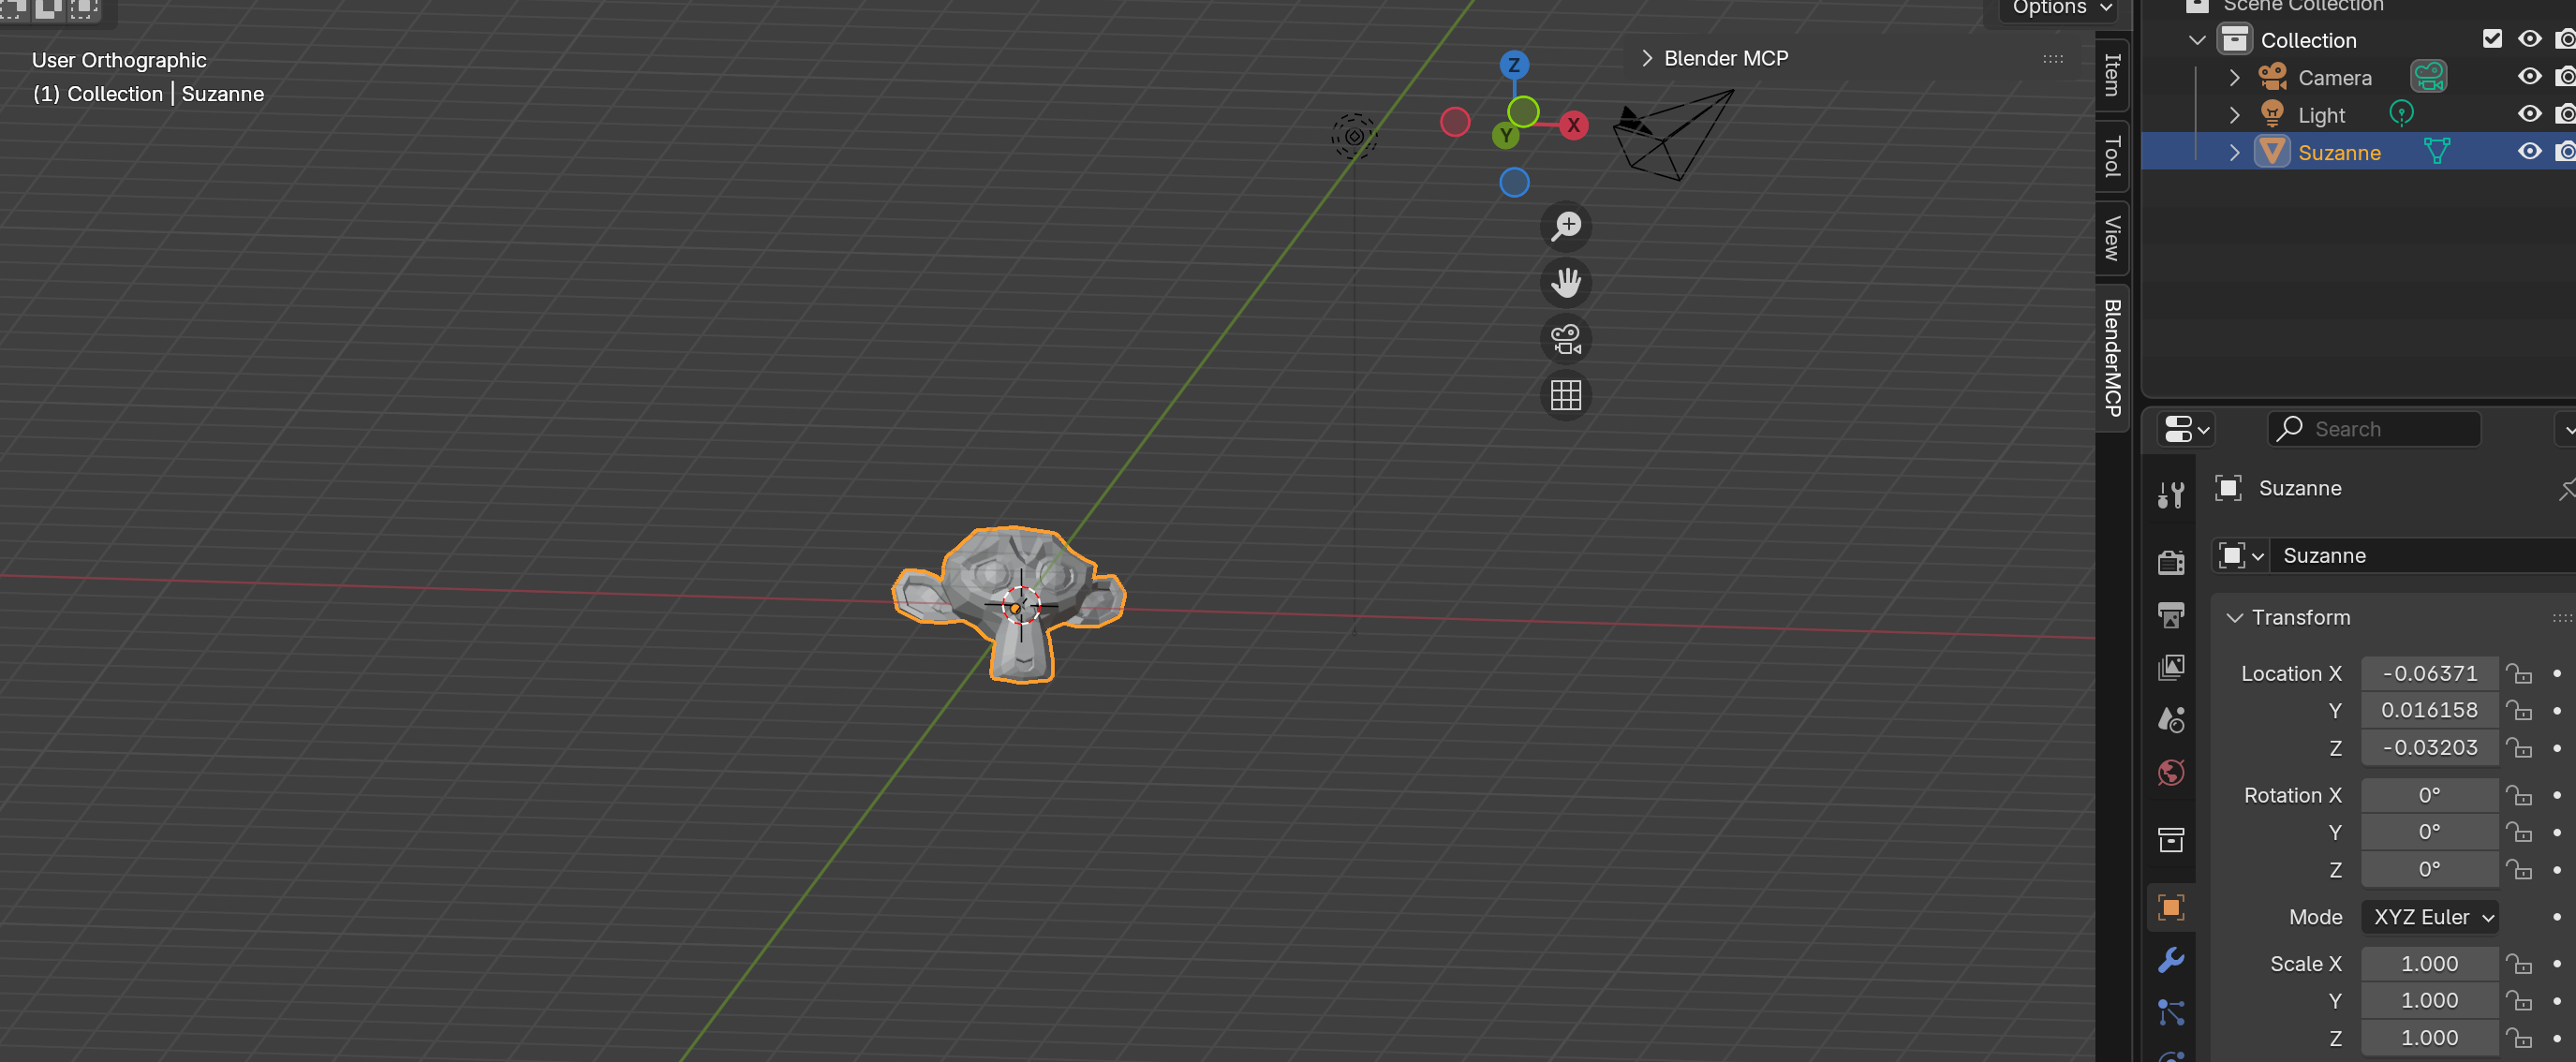
Meet Suzanne — Blender's Mascot
That monkey head? It's called Suzanne, and she's been Blender's mascot since 2002. She's perfect for testing because she has complex geometry (eyes, nose, ears) but is still a single mesh. You'll see her everywhere in Blender tutorials.
Essential Shortcuts for Object Management
| Shortcut | Action | Description |
|---|---|---|
| X / Delete | Delete | Remove selected object(s) |
| Ctrl + Z | Undo | Step back through history |
| Shift + D | Duplicate | Create a copy (enters move mode) |
| Alt + G | Clear Location | Reset position to origin (0,0,0) |
| Alt + R | Clear Rotation | Reset all rotation |
| Alt + S | Clear Scale | Reset scale to 1.0 |
| H | Hide | Hide selected object |
| Alt + H | Unhide All | Show all hidden objects |
| A | Select All | Select everything in scene |
| Alt + A | Deselect All | Clear selection |
View Switching: Numpad Mastery
Professional 3D artists rarely touch the mouse for view switching. The numpad is where speed happens:
No Numpad? No Problem.
Press the backtick key ` (left of 1, under Escape) to open the View Pie Menu. Move your mouse toward the view you want — it's blazing fast once you get the hang of it.
Pitfalls That Catch Everyone
The Duplicate Overlap Trap
When you duplicate with Shift + D, then immediately right-click to cancel movement... you've created a ghost. The new object sits directly on top of the original, invisible until you try to move it.
The Fix: After canceling, press G and move it away deliberately. Or better yet — don't cancel. Duplicate and place in one motion.
Part 2: Controlling Blender with MCP Commands
Now for the modern approach: using natural language to control Blender. This is where the future of 3D is headed.
Blender MCP (Model Context Protocol) bridges AI with Blender, letting you control your scene through simple commands. Here's how to make that "hand obey" using plain English.
1. Viewport Control with Natural Language
Let's create a cylinder to demonstrate view control:
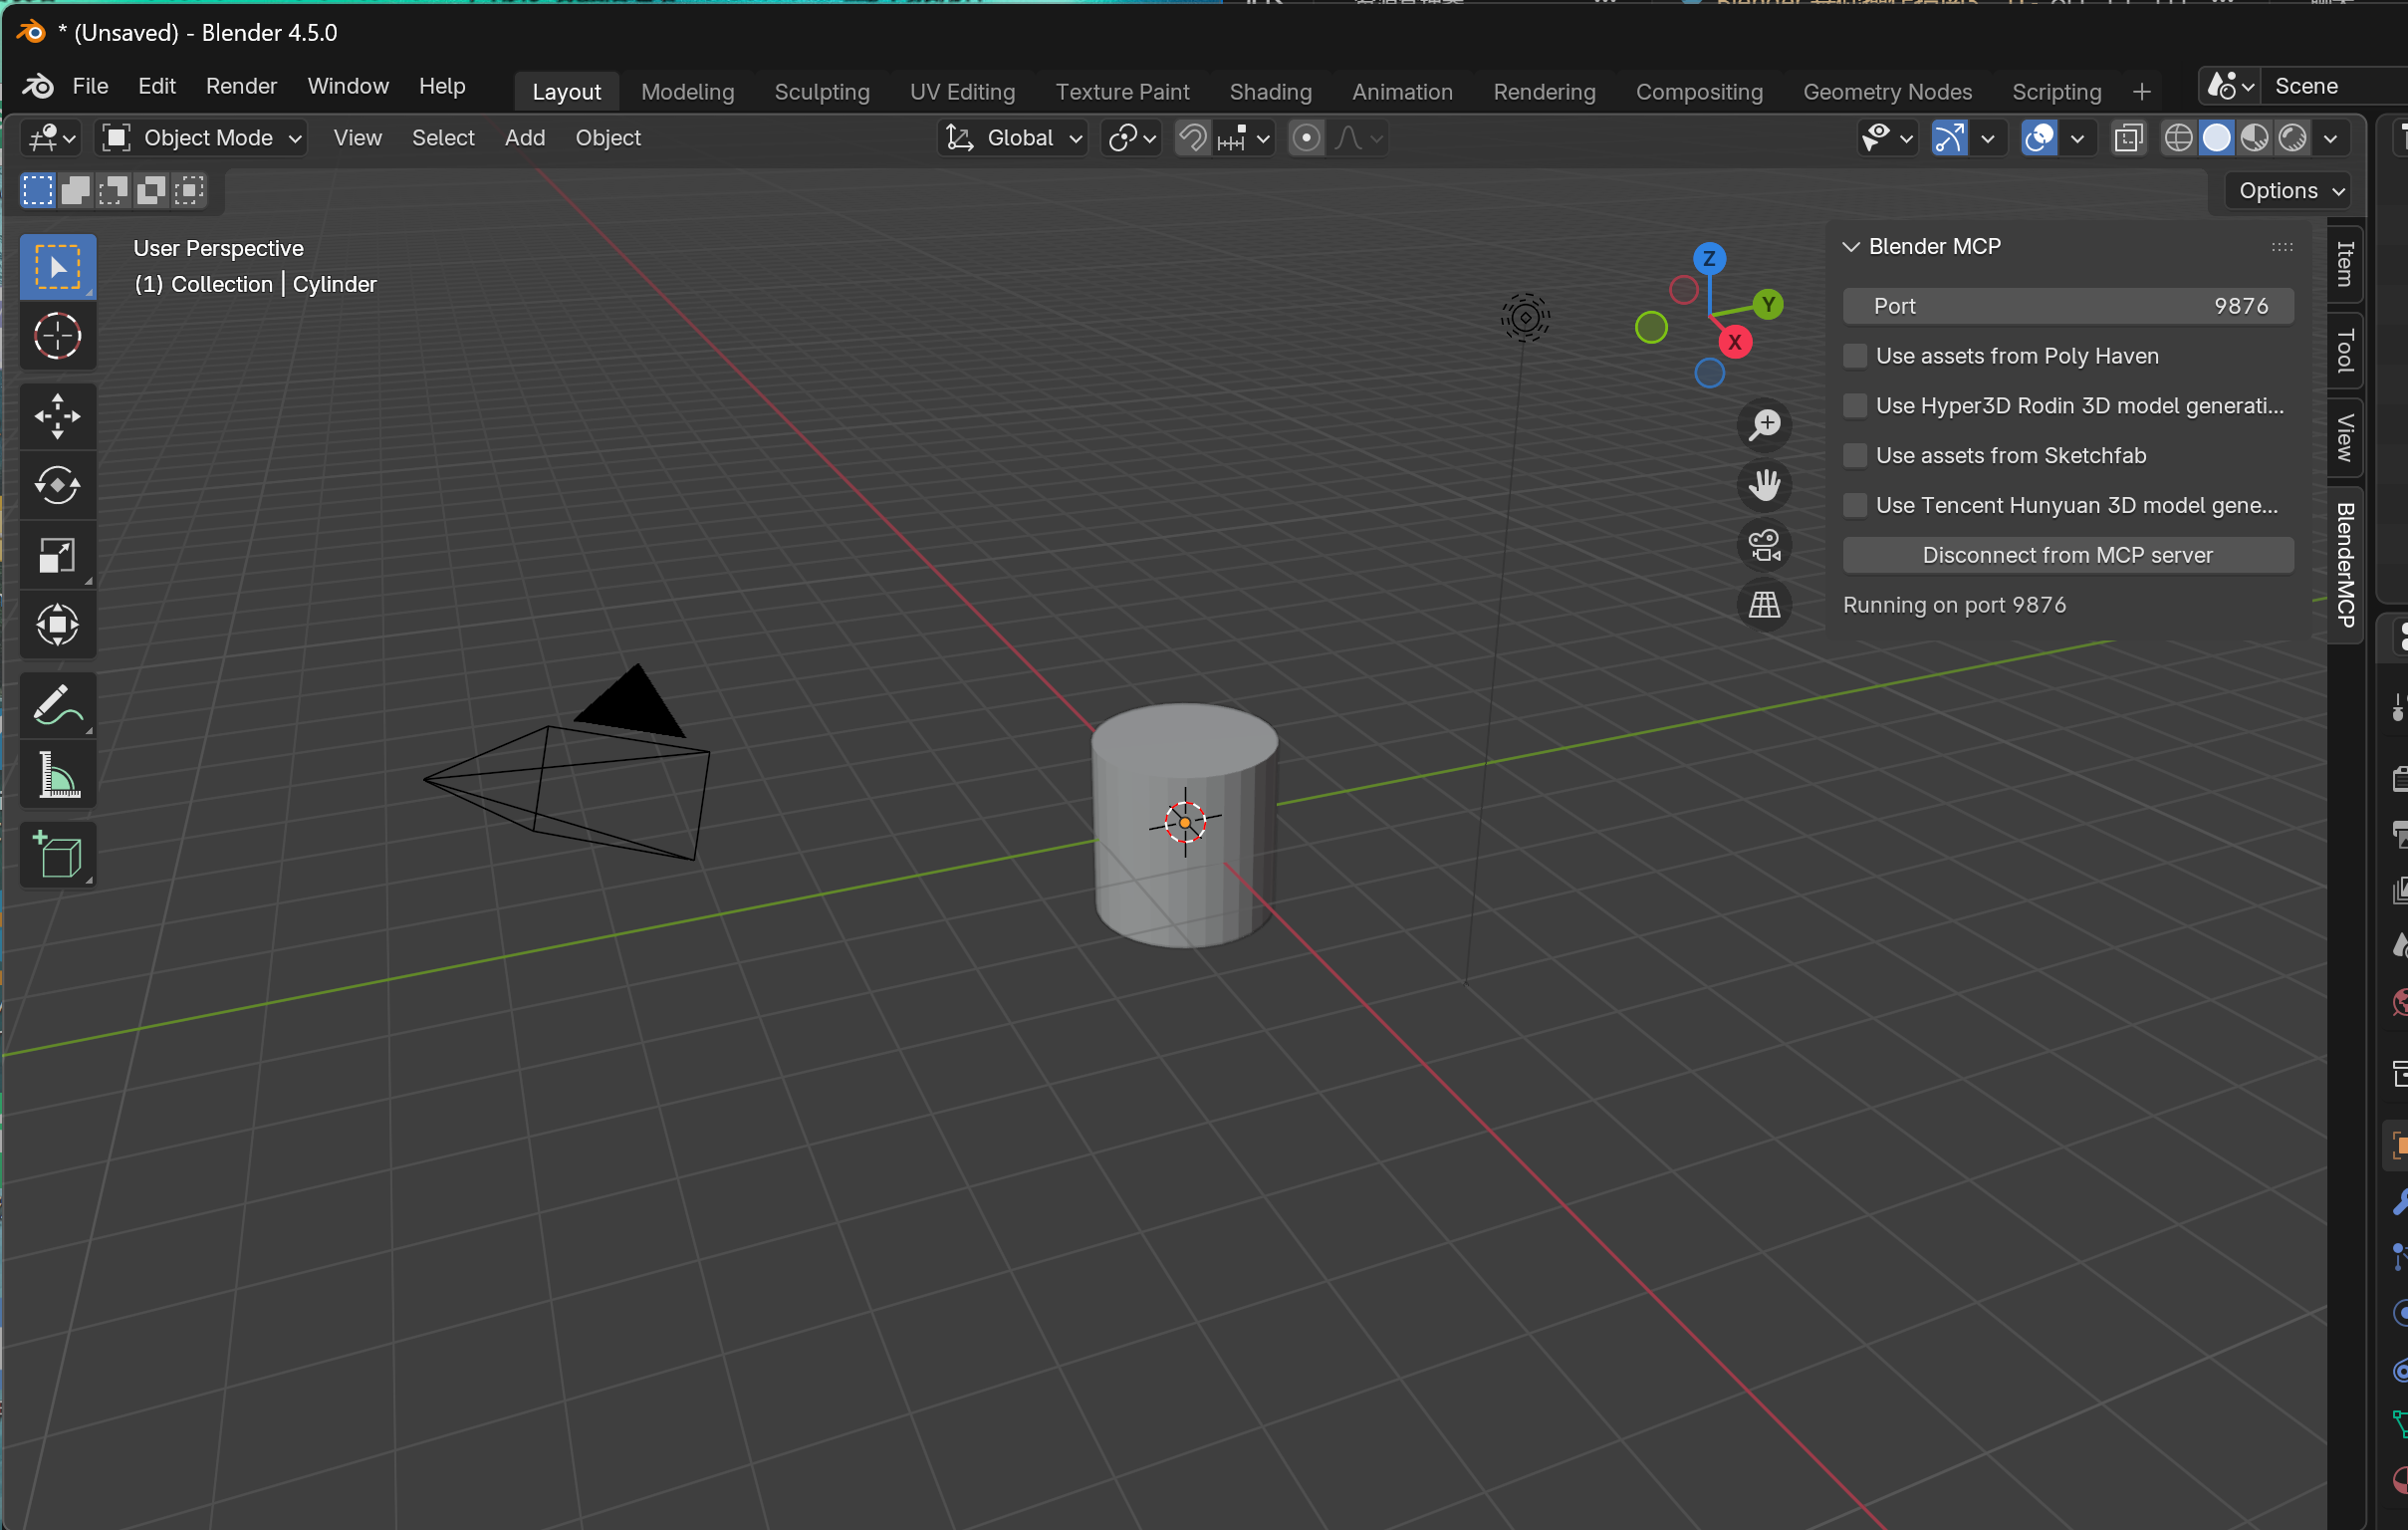
"Use blender mcp to create a cylinder"
Now try these commands to control your view:
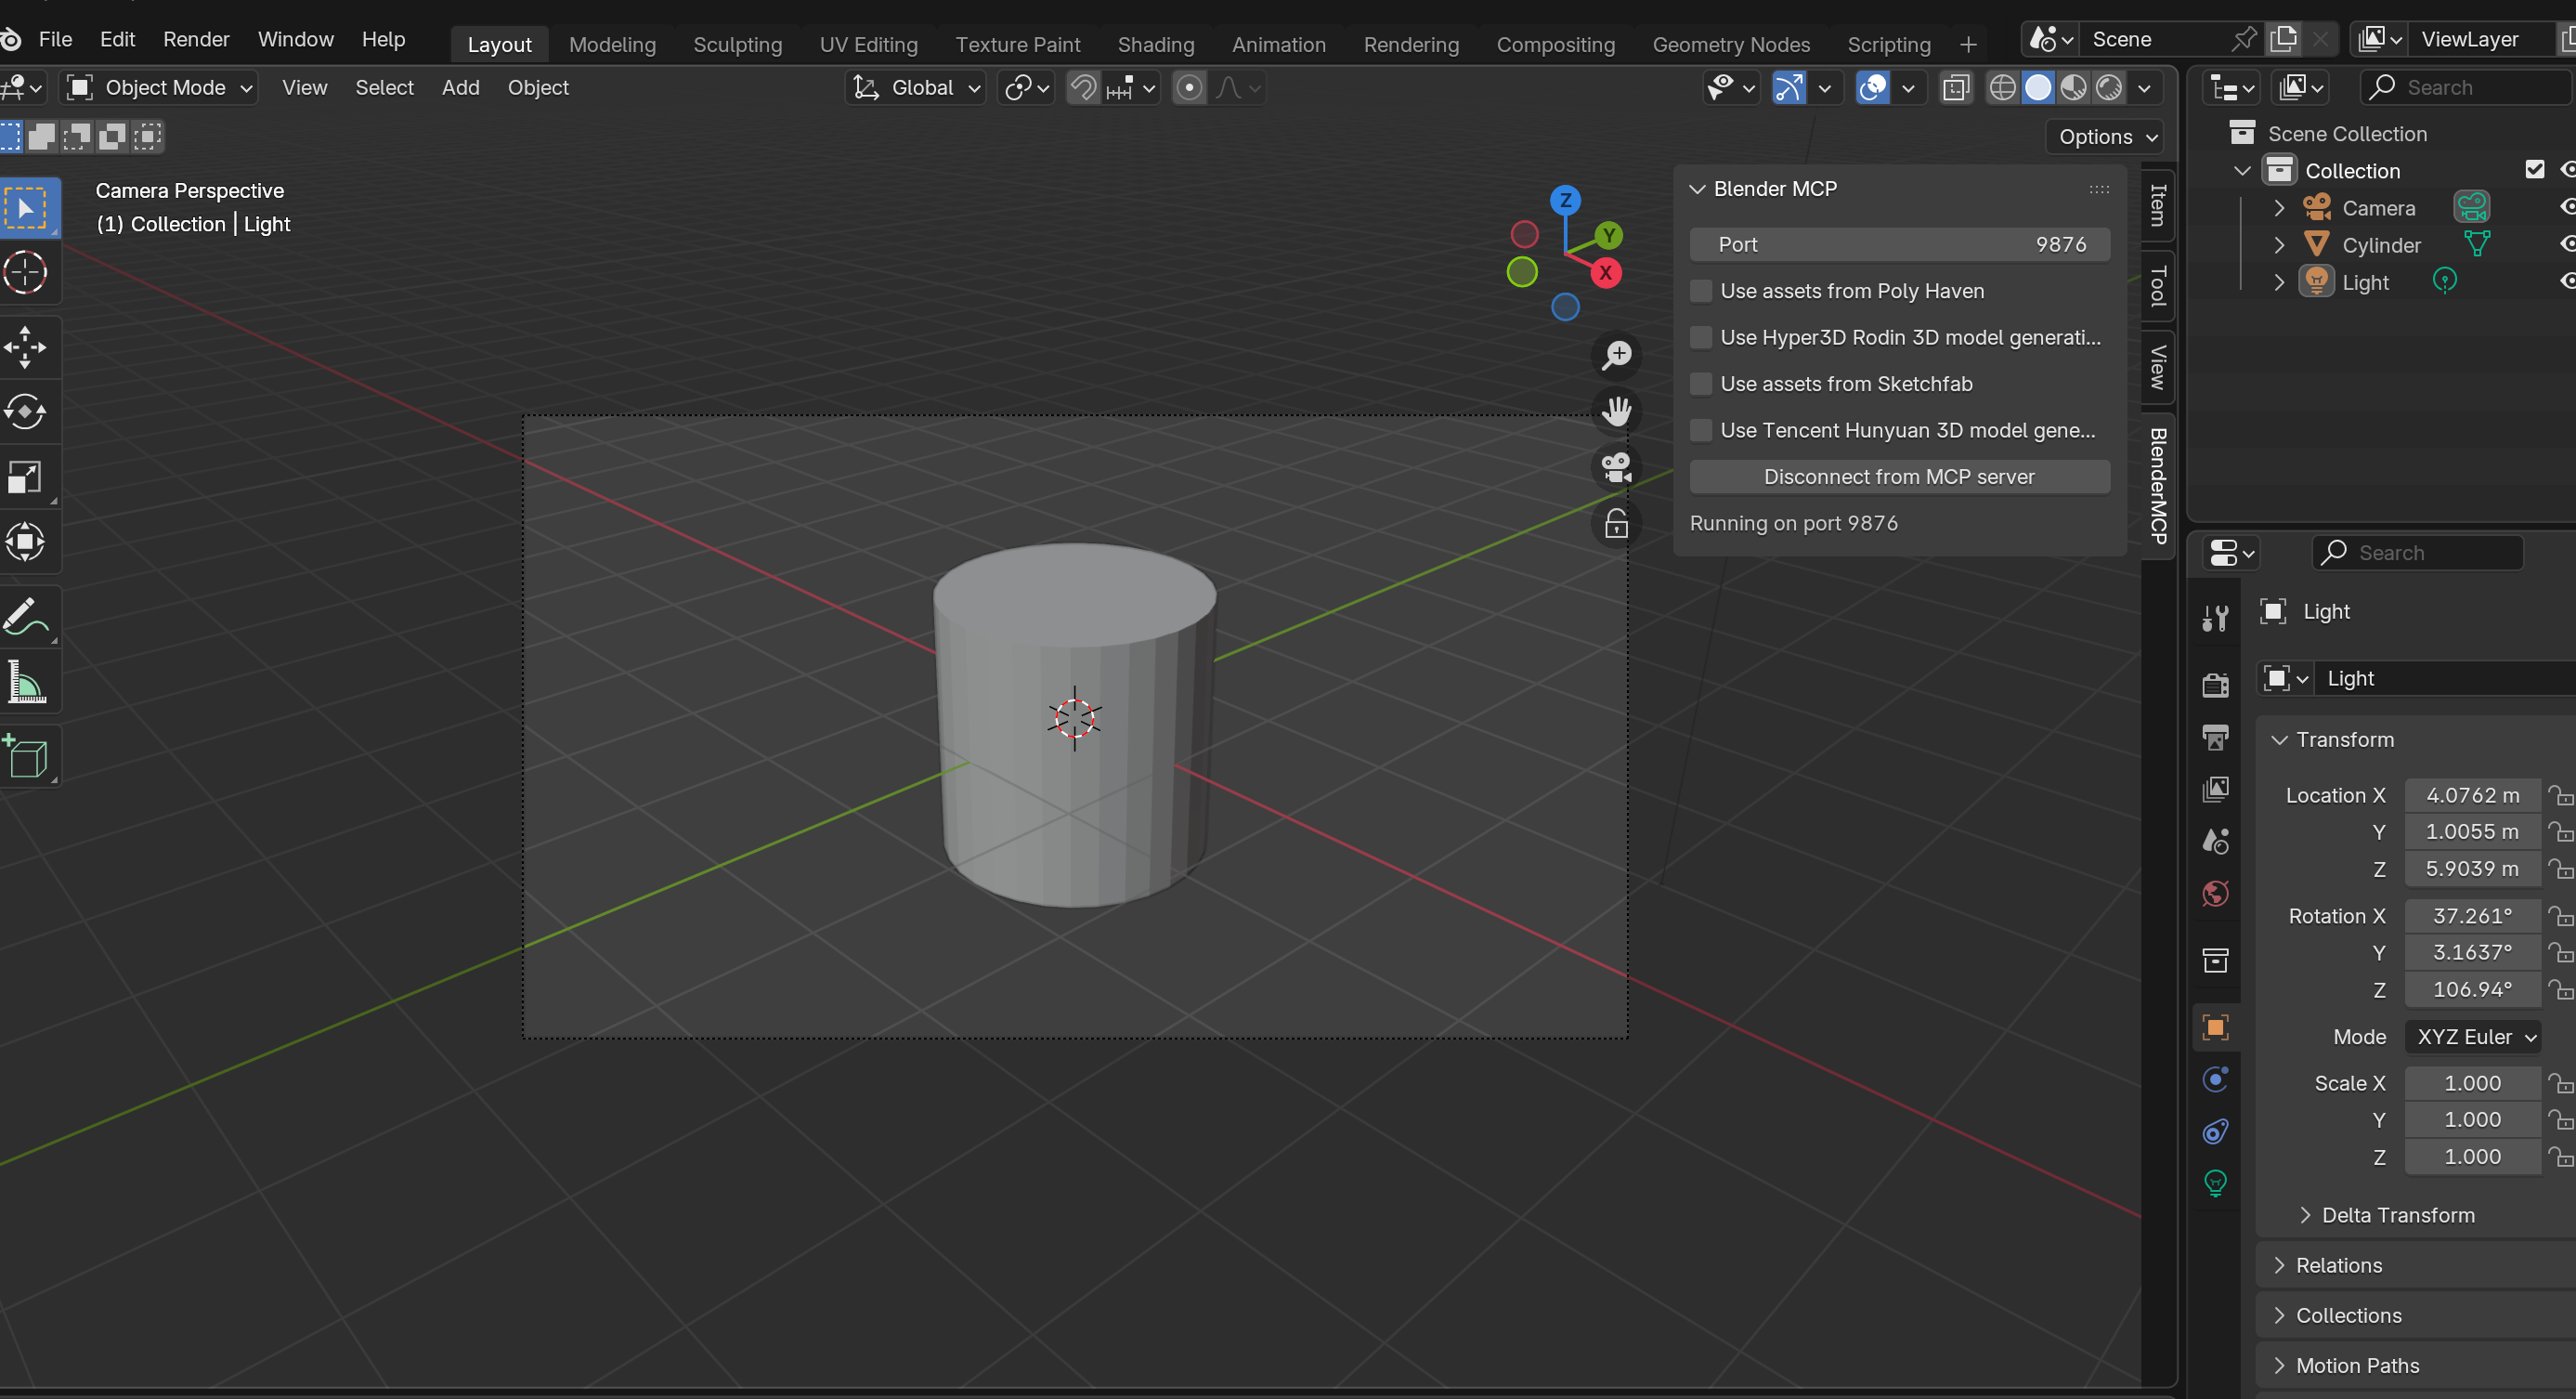
"Rotate view""Pan view""Zoom in" / "Zoom out""Switch to camera view""Switch to perspective view"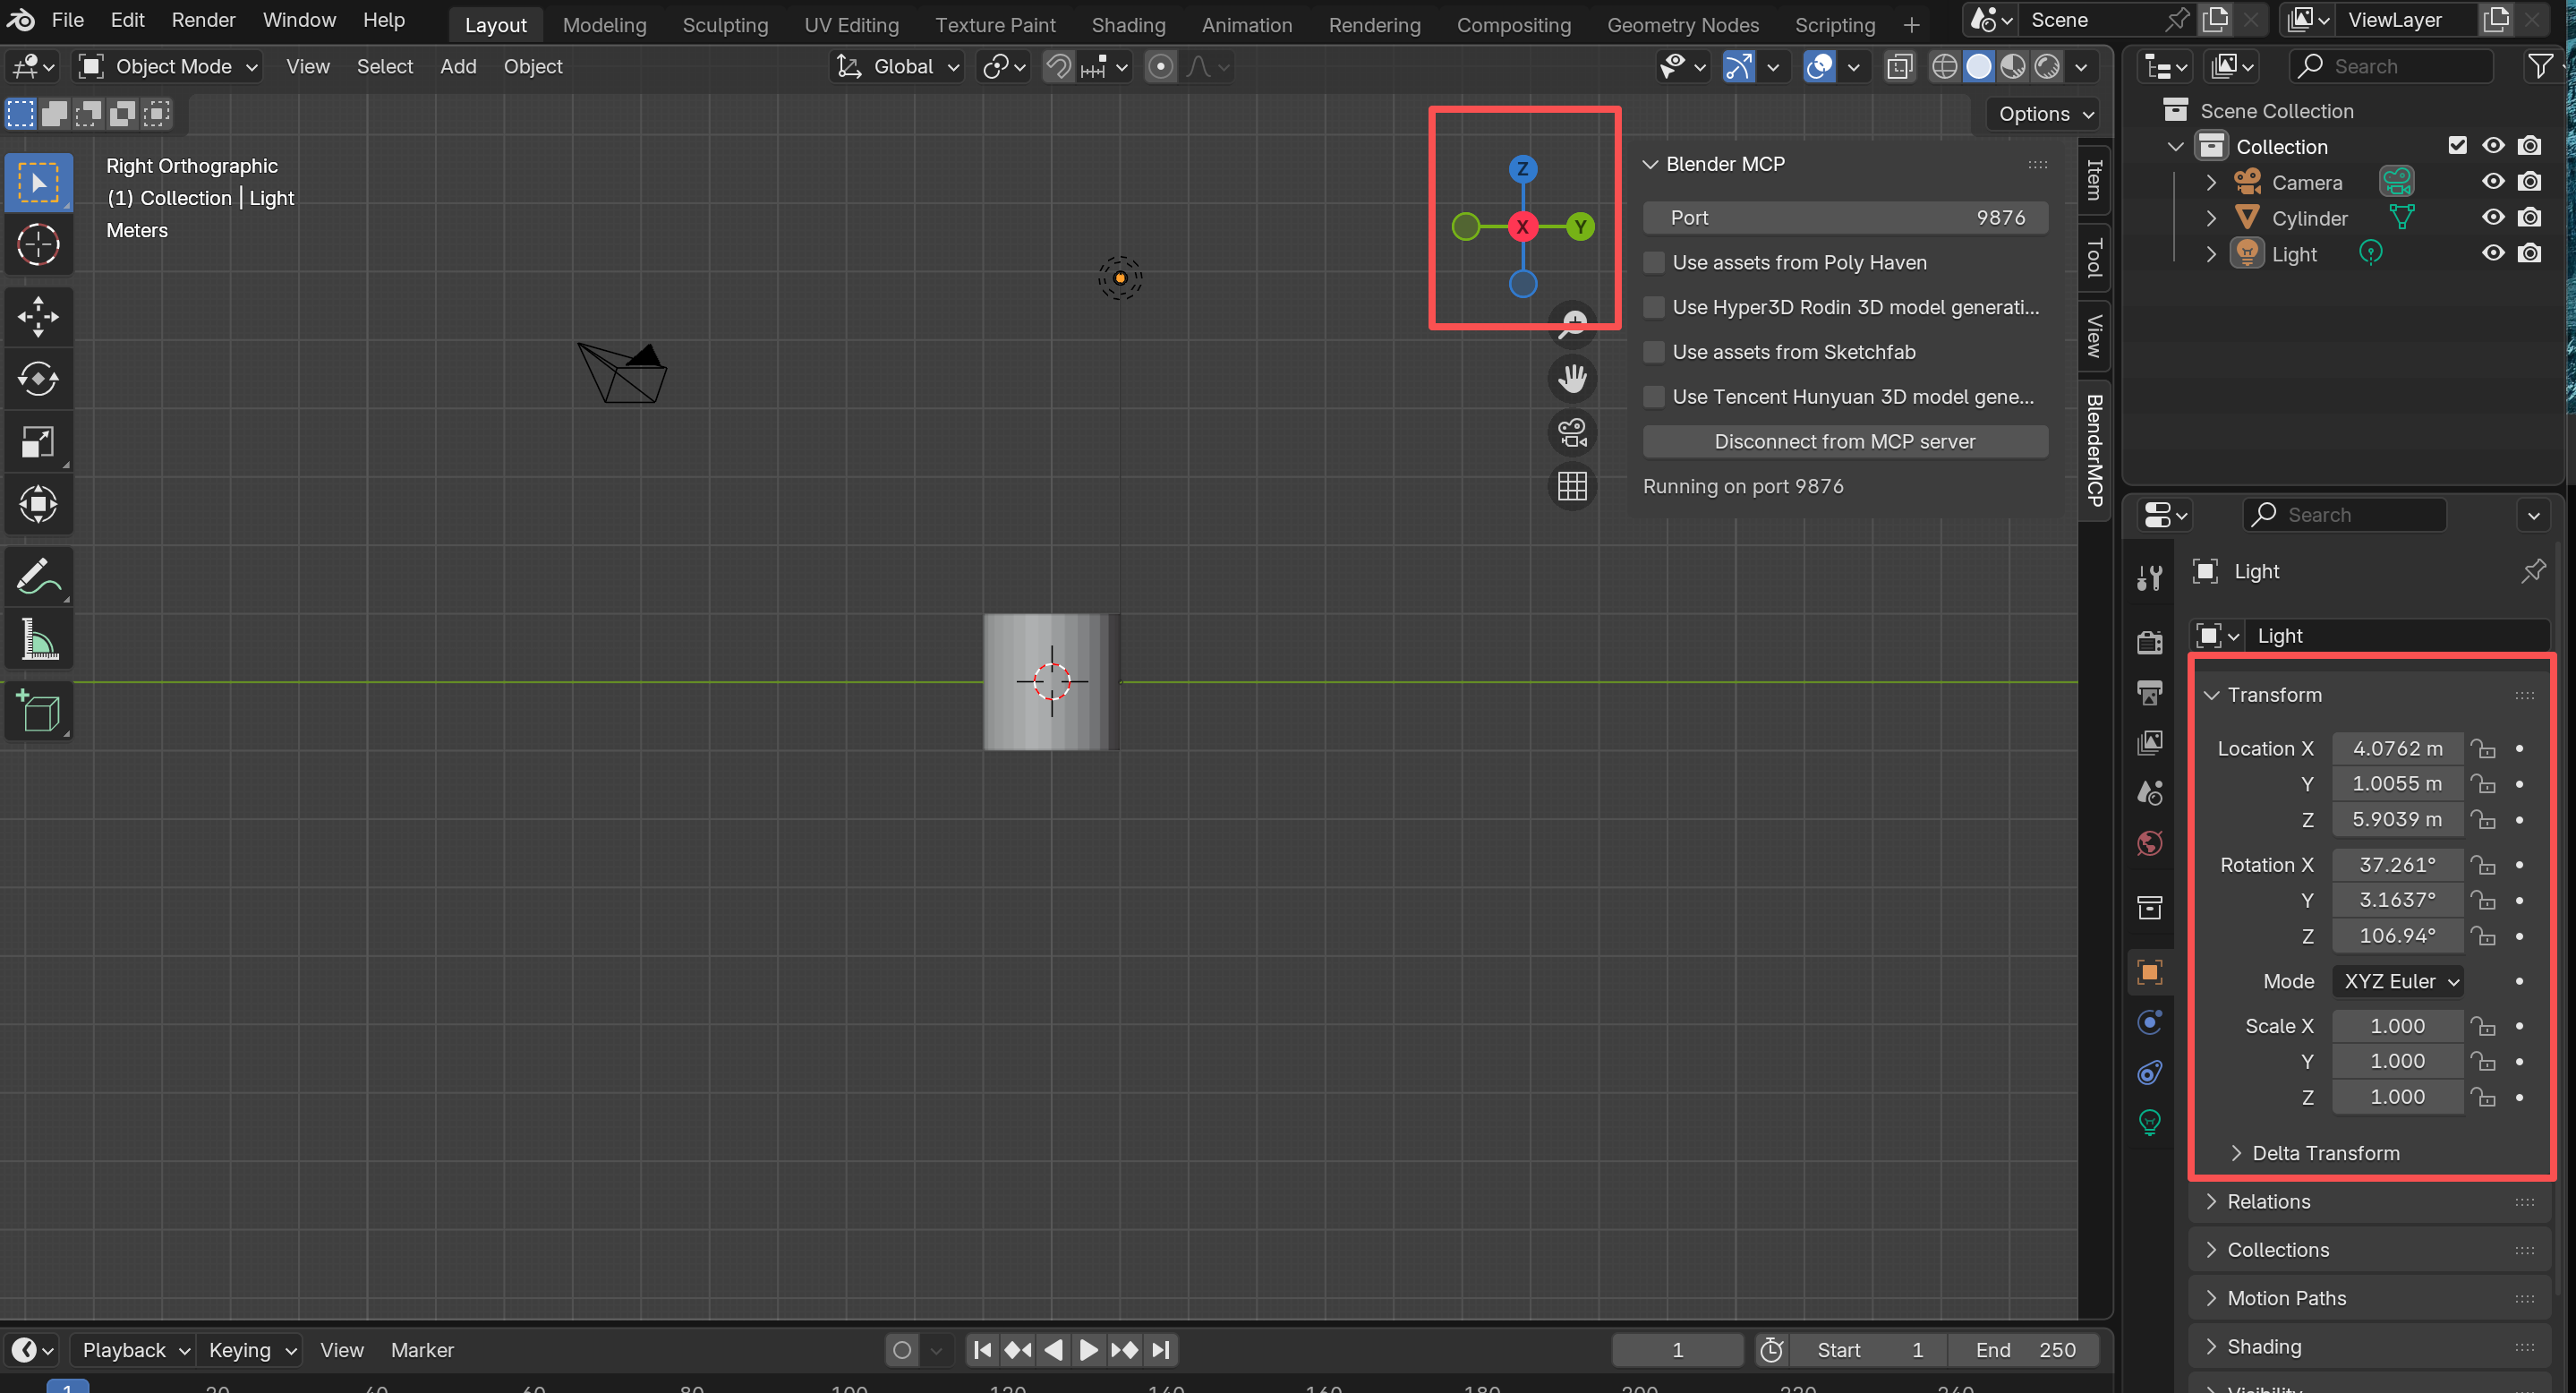
2. Object Creation and Manipulation
Delete the cylinder and let's create Blender's mascot:
"Delete the cylinder"
"Create a monkey"
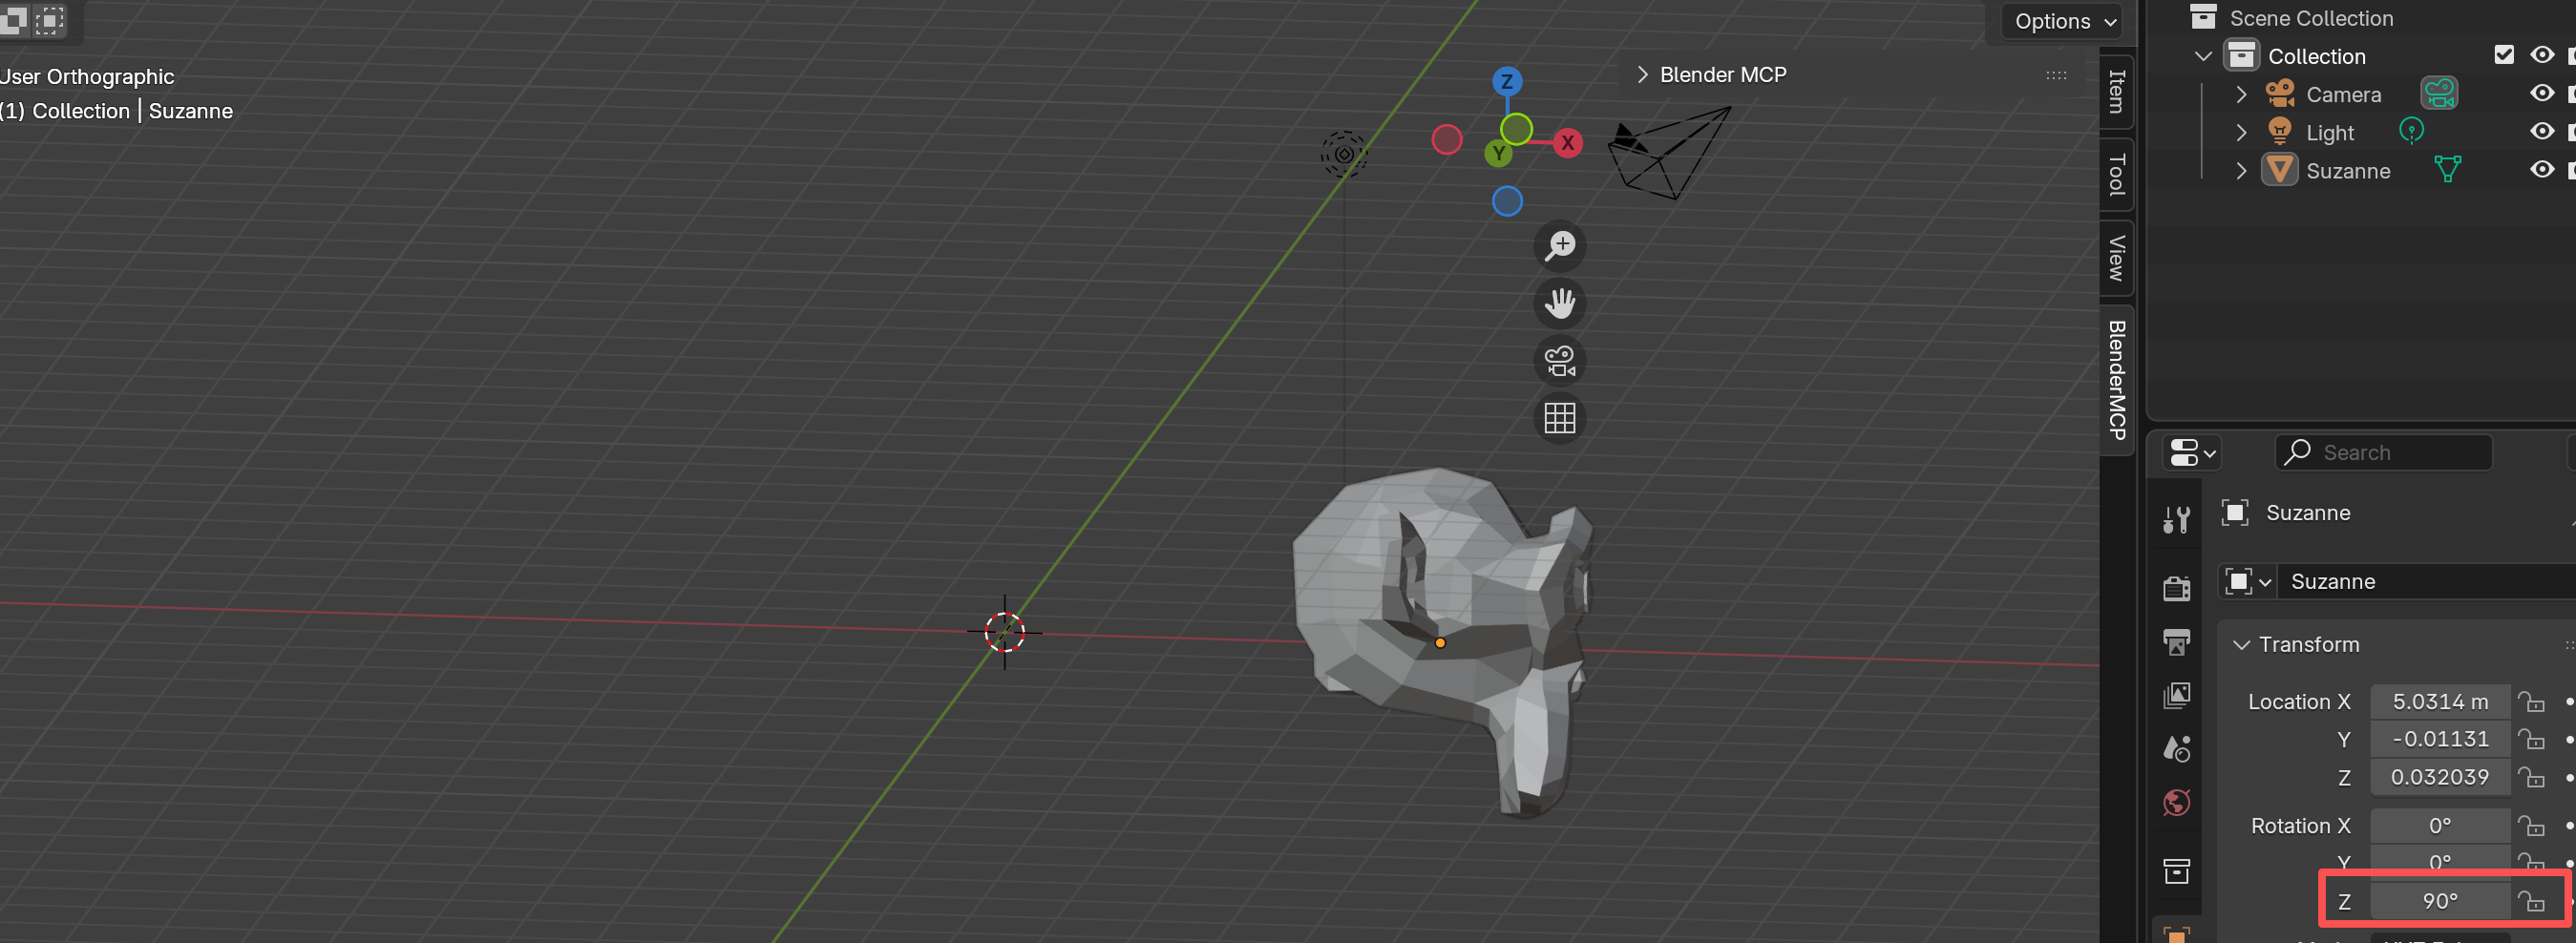
Now transform it using natural language:
"Move the monkey 5 units along the X-axis""Scale the monkey by 2x and rotate 90 degrees""Undo the last 2 operations"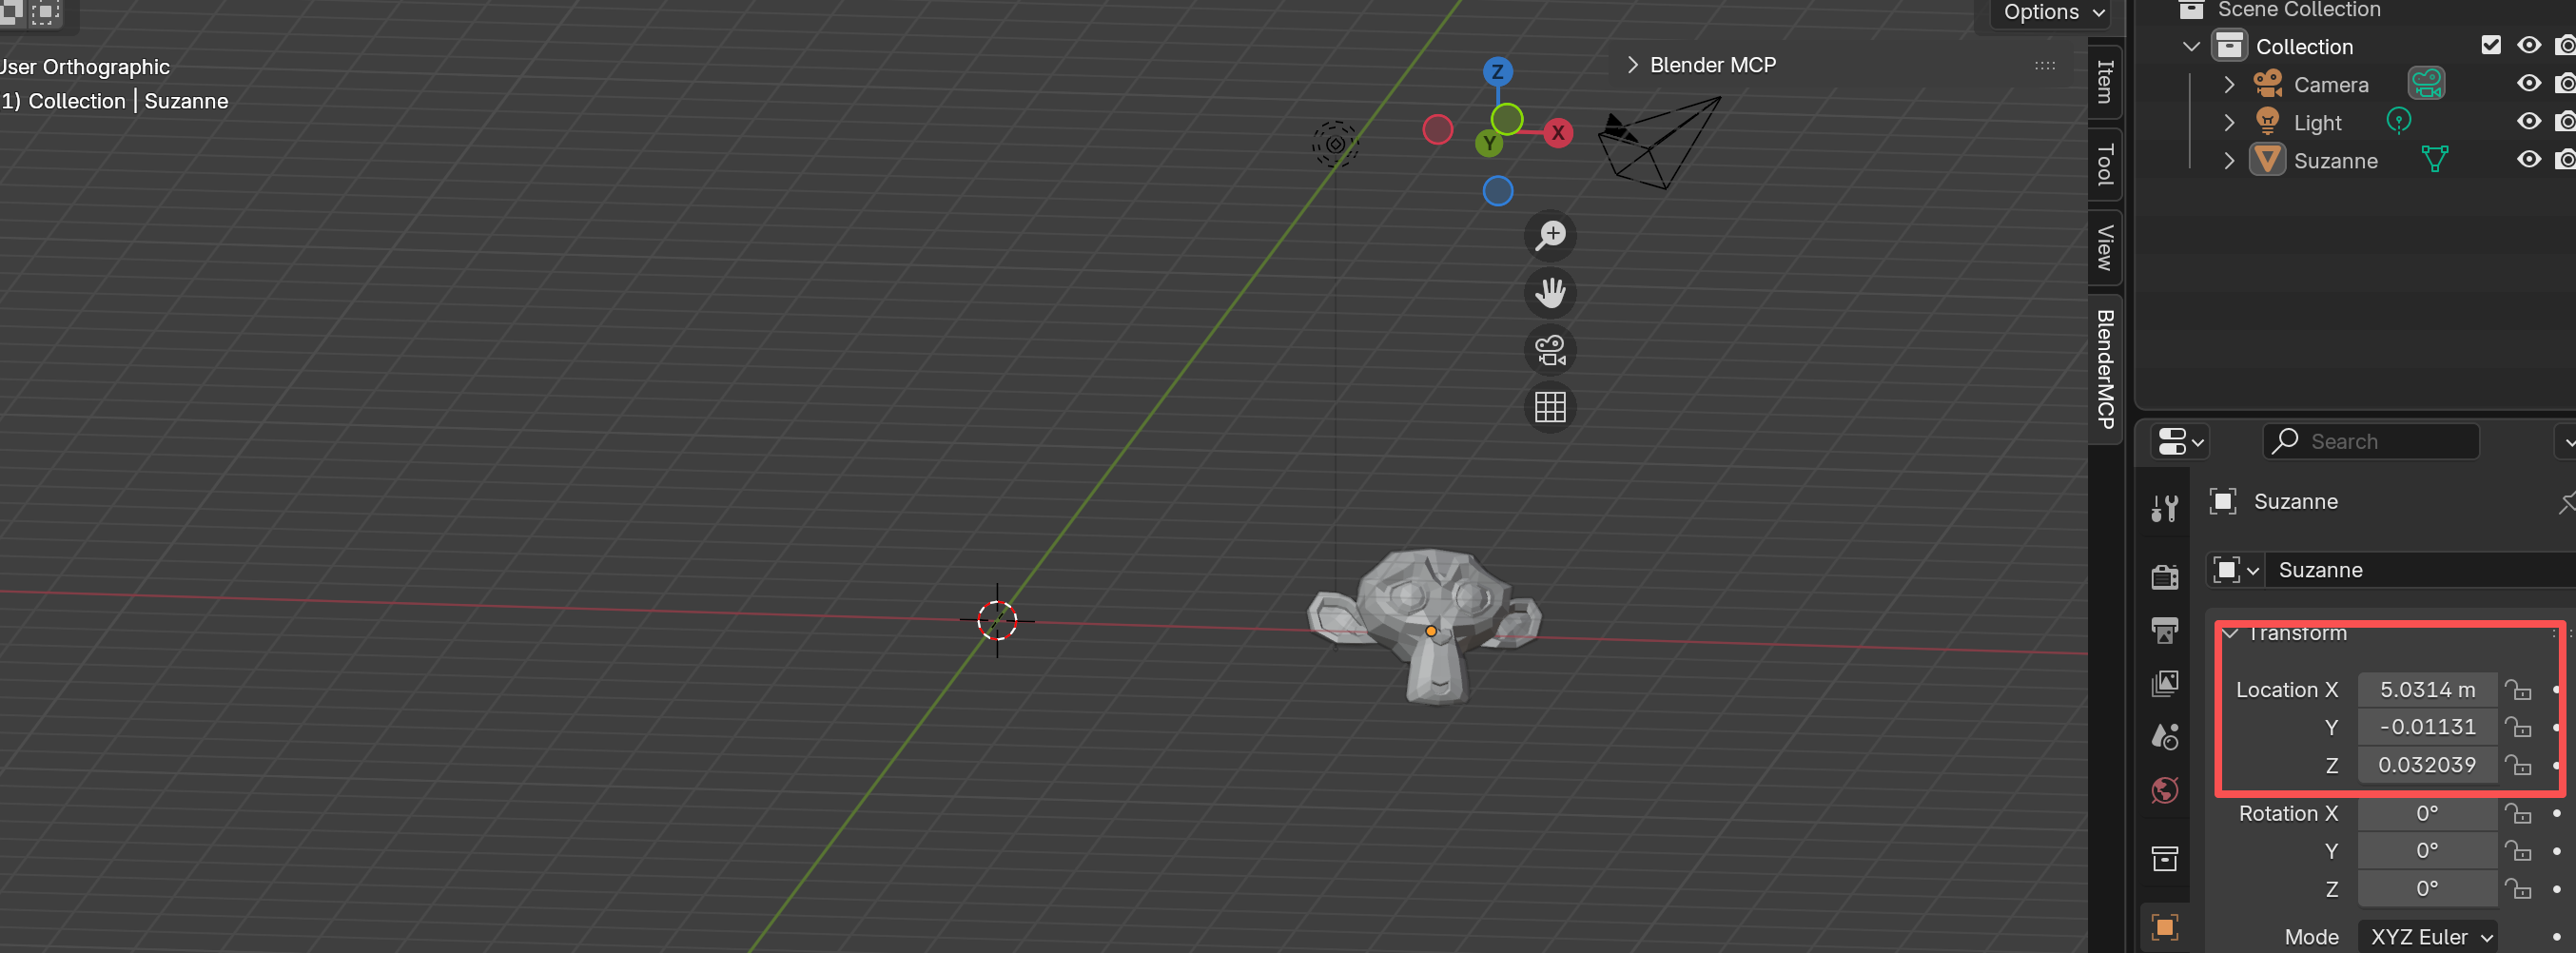
3. Advanced Operations
Chain operations together for complex workflows:
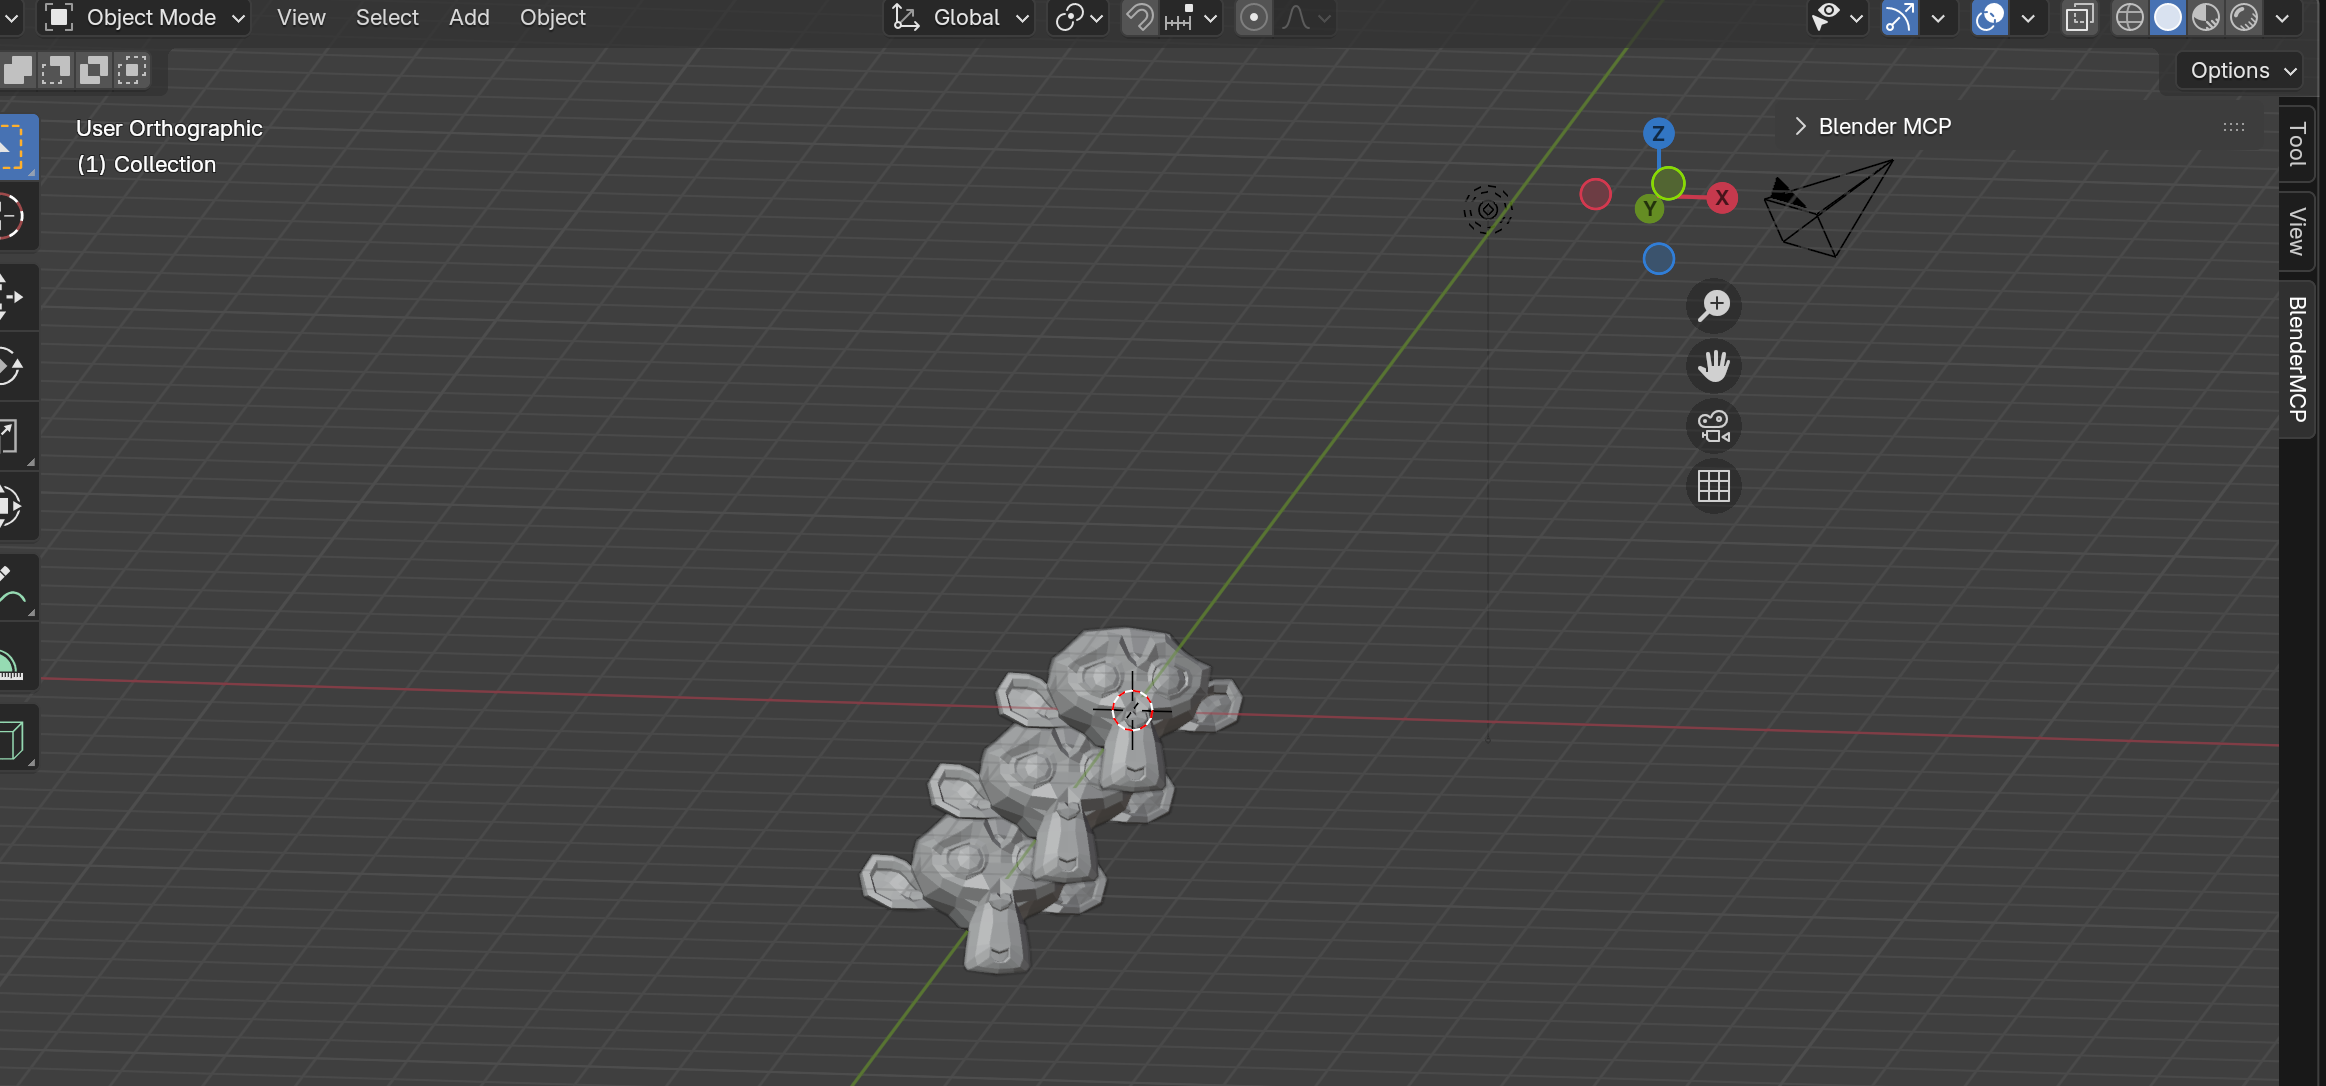
"Duplicate 2 monkeys along the Y-axis"
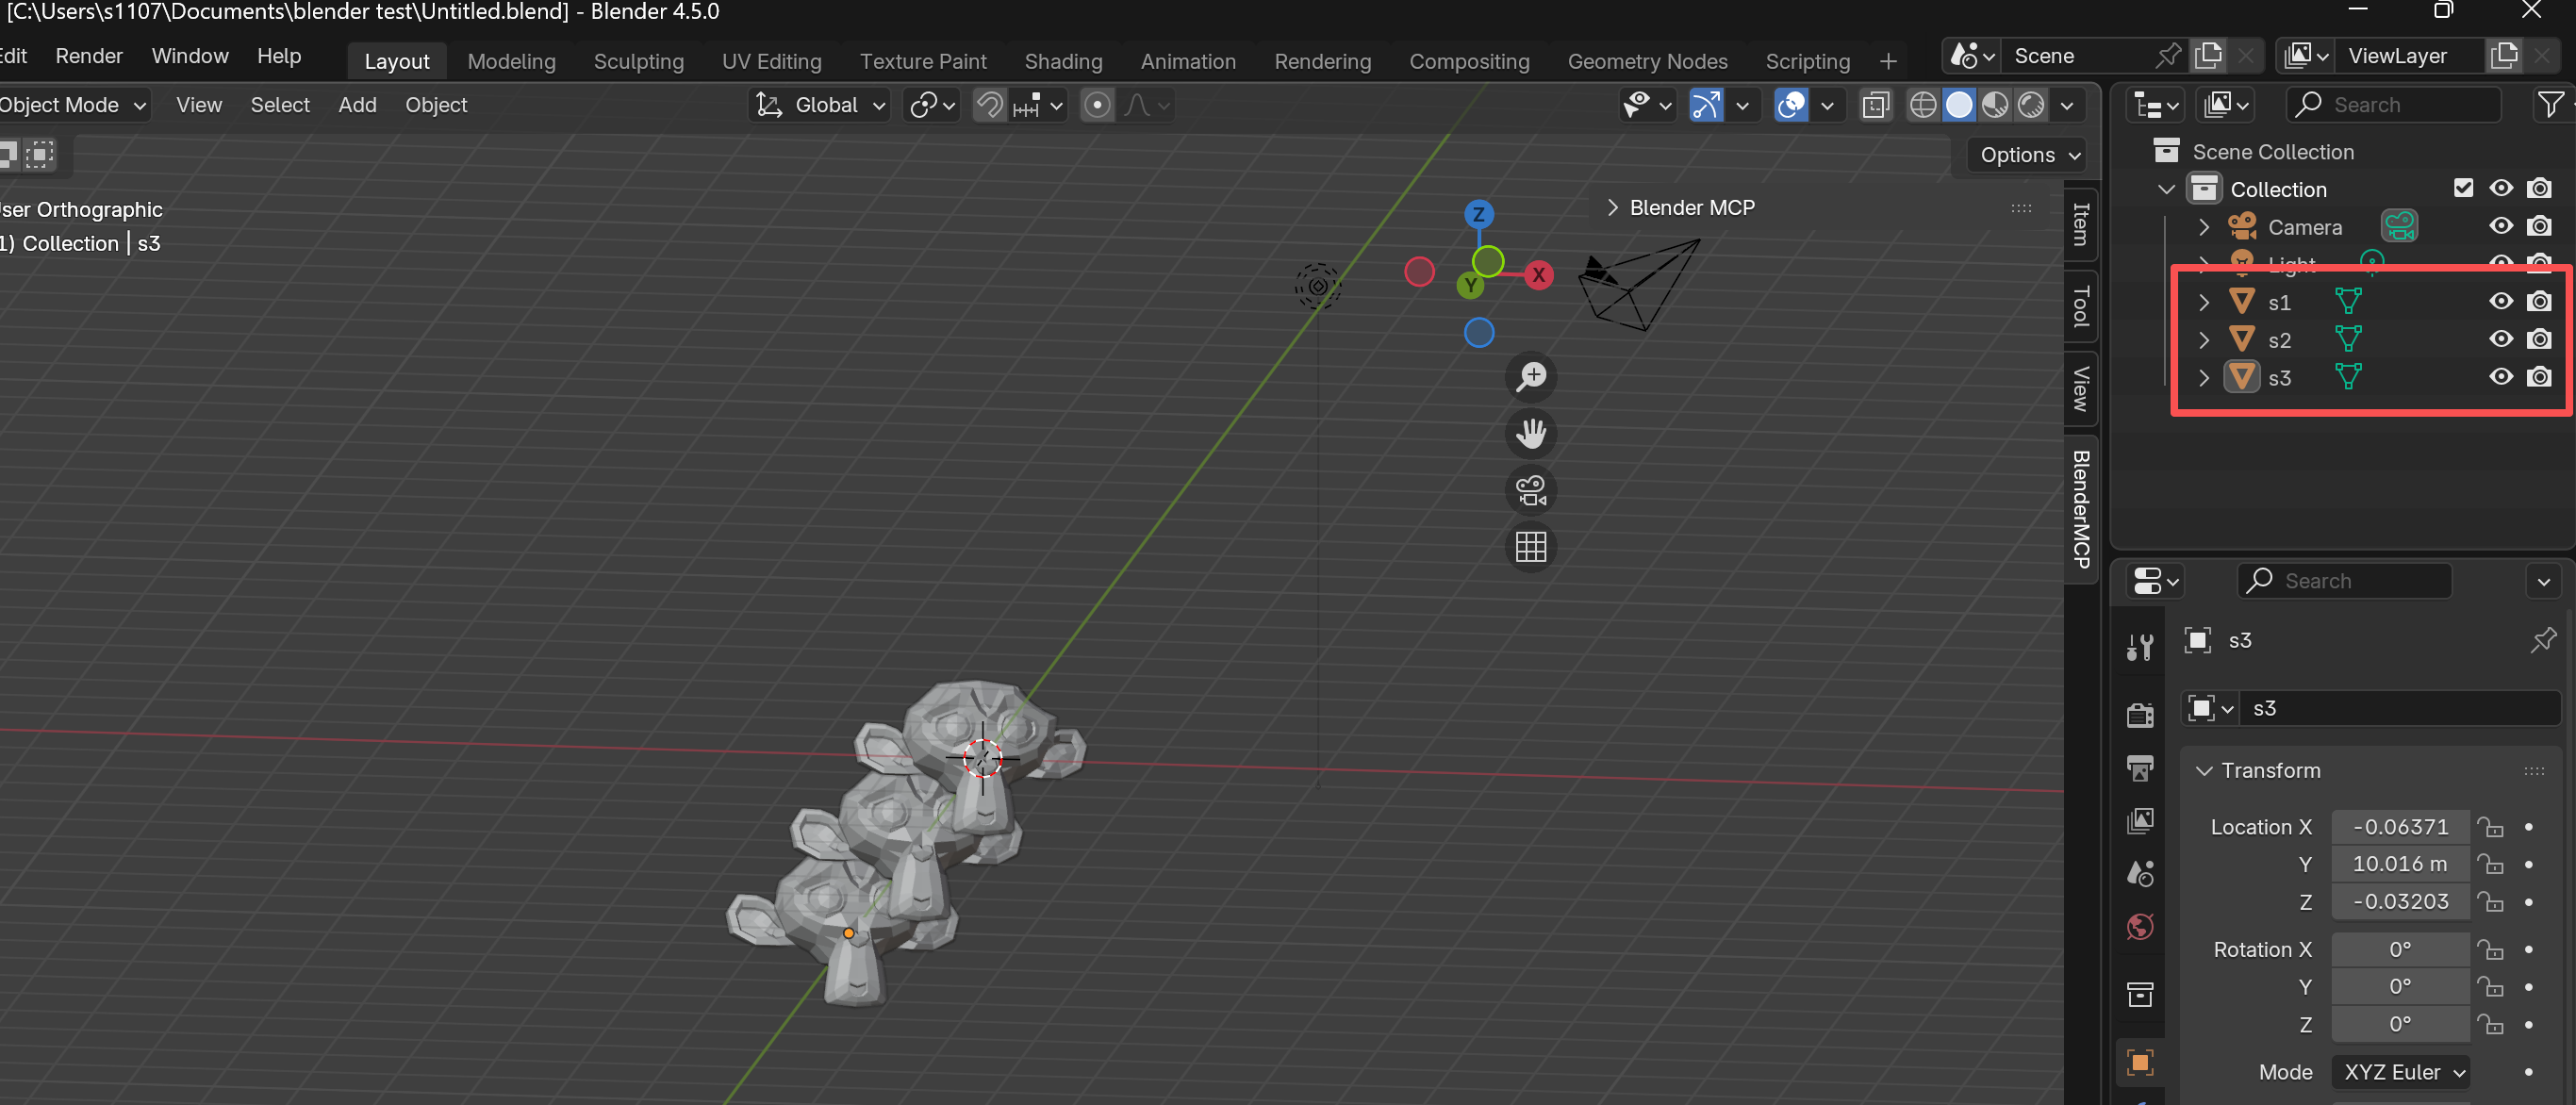
"Rename the monkeys as s1, s2, s3 in order"
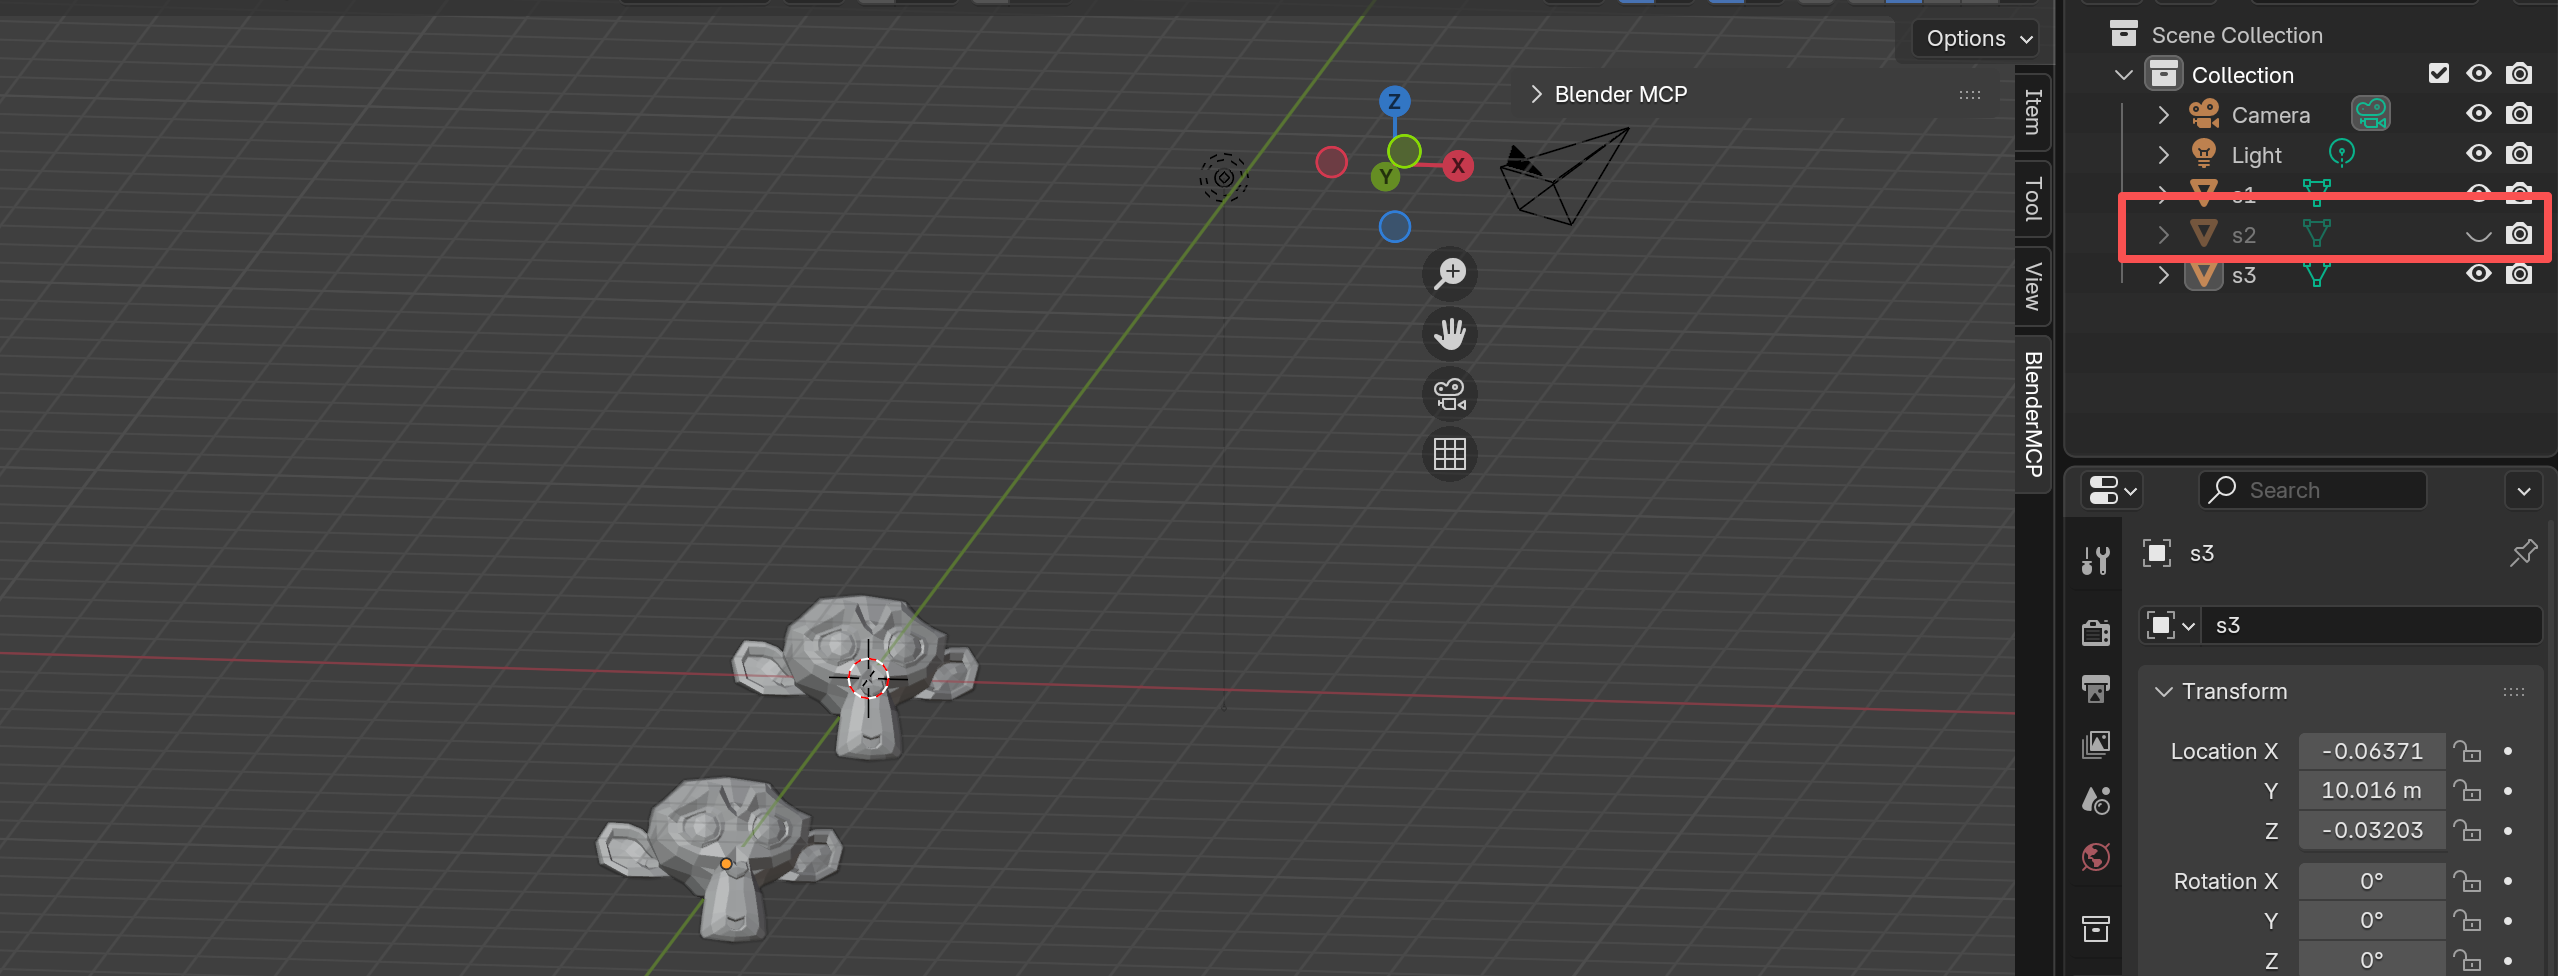
"Hide s2"
"Unhide s2"
MCP Limitations
Through testing, Blender MCP has some constraints:
- No Frame Selected: Commands like
"Focus on s1"or"Center s1 on screen"won't work - Zoom Only: Only
"Zoom s1"successfully enlarges the selected object
4. View Switching
Let's try switching views. Blender has Front View, Right View, Top View, and more. Let's see our monkeys from different angles:
"Switch to front view along X-axis using blender mcp"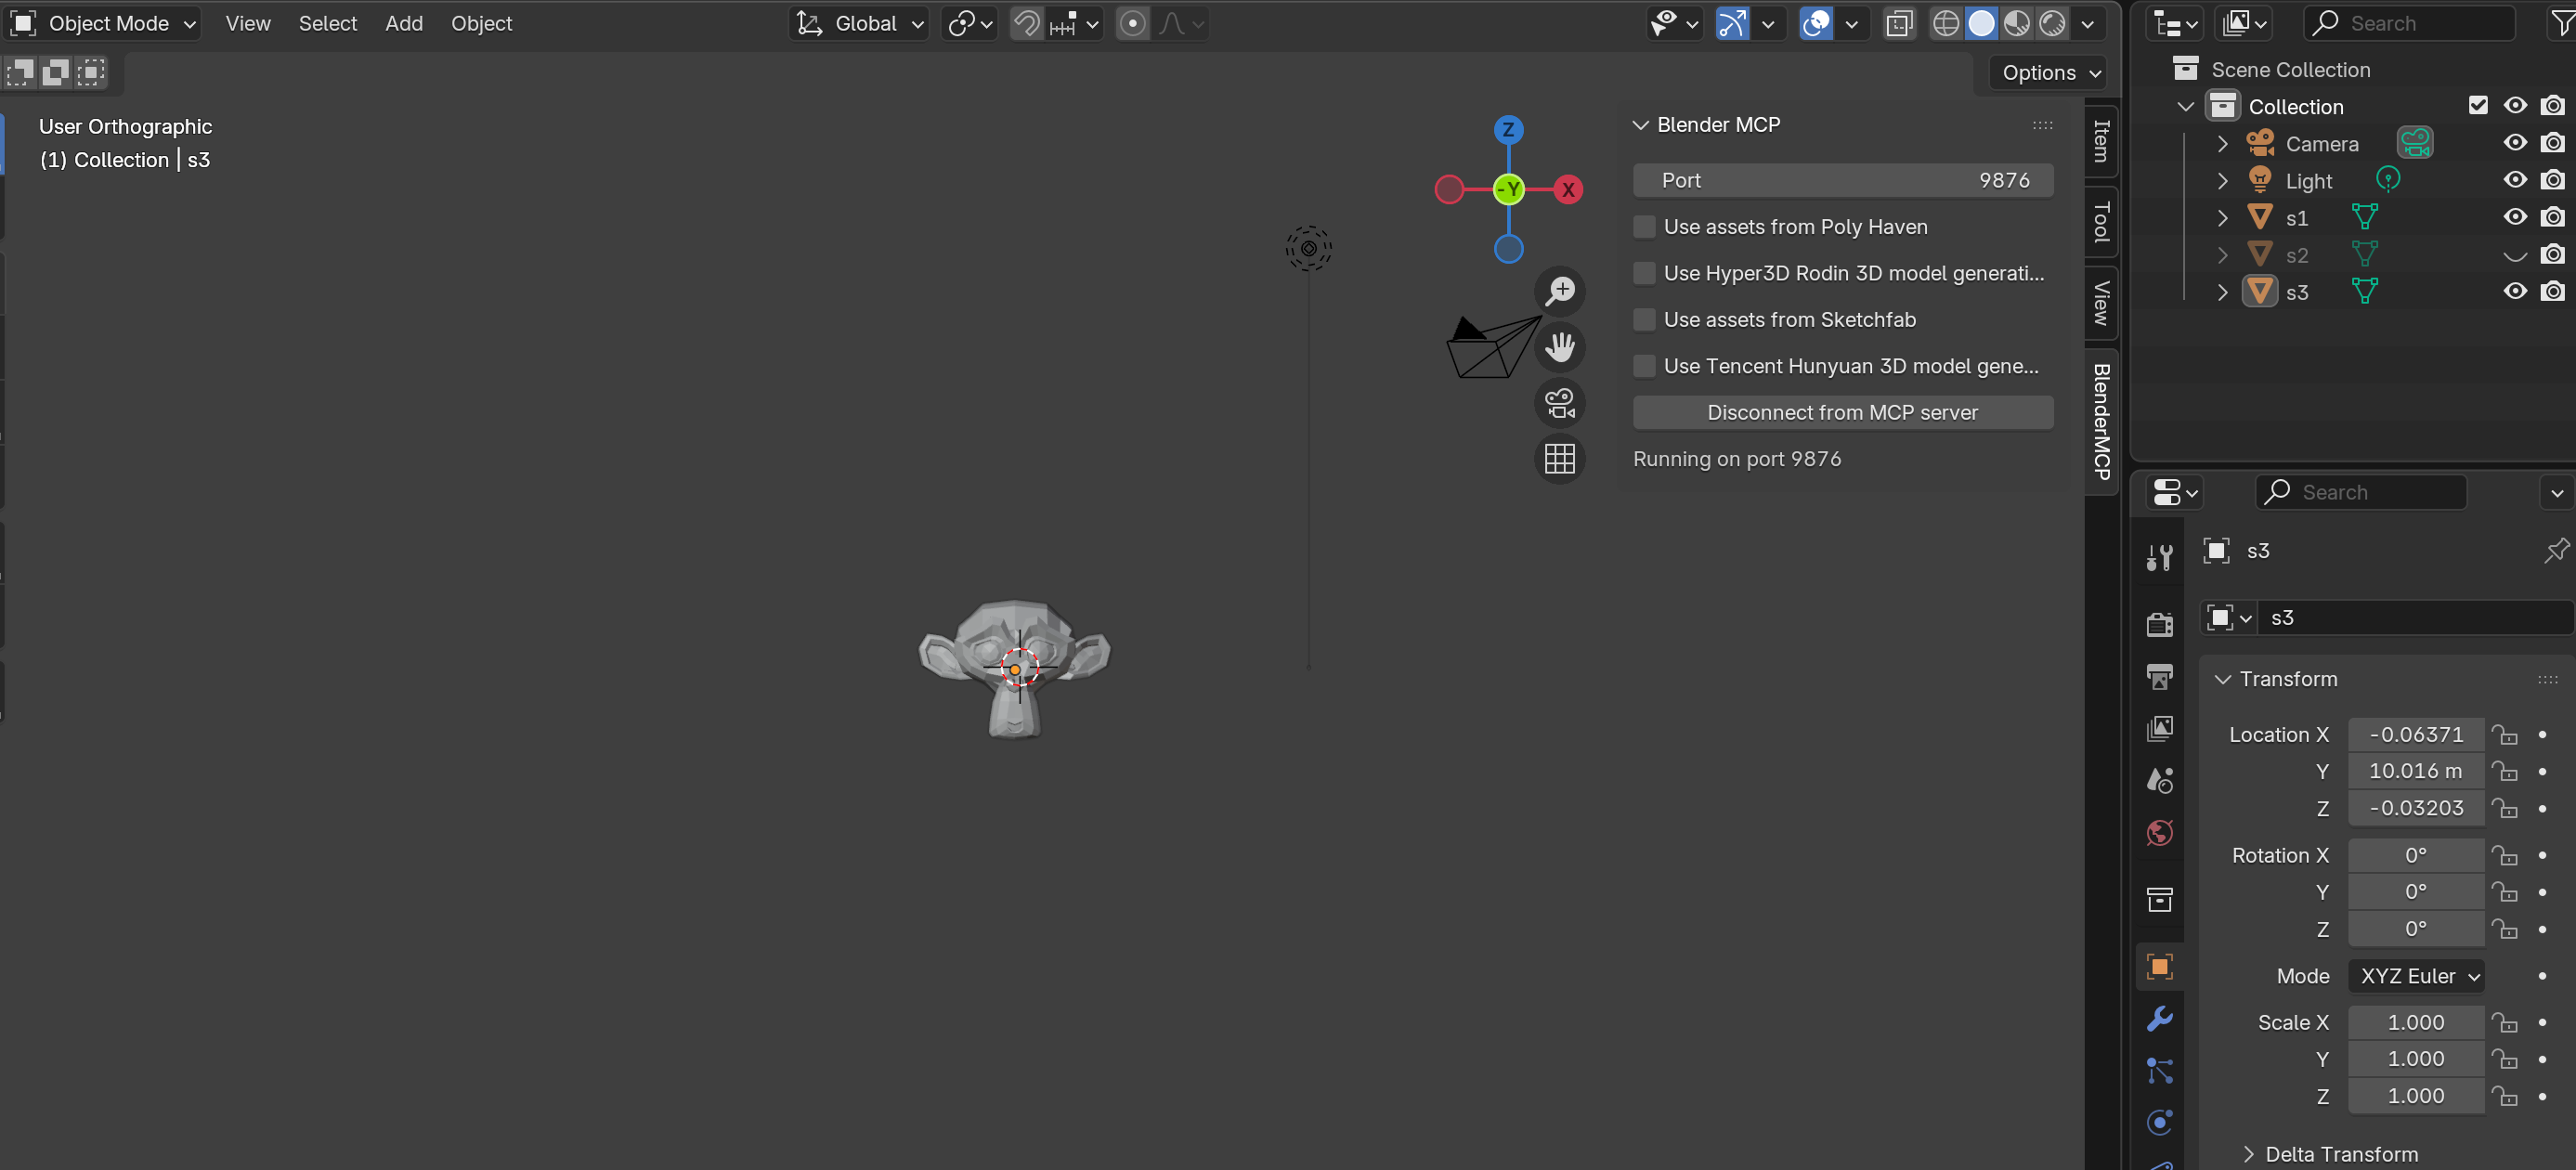
Fine-tune the view angle to get the desired perspective:
"Adjust view angle 45 degrees toward X and Z axis"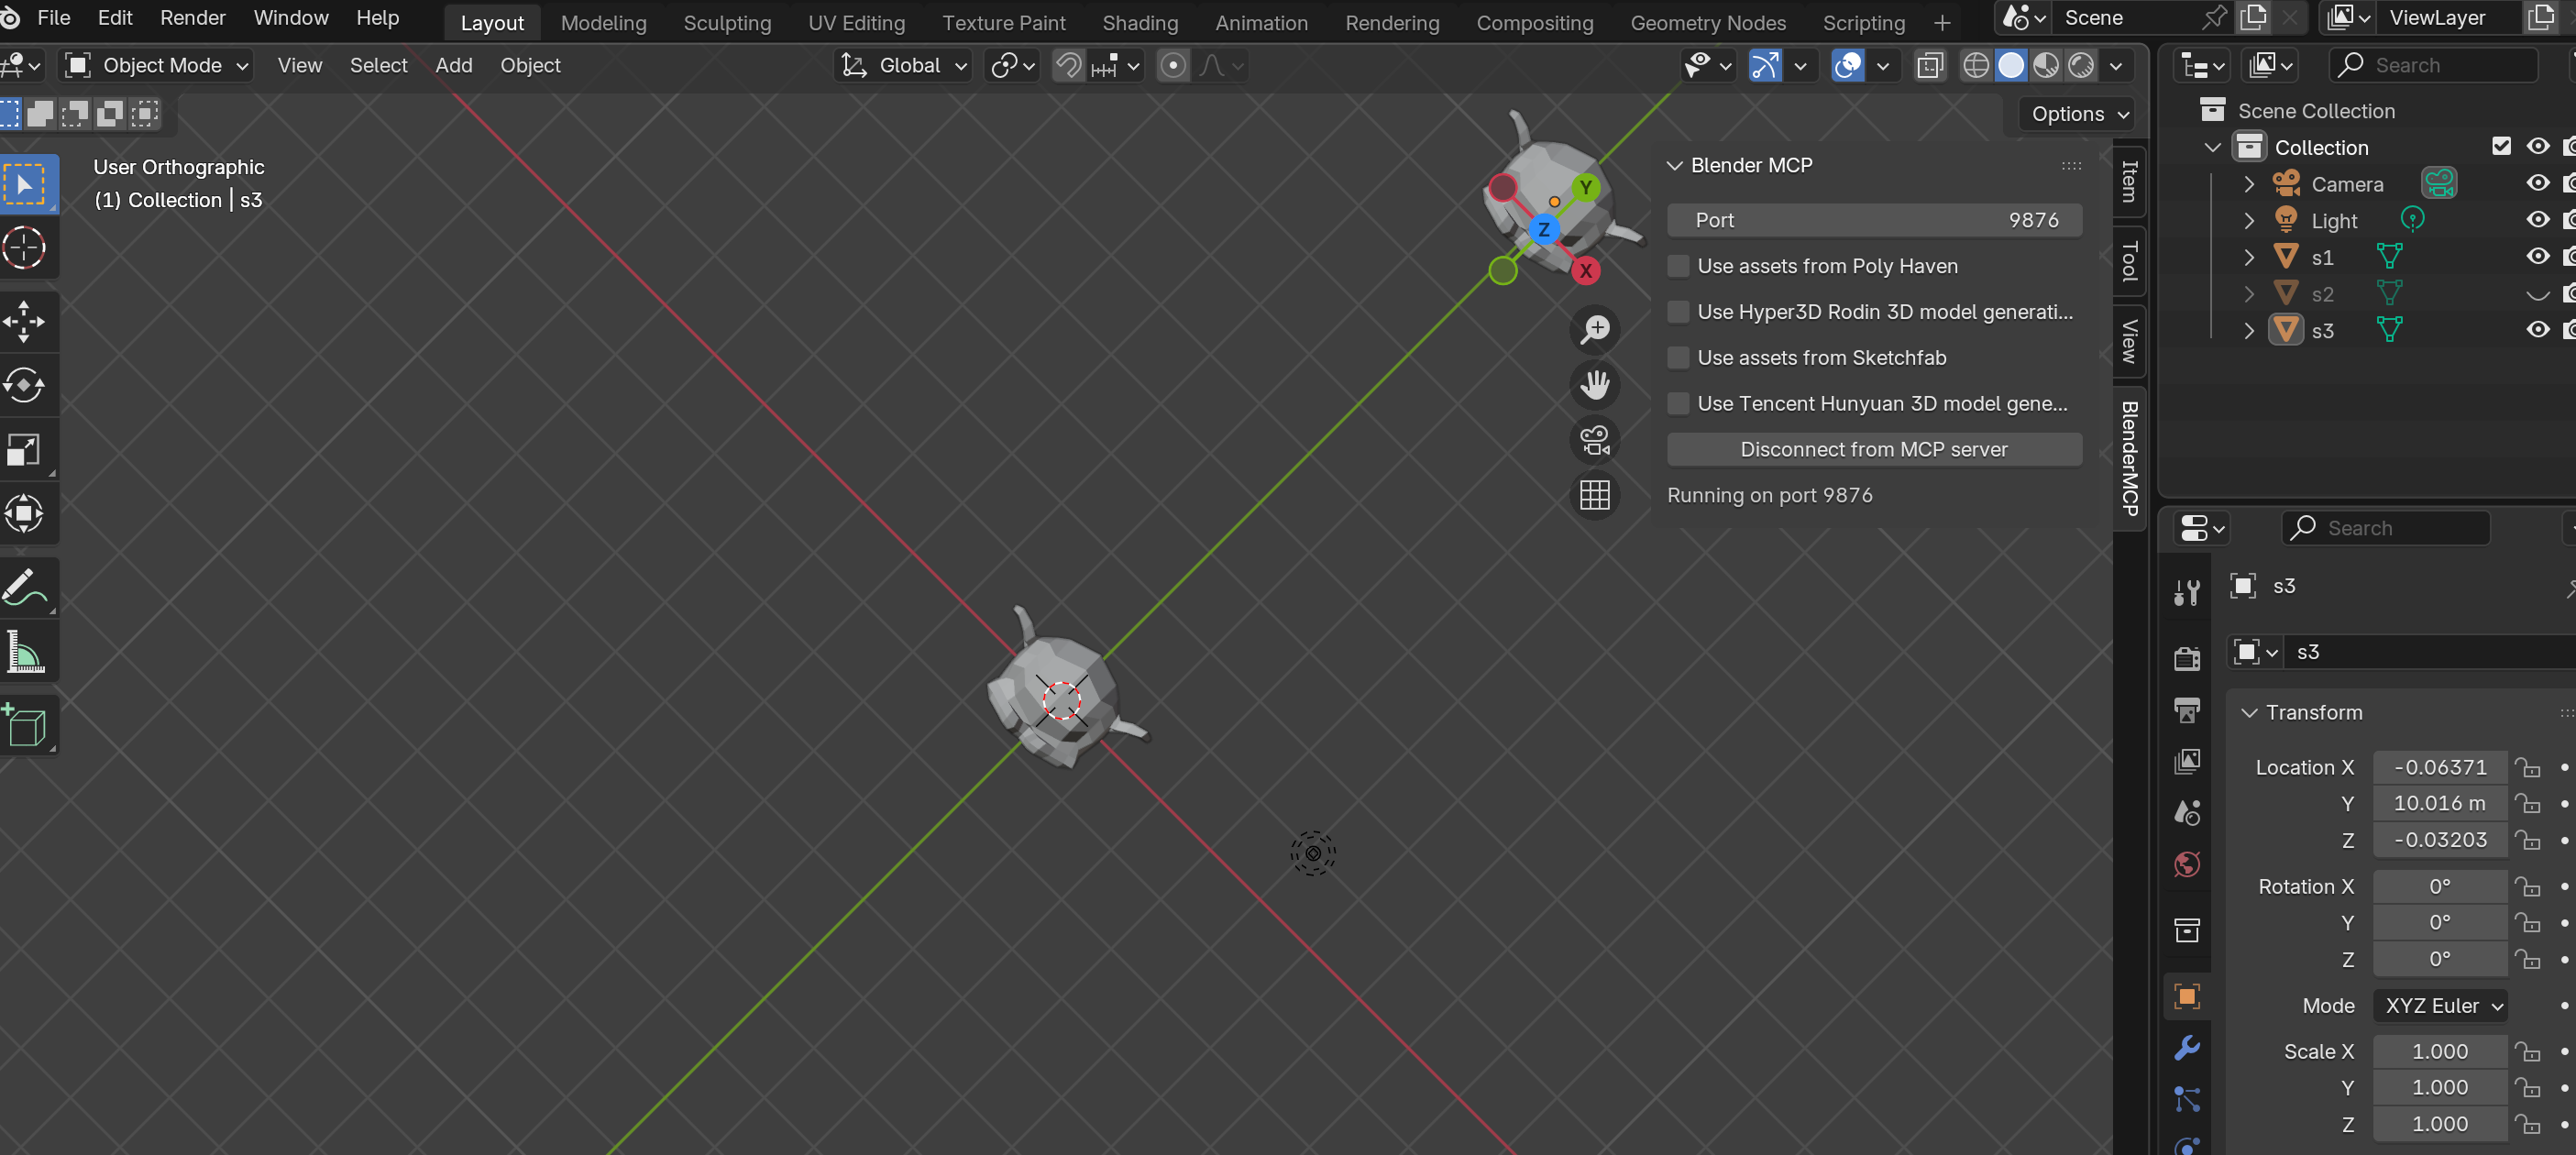
MCP Limitation Confirmed
Through testing, Blender MCP cannot focus/center objects on screen. Commands like "Focus on s1" or "Show s1 in screen center" fail. Only "Zoom s1" works to enlarge the selected object.
Putting It All Together
You've now learned Blender's fundamentals two ways:
Traditional Workflow
- Keyboard shortcuts for speed
- Precision with axis constraints
- Numpad view switching
- Muscle memory development
MCP Workflow
- Natural language commands
- Lower barrier to entry
- Great for complex operations
- AI-assisted workflow
The best Blender artists? They use both. Shortcuts for speed, MCP for complex multi-step operations.
What's Next
You've mastered viewport navigation and basic object control. But to truly work efficiently in Blender, you need to understand the deeper logic — the 3D Cursor, Origin points, and coordinate systems.
Next up: Part 2: Interface Logic — Cursor, Origin & Coordinate Systems