After years of professional 3D work, I've learned something important: complex models don't require complex techniques. Johannes Vermeer's "Girl with a Pearl Earring" has been recreated in countless mediums — and today, we'll do it in Blender using only basic geometric primitives.
This tutorial is different because it covers the entire workflow: modeling, camera setup, lighting, materials, and rendering. You'll see both traditional manual workflows and modern MCP command approaches.
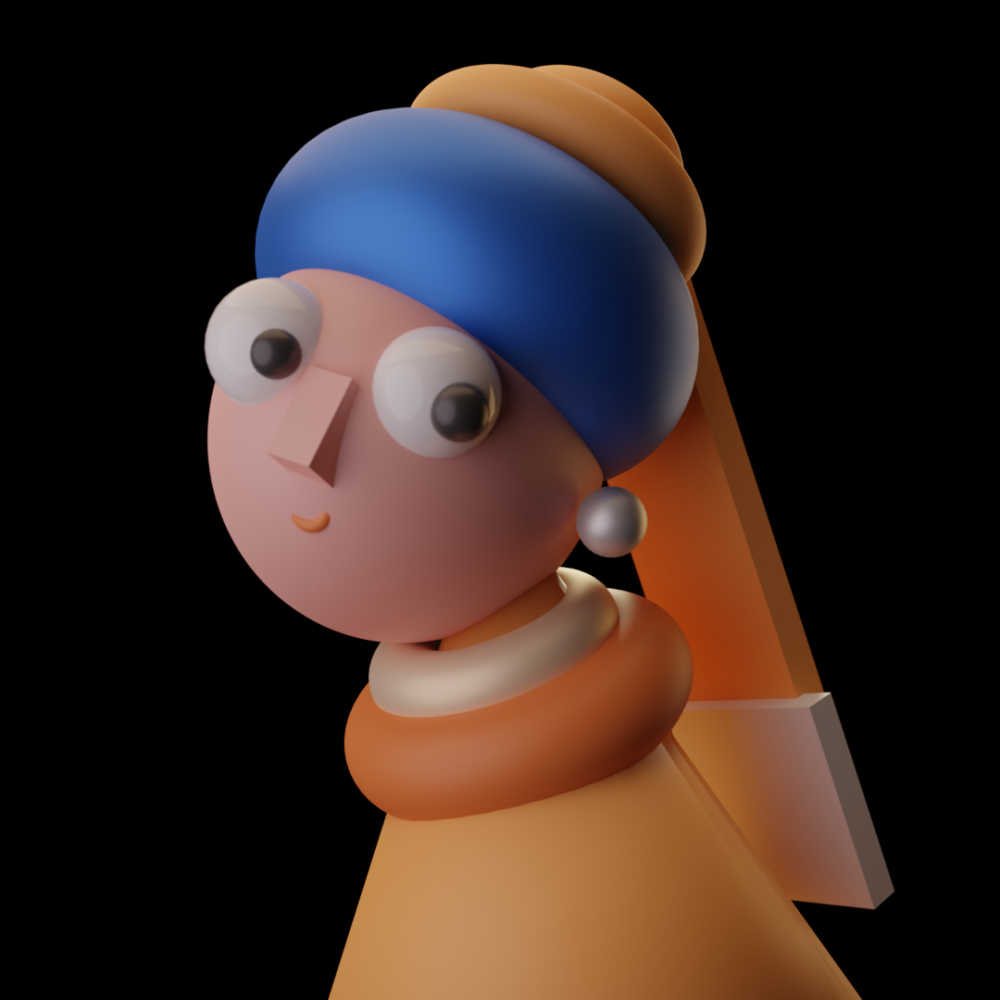
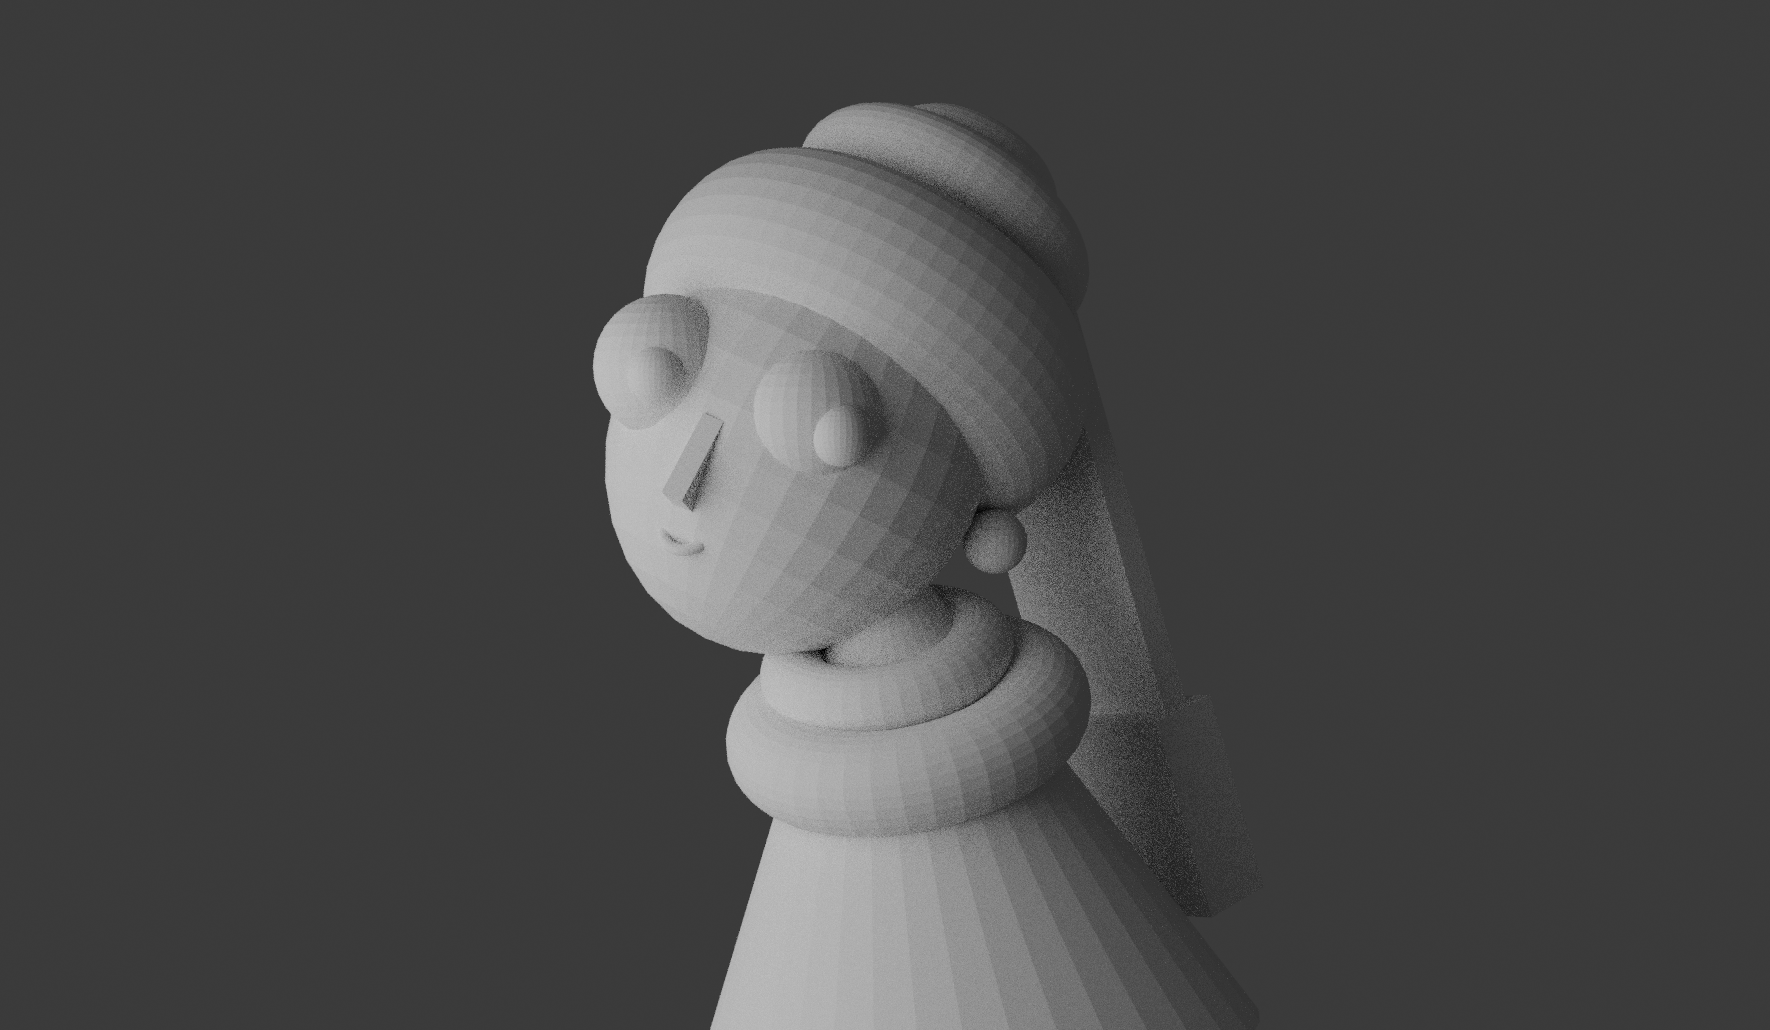
Our completed Girl with a Pearl Earring model in Blender
Project Overview
Reference
Vermeer's "Girl with a Pearl Earring" (1665)
Technique
Primitive-based modeling (no sculpting)
Timeline
~35 minutes core content
Prerequisites
Parts 1 & 2 of this series
Phase 1: Setting Up Reference
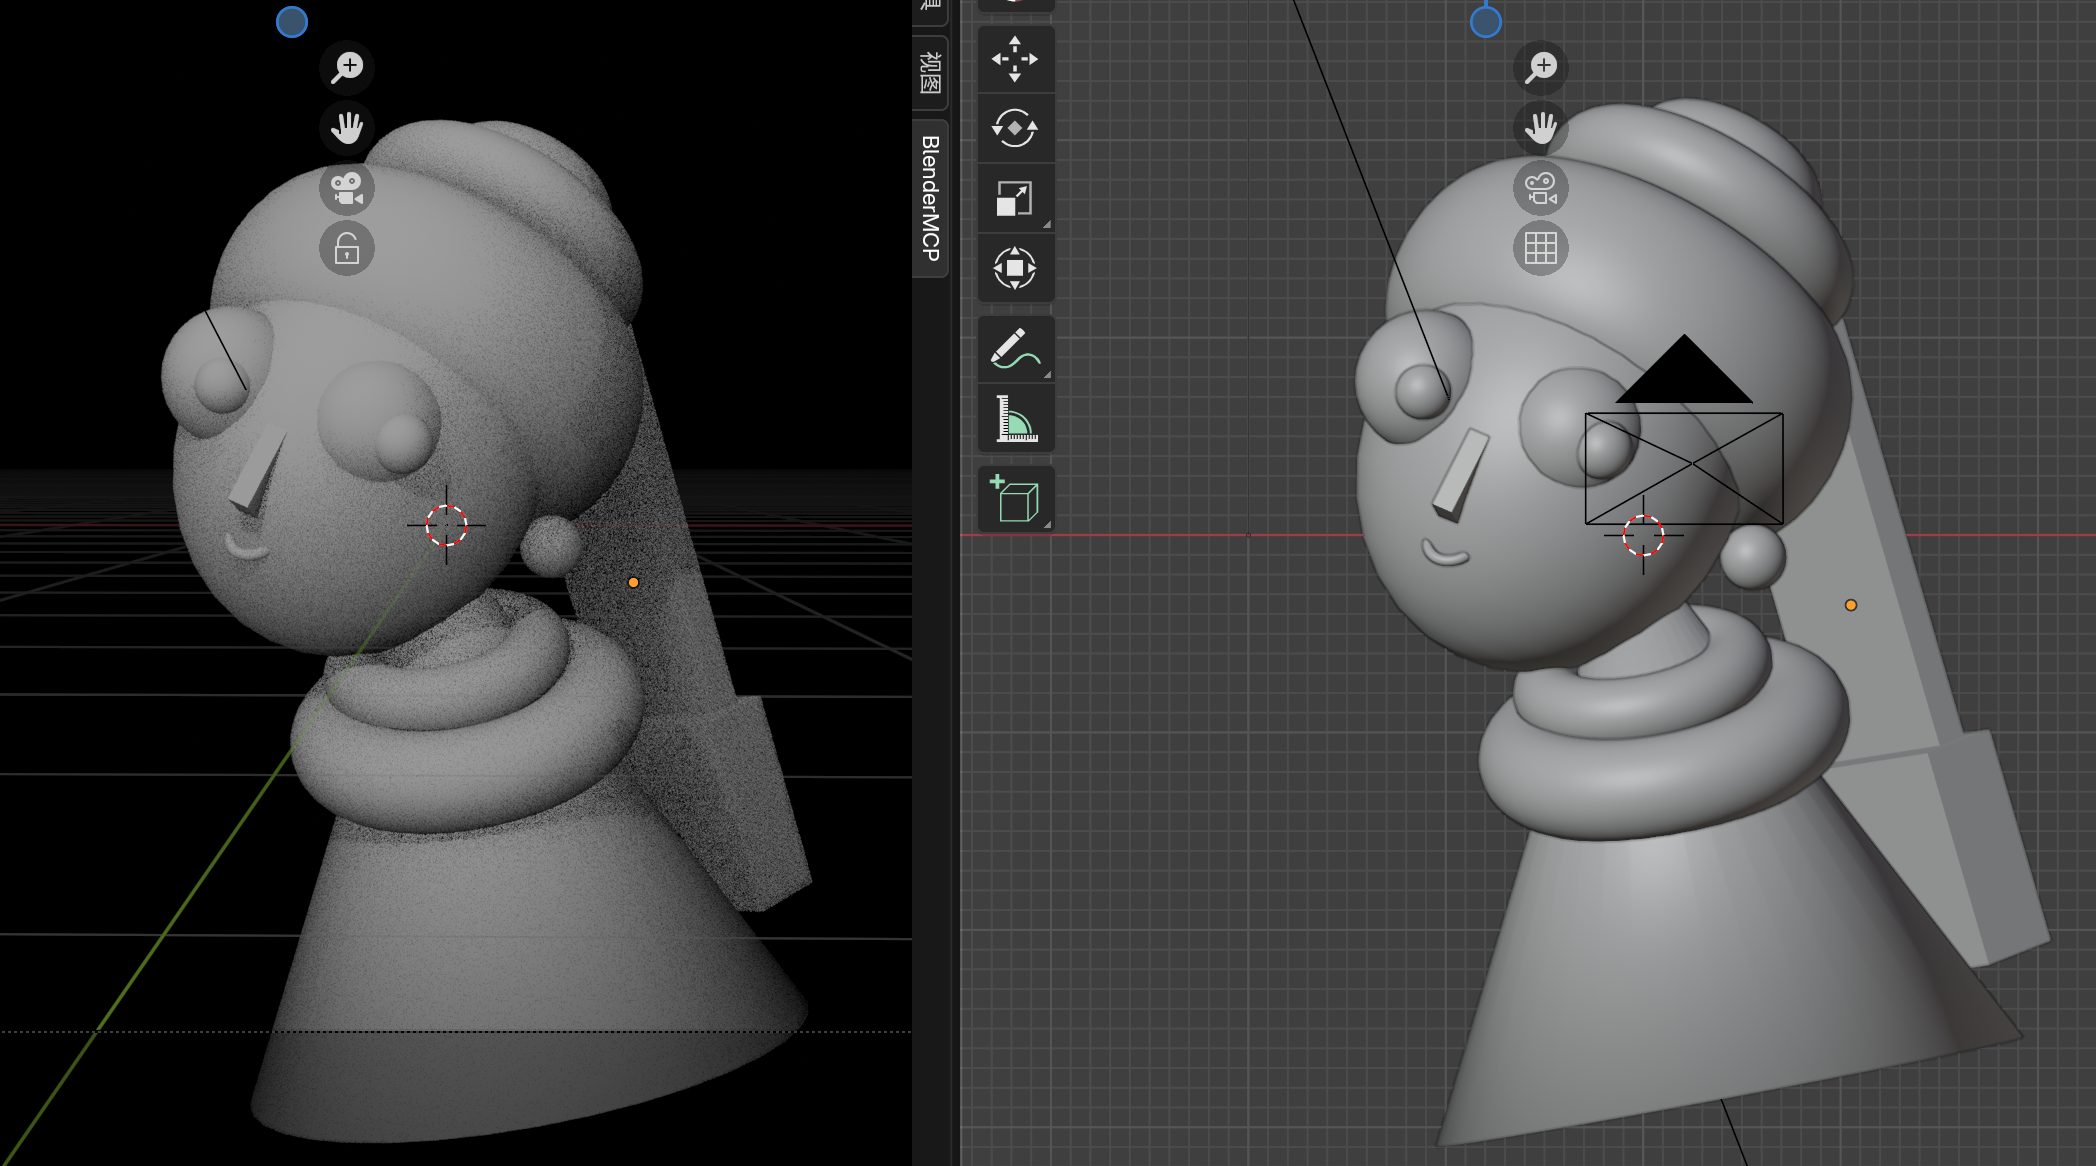
Every professional workflow starts with proper reference setup. Let's get our image in place.
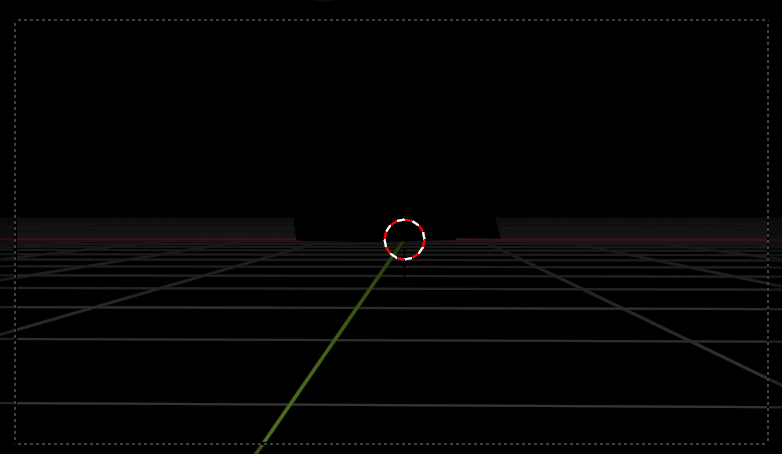
Step 1: Switch to Front View
| Method | Action |
|---|---|
| Numpad | Press 1 for Front View |
| Manual | Click -Y in the viewport gizmo |
Front View (-Y) in Blender viewport
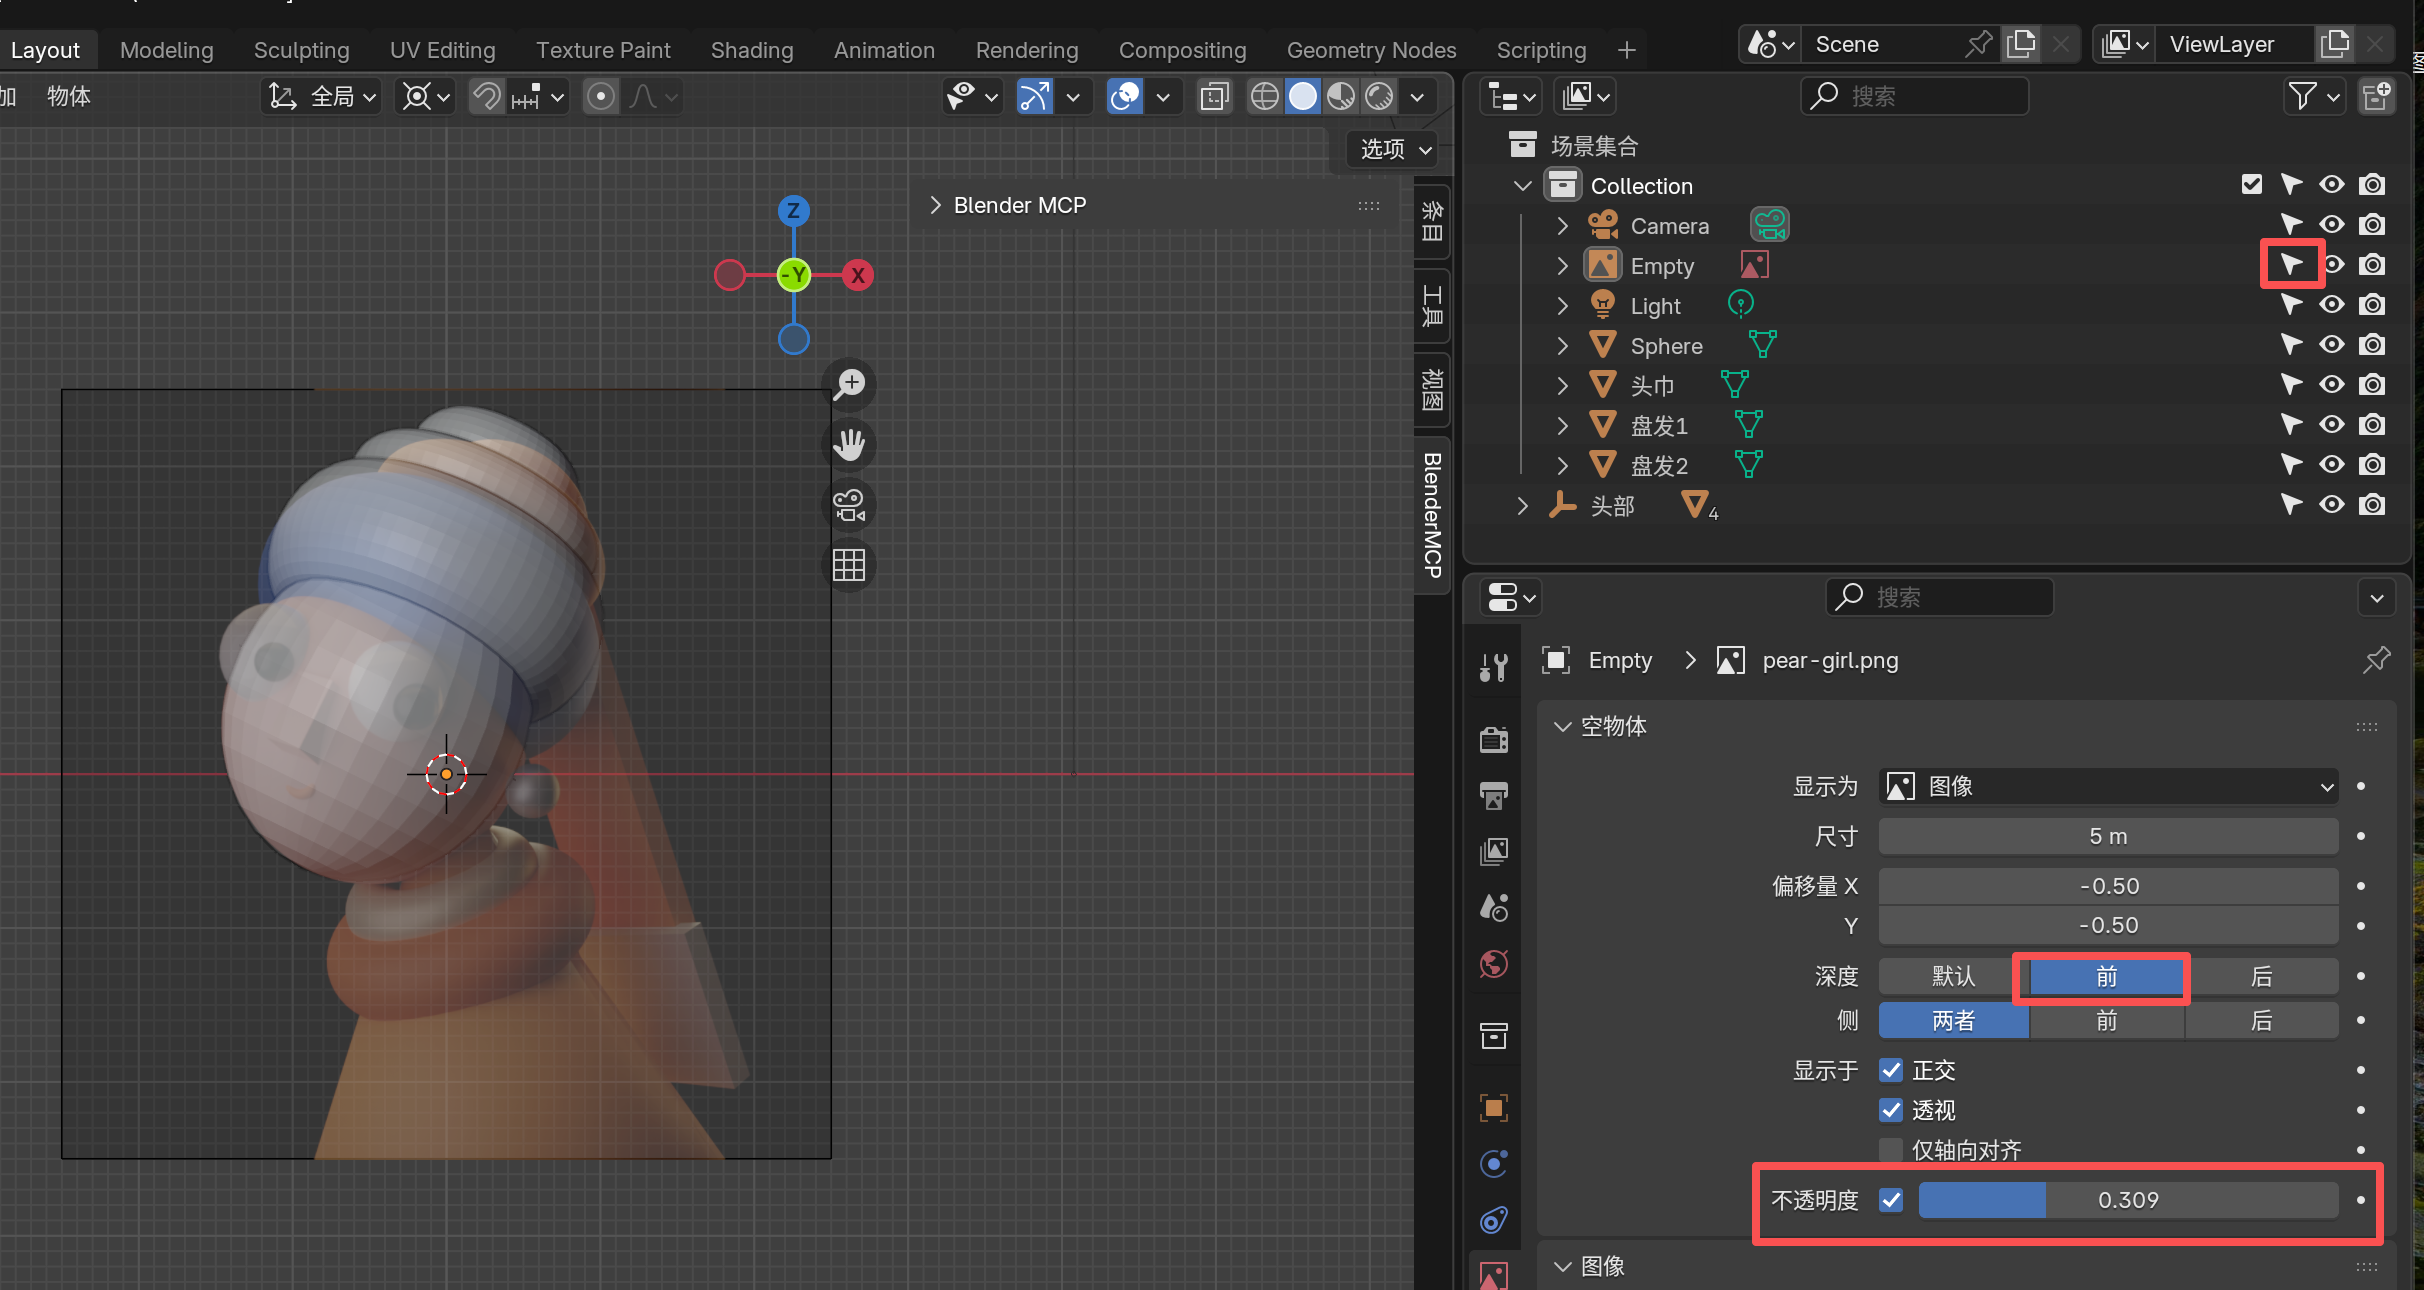
Step 2: Import Reference Image
Go to Add → Image → Reference and select your reference image. In the Object Data Properties, adjust the Opacity to around 0.3-0.5 so you can see what you're modeling behind it.
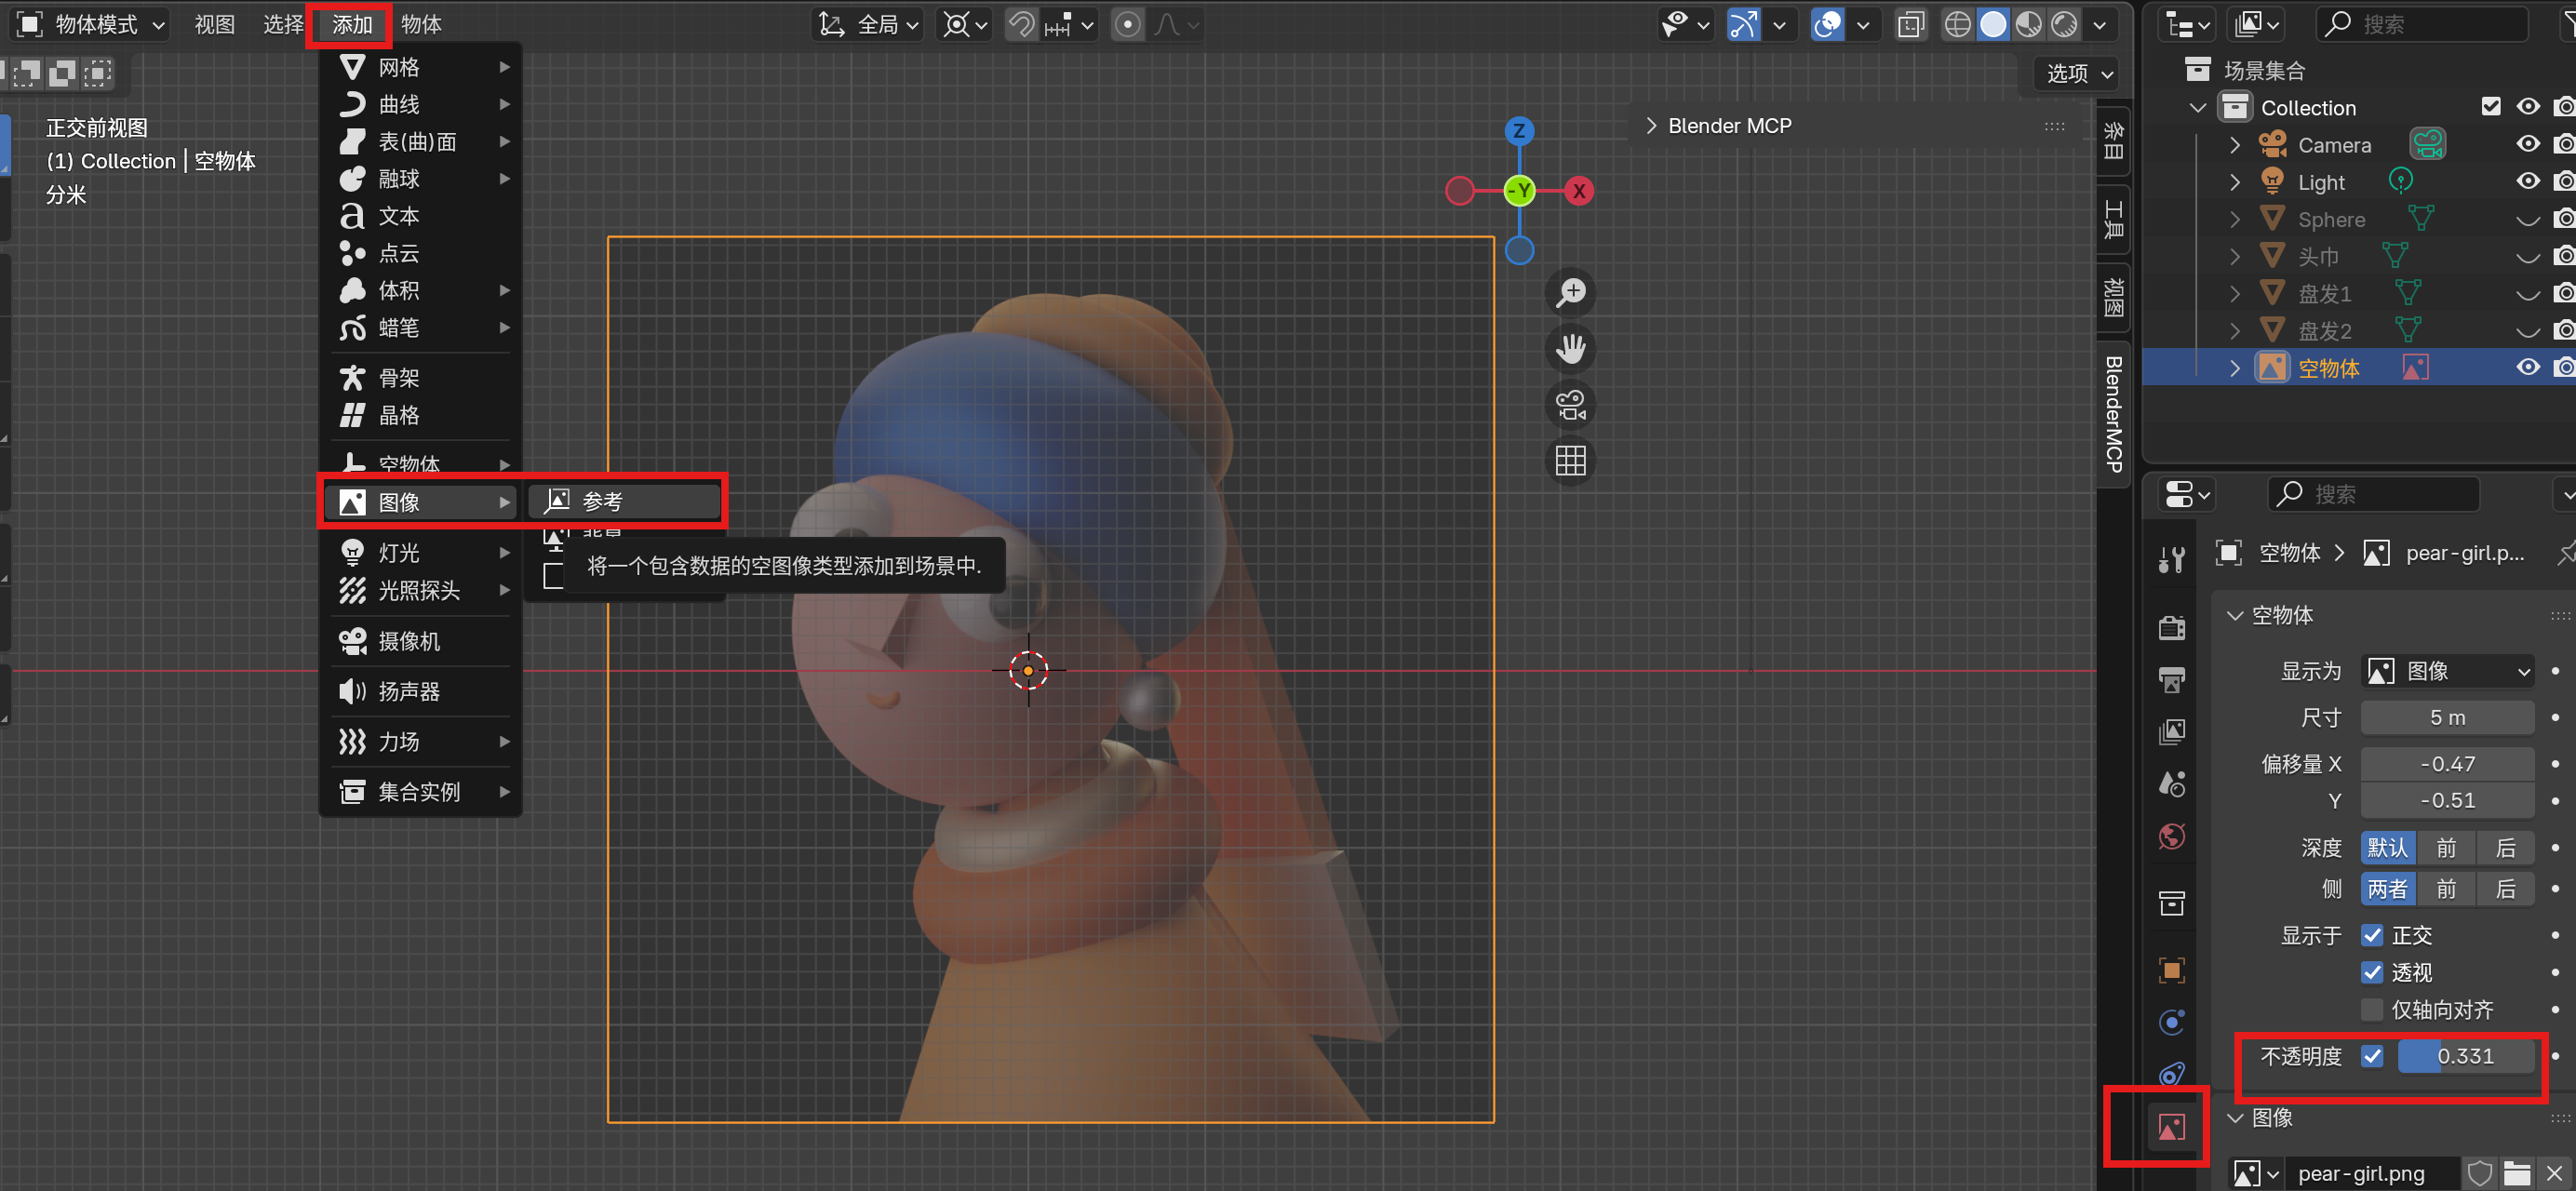
Reference image imported with adjusted opacity for tracing
Step 3: Prevent Accidental Selection
Nothing's worse than accidentally grabbing your reference while modeling. In the Outliner, find your reference image and:
- Click the funnel icon (filters)
- Disable the "Selectable" arrow icon for the reference
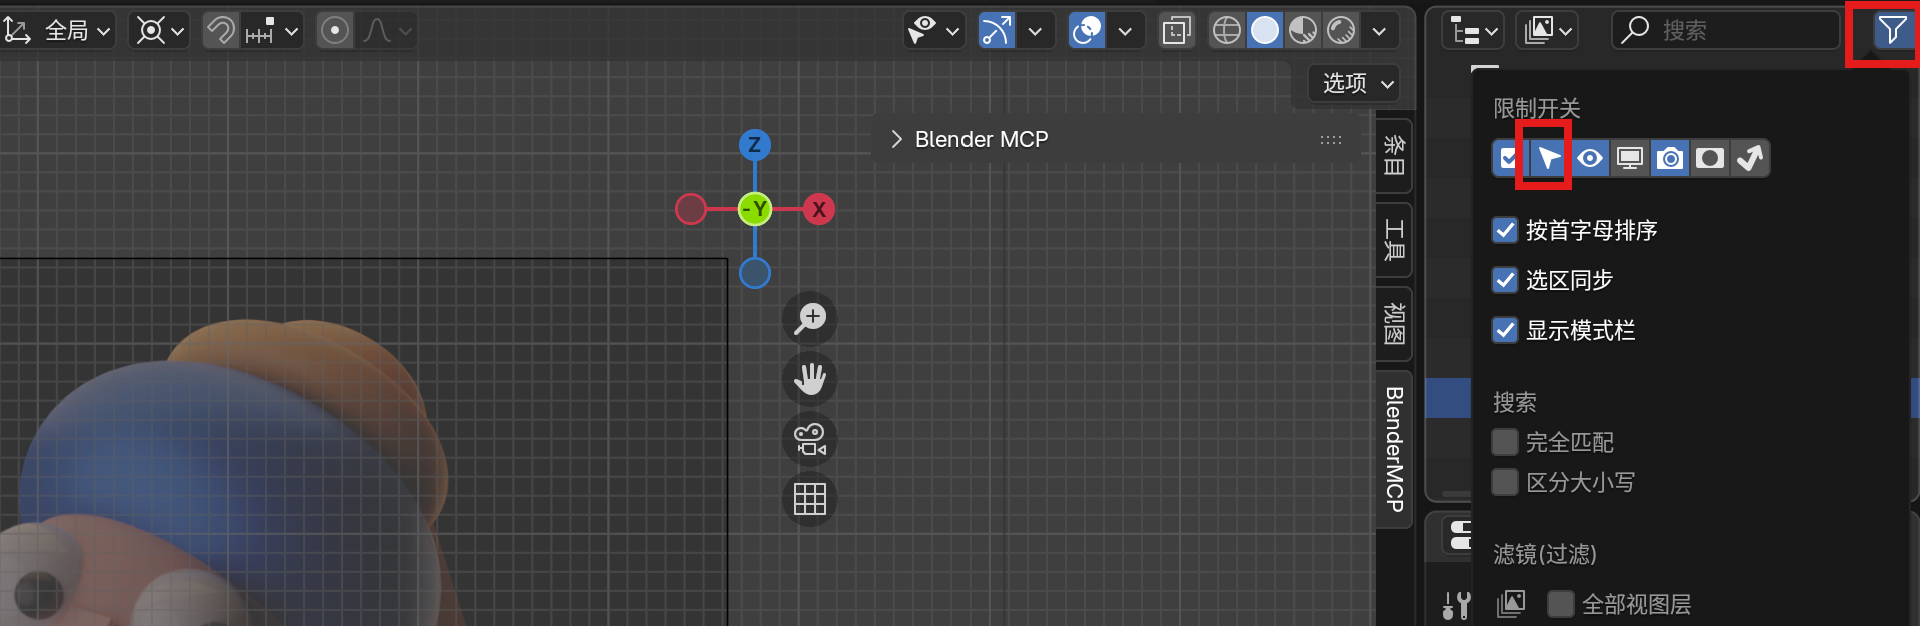
Click the funnel icon to access filter options

Disable the Selectable option to prevent accidental selection
MCP Command Alternative
The MCP command "Switch to front view" currently fails — use the numpad or manual gizmo click instead. This is one of those cases where traditional methods are still faster.
Phase 2: Modeling the Head & Turban
Creating the Head Base
We'll use a UV Sphere for the head. Here's the MCP command with precise parameters:
"Use blender mcp to create a UV Sphere with segments set to 32, rings set to 16, radius set to 0.98m, and stretch it along the Z-axis to 1.15x"
Why These Parameters?
- Segments (32): Enough vertices for a smooth sphere
- Rings (16): Adequate vertical resolution
- Radius (0.98m): Approximate head size
- Z-stretch (1.15x): Elongates for a more natural head shape

UV Sphere scaled along Z-axis for head shape
Creating the Turban
The turban is a Torus (doughnut shape). Let's create and position it:
"Create a torus with major segments set to 64, minor segments set to 28, major radius 0.8m, minor radius 0.33m. Stretch along Z-axis to 1.5m. Move along Z-axis to 0.92m"
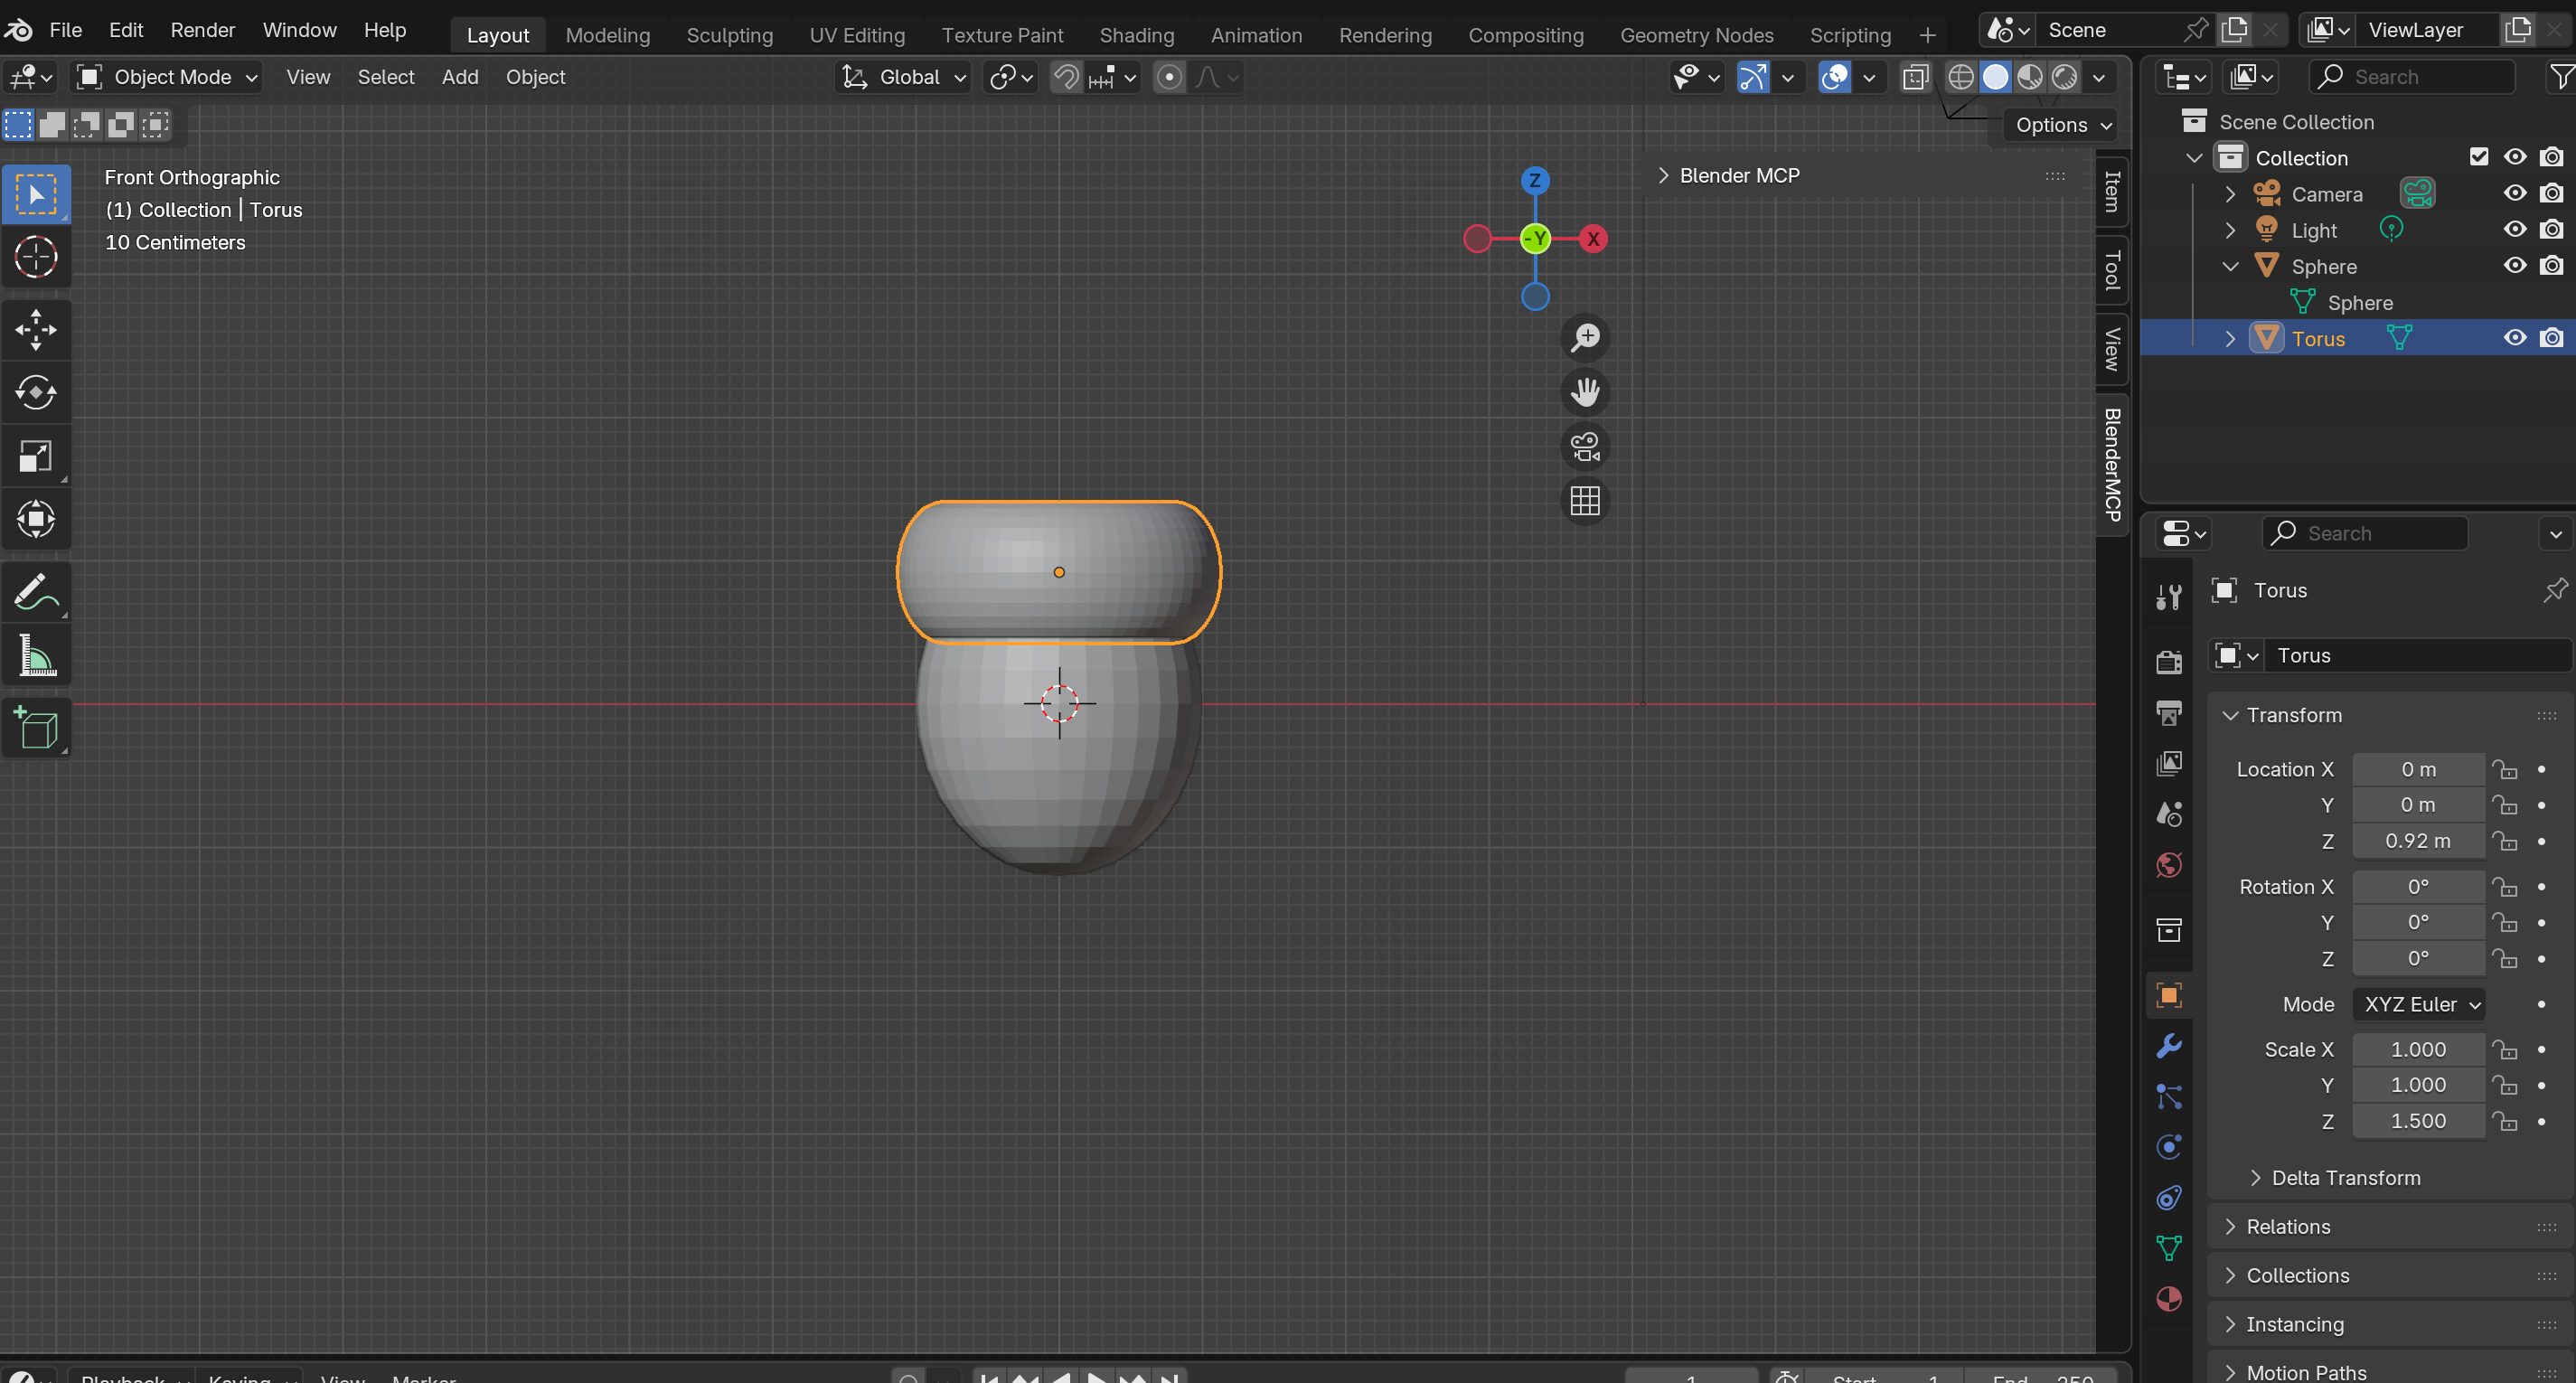
Torus positioned as turban on top of the head
Positioning the Turban
The turban needs to sit on top of the head, slightly tilted back. Switch to Right View (Numpad 3) and rotate:
"Rotate the torus 19 degrees clockwise on the XZ-plane"
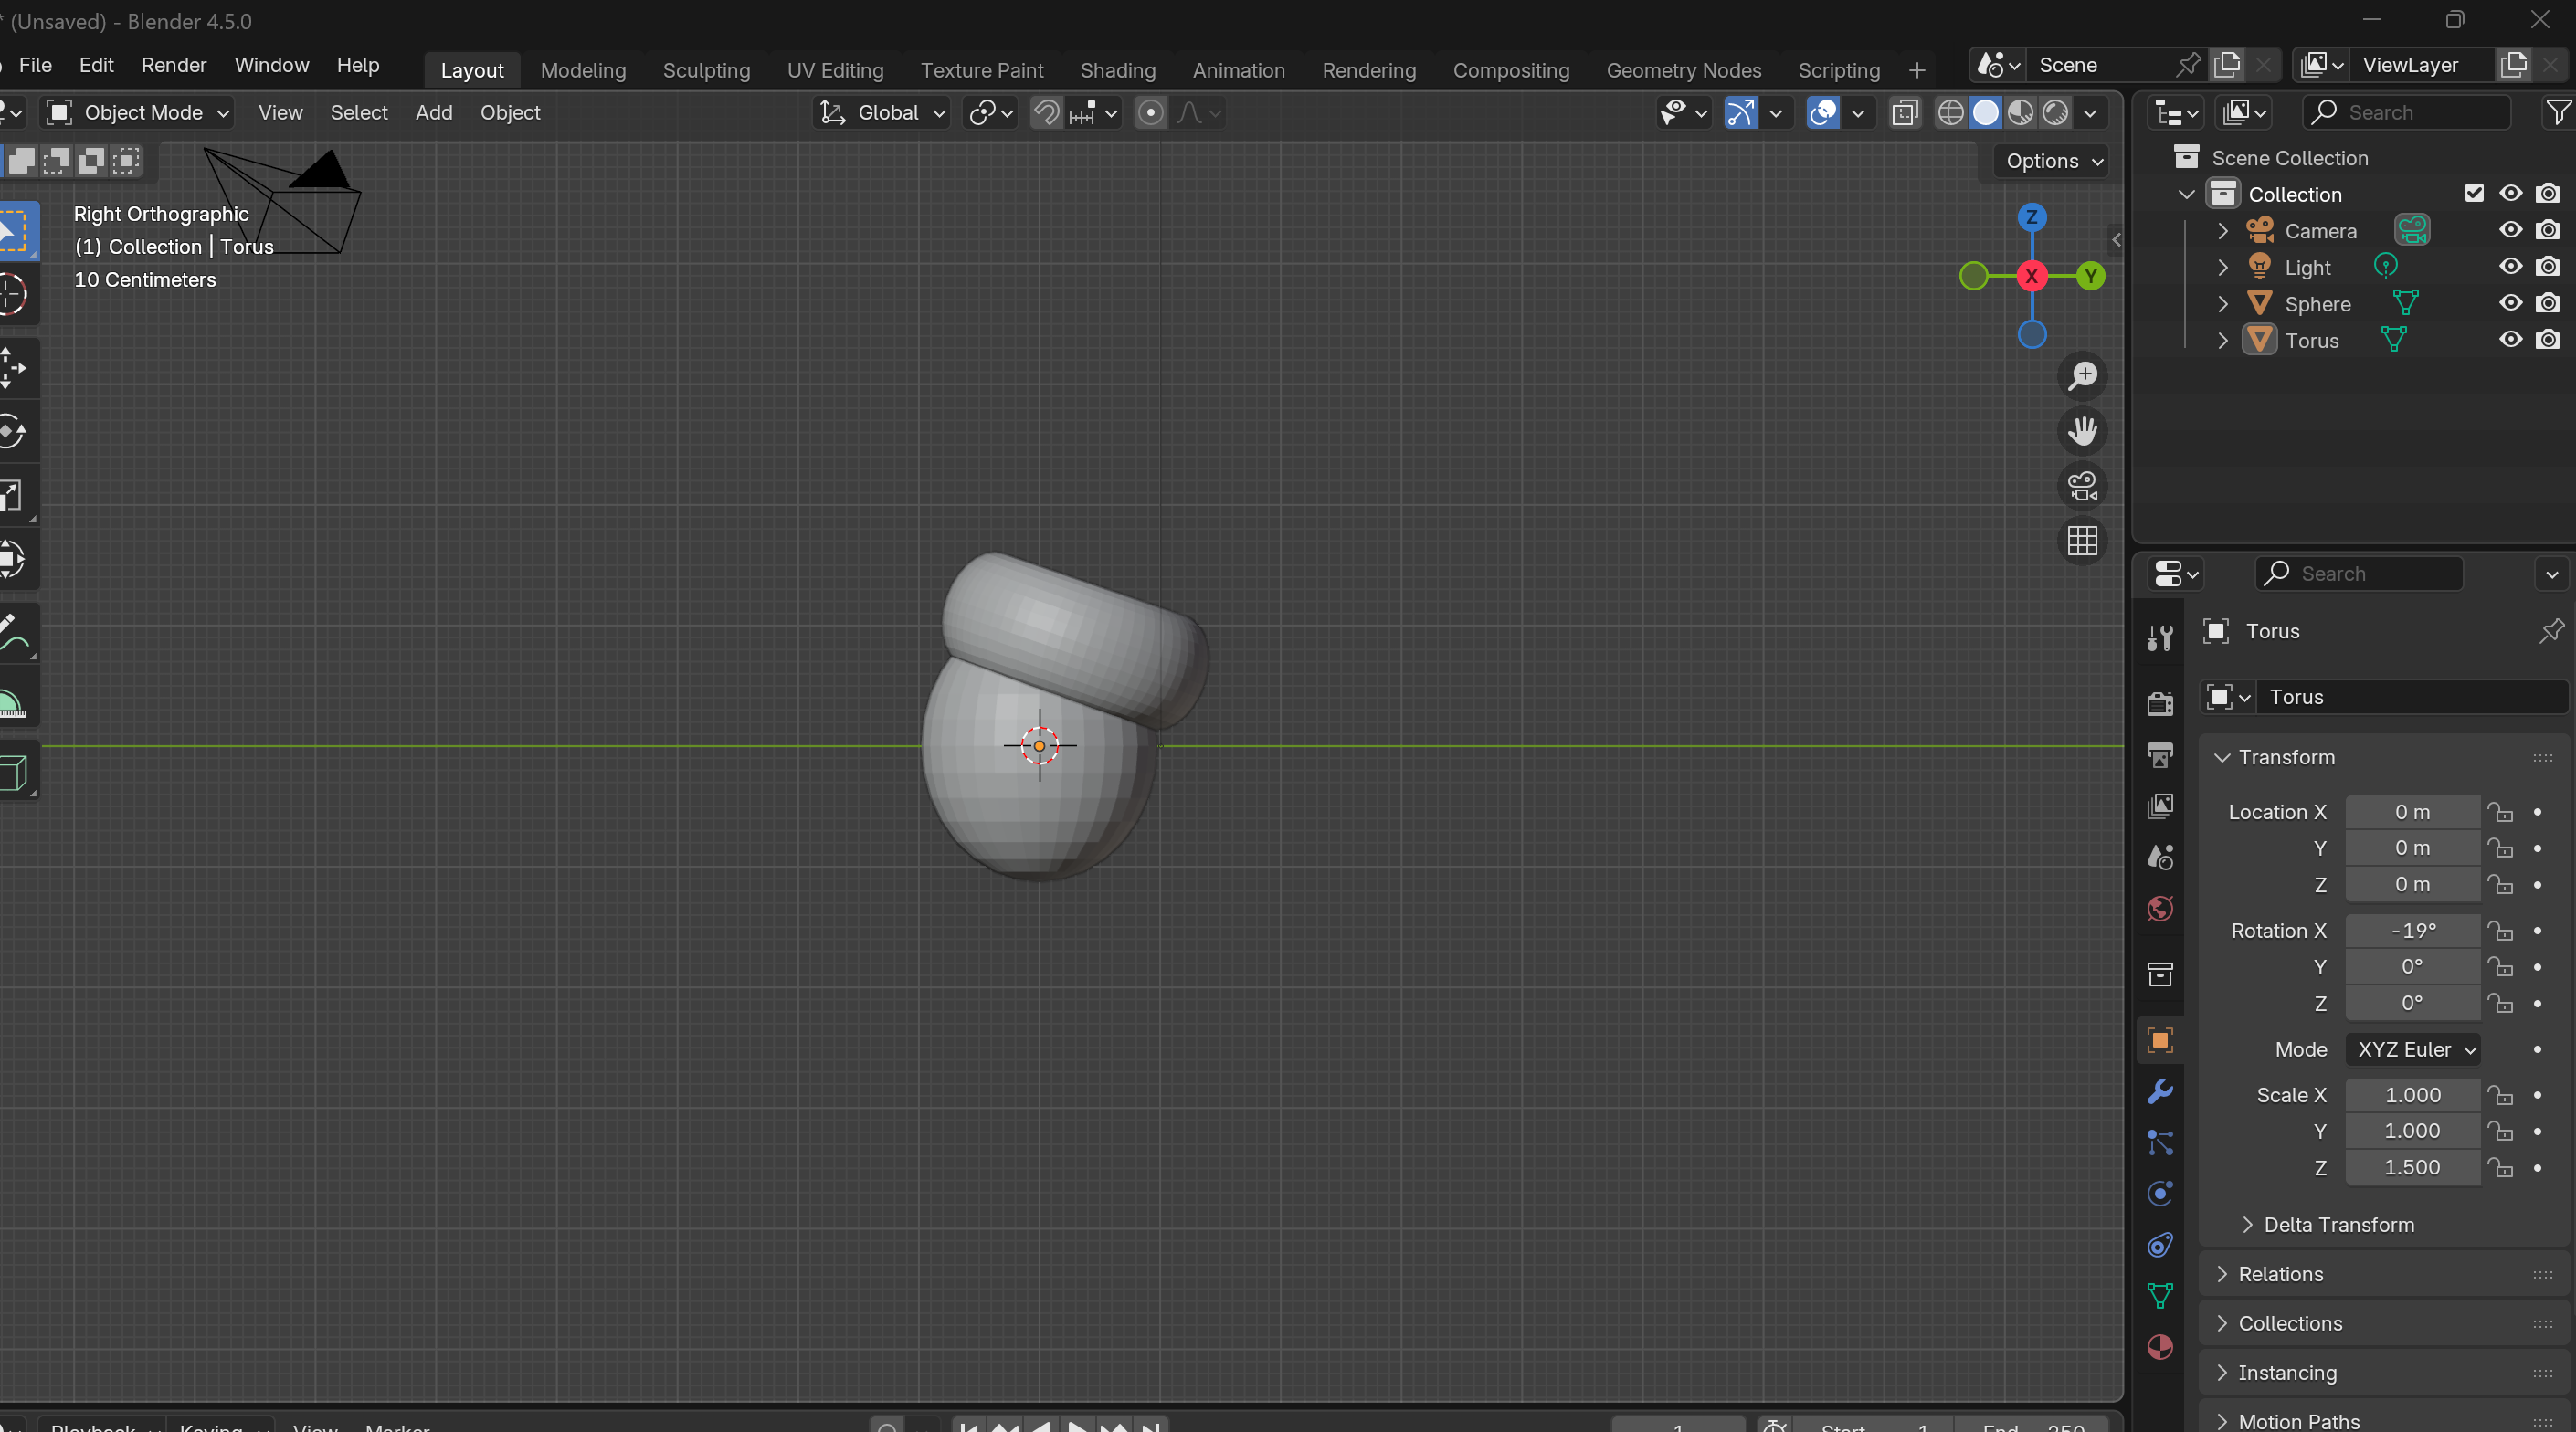
Turban rotated and positioned in Right View
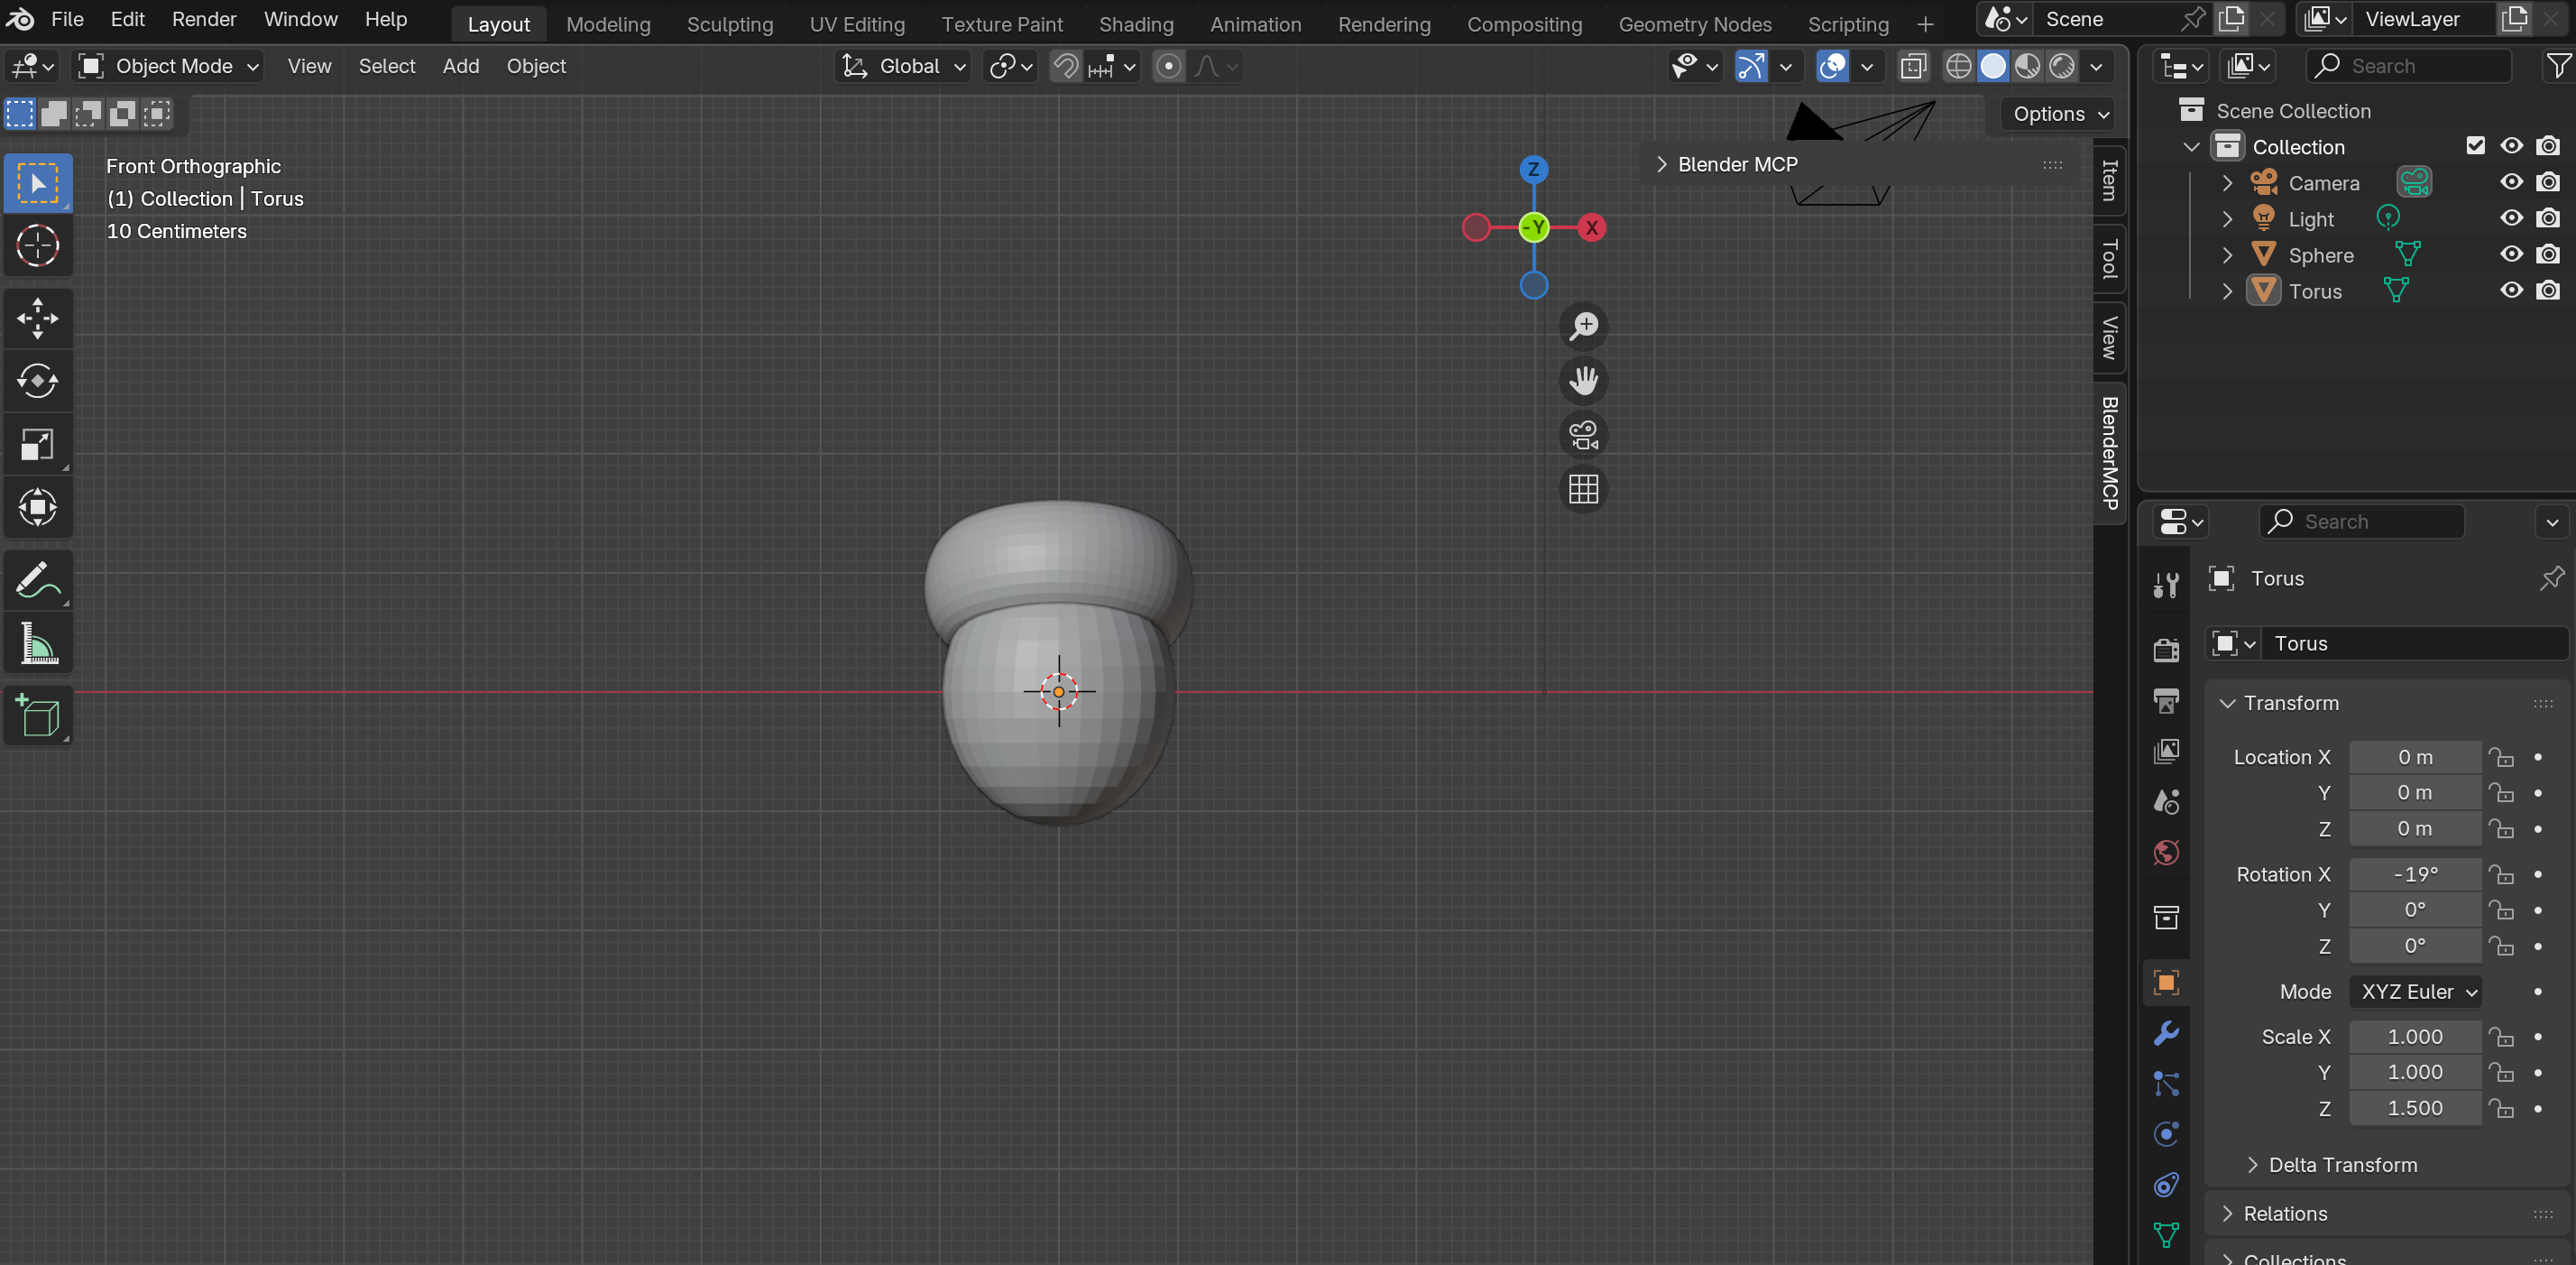
Turban viewed from Front View
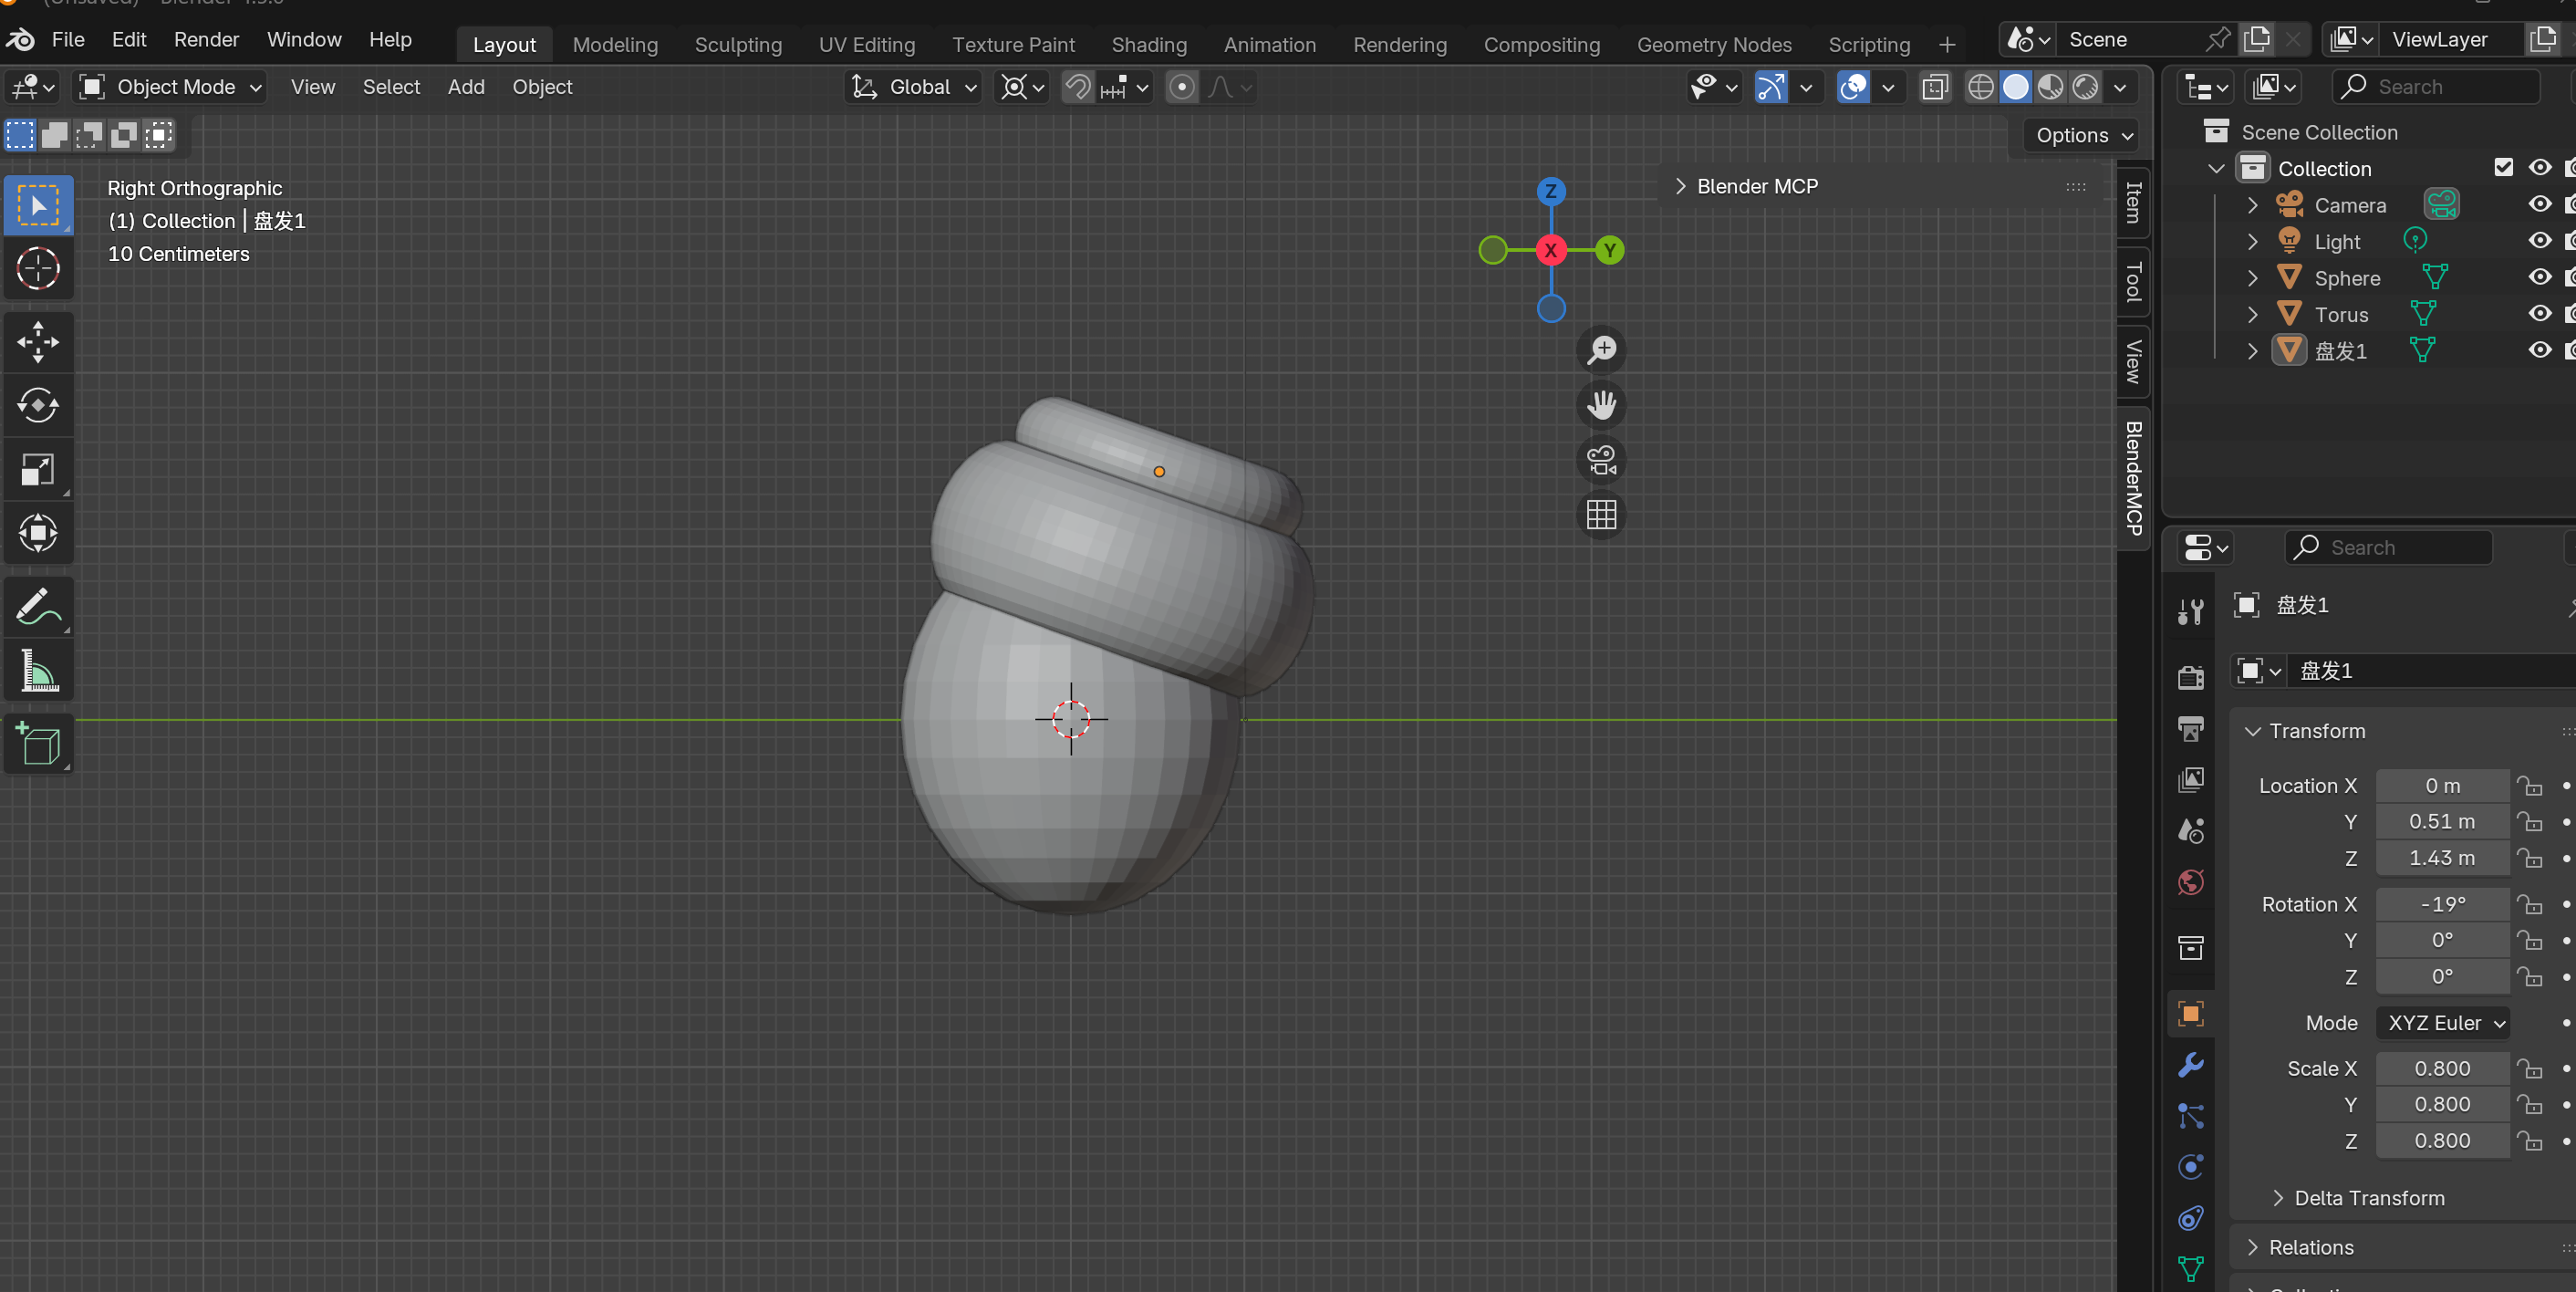
Adding the Hair Bun
Create another torus for the bun on top of the turban:
"Create a torus named 'bun1', major segments 50, minor segments 28, major radius 0.8m, minor radius 0.28m"
"Rotate bun1 19 degrees clockwise on the XZ-plane, move along Y-axis to 0.51m, along Z-axis to 1.43m"
"Scale bun1 to 0.8"
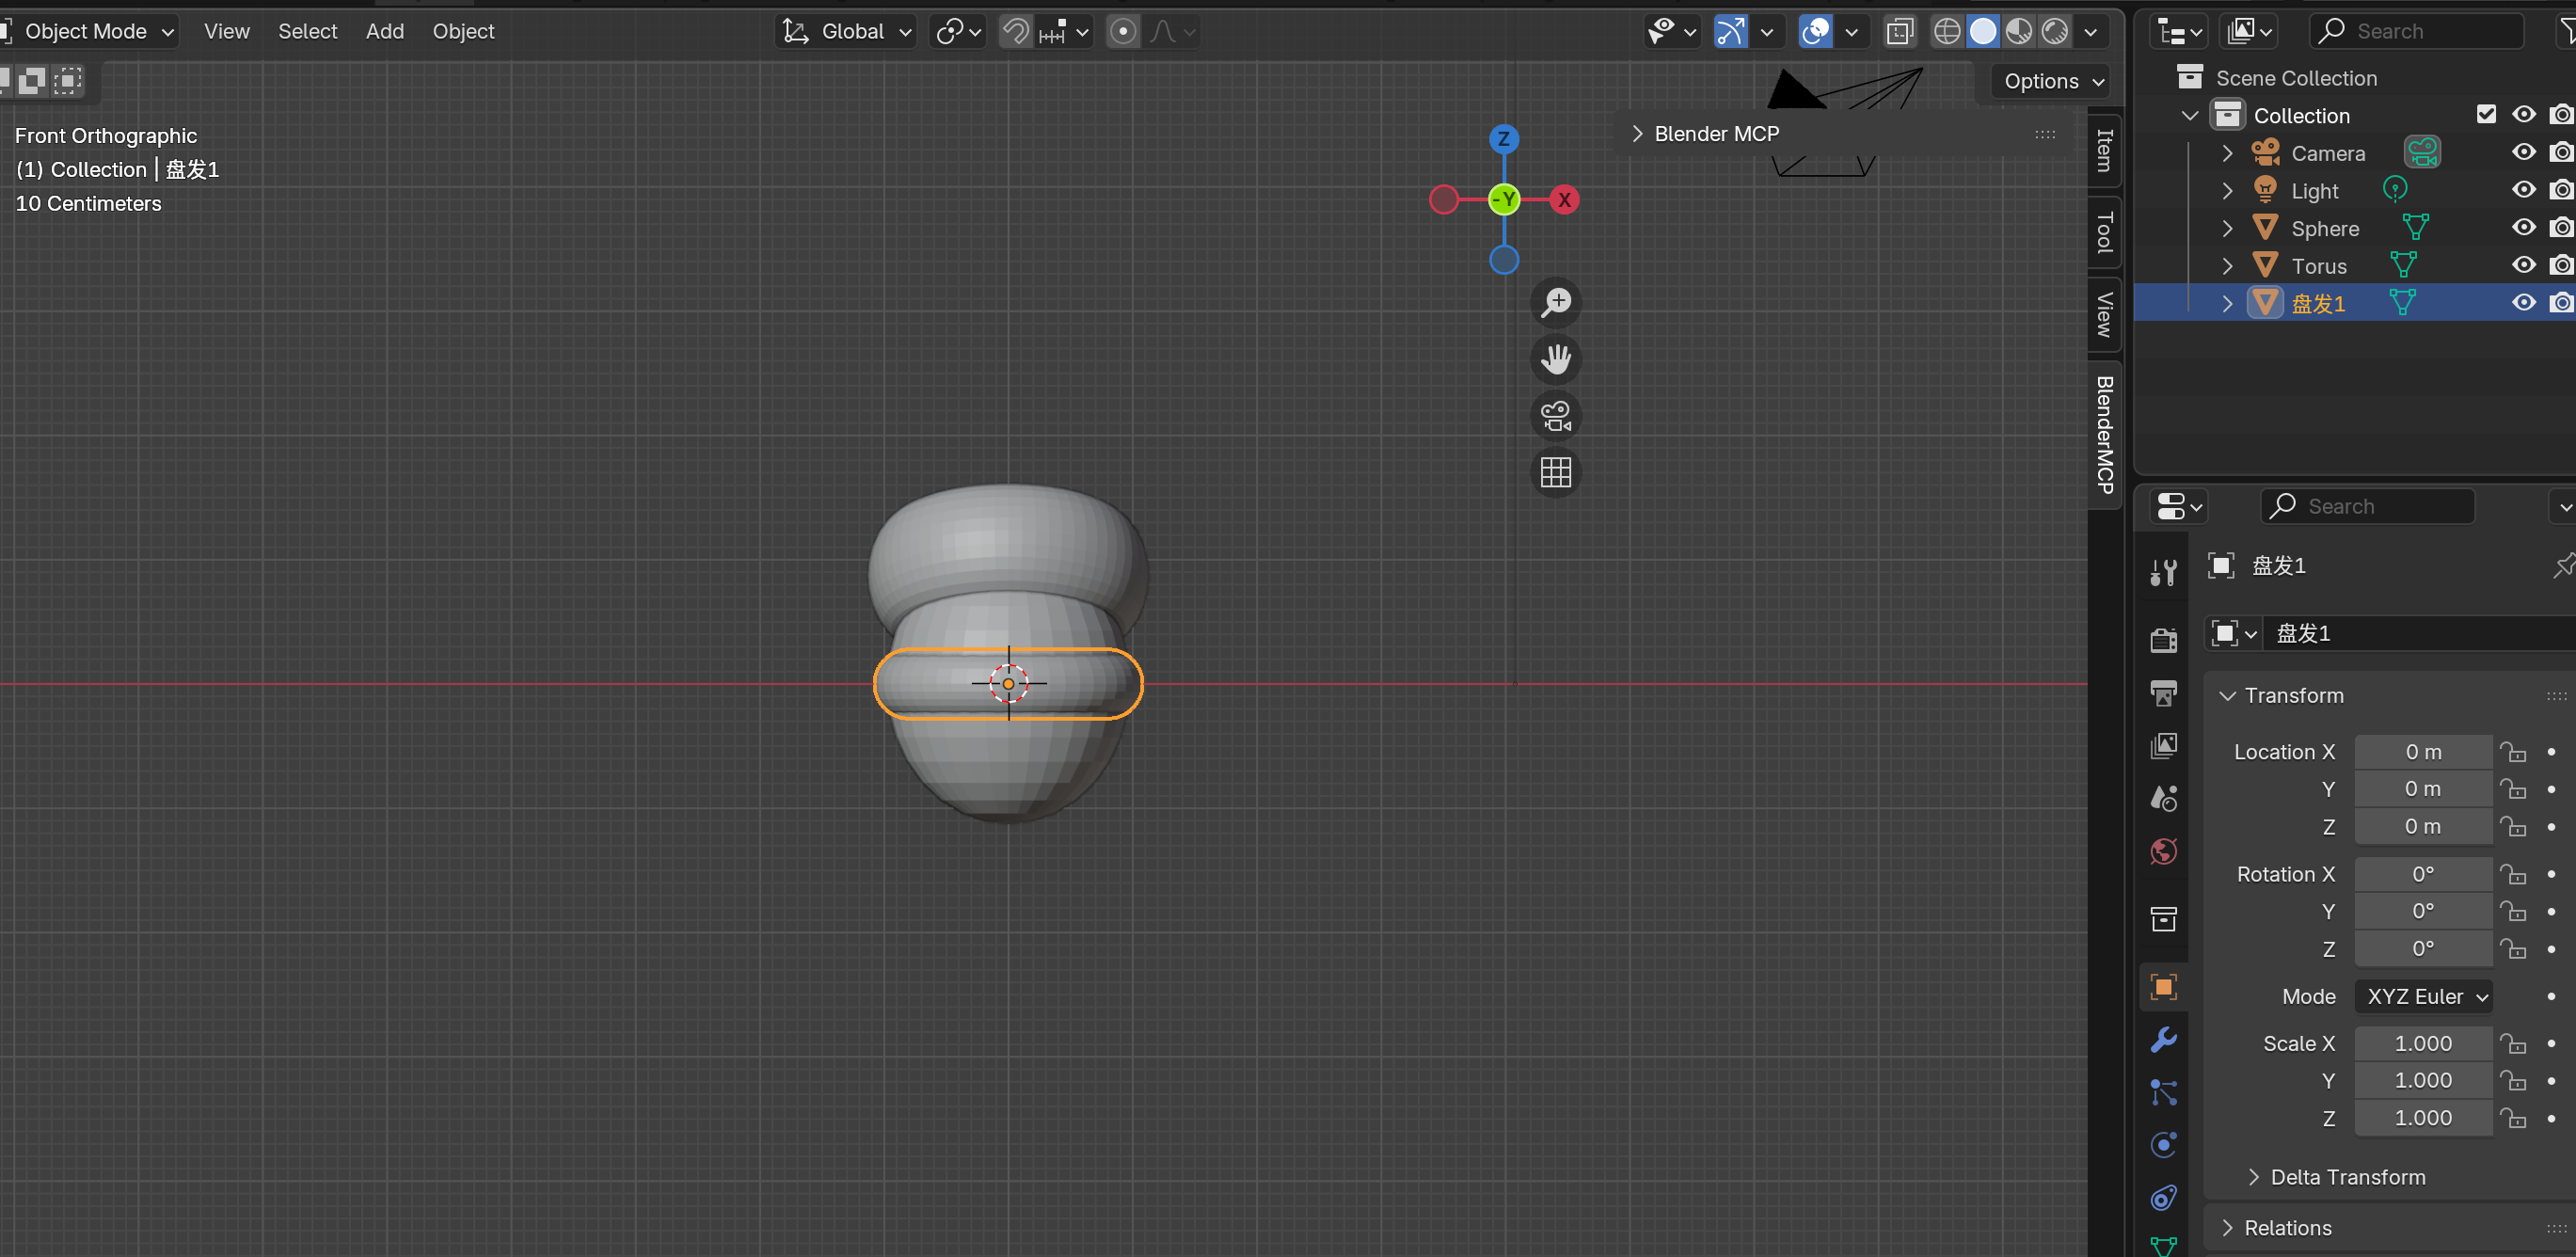
Creating the hair bun on top of turban

Hair bun positioned in Right View
Hair bun scaled down to 0.8 for proper proportion
Creating the Hair Braid
"Create a torus named 'bun2', major segments 50, minor segments 28, major radius 0.3m, minor radius 0.28m. Rotate 19 degrees counter-clockwise on XZ-plane. Move along Y to 0.62m, along Z to 1.73m"
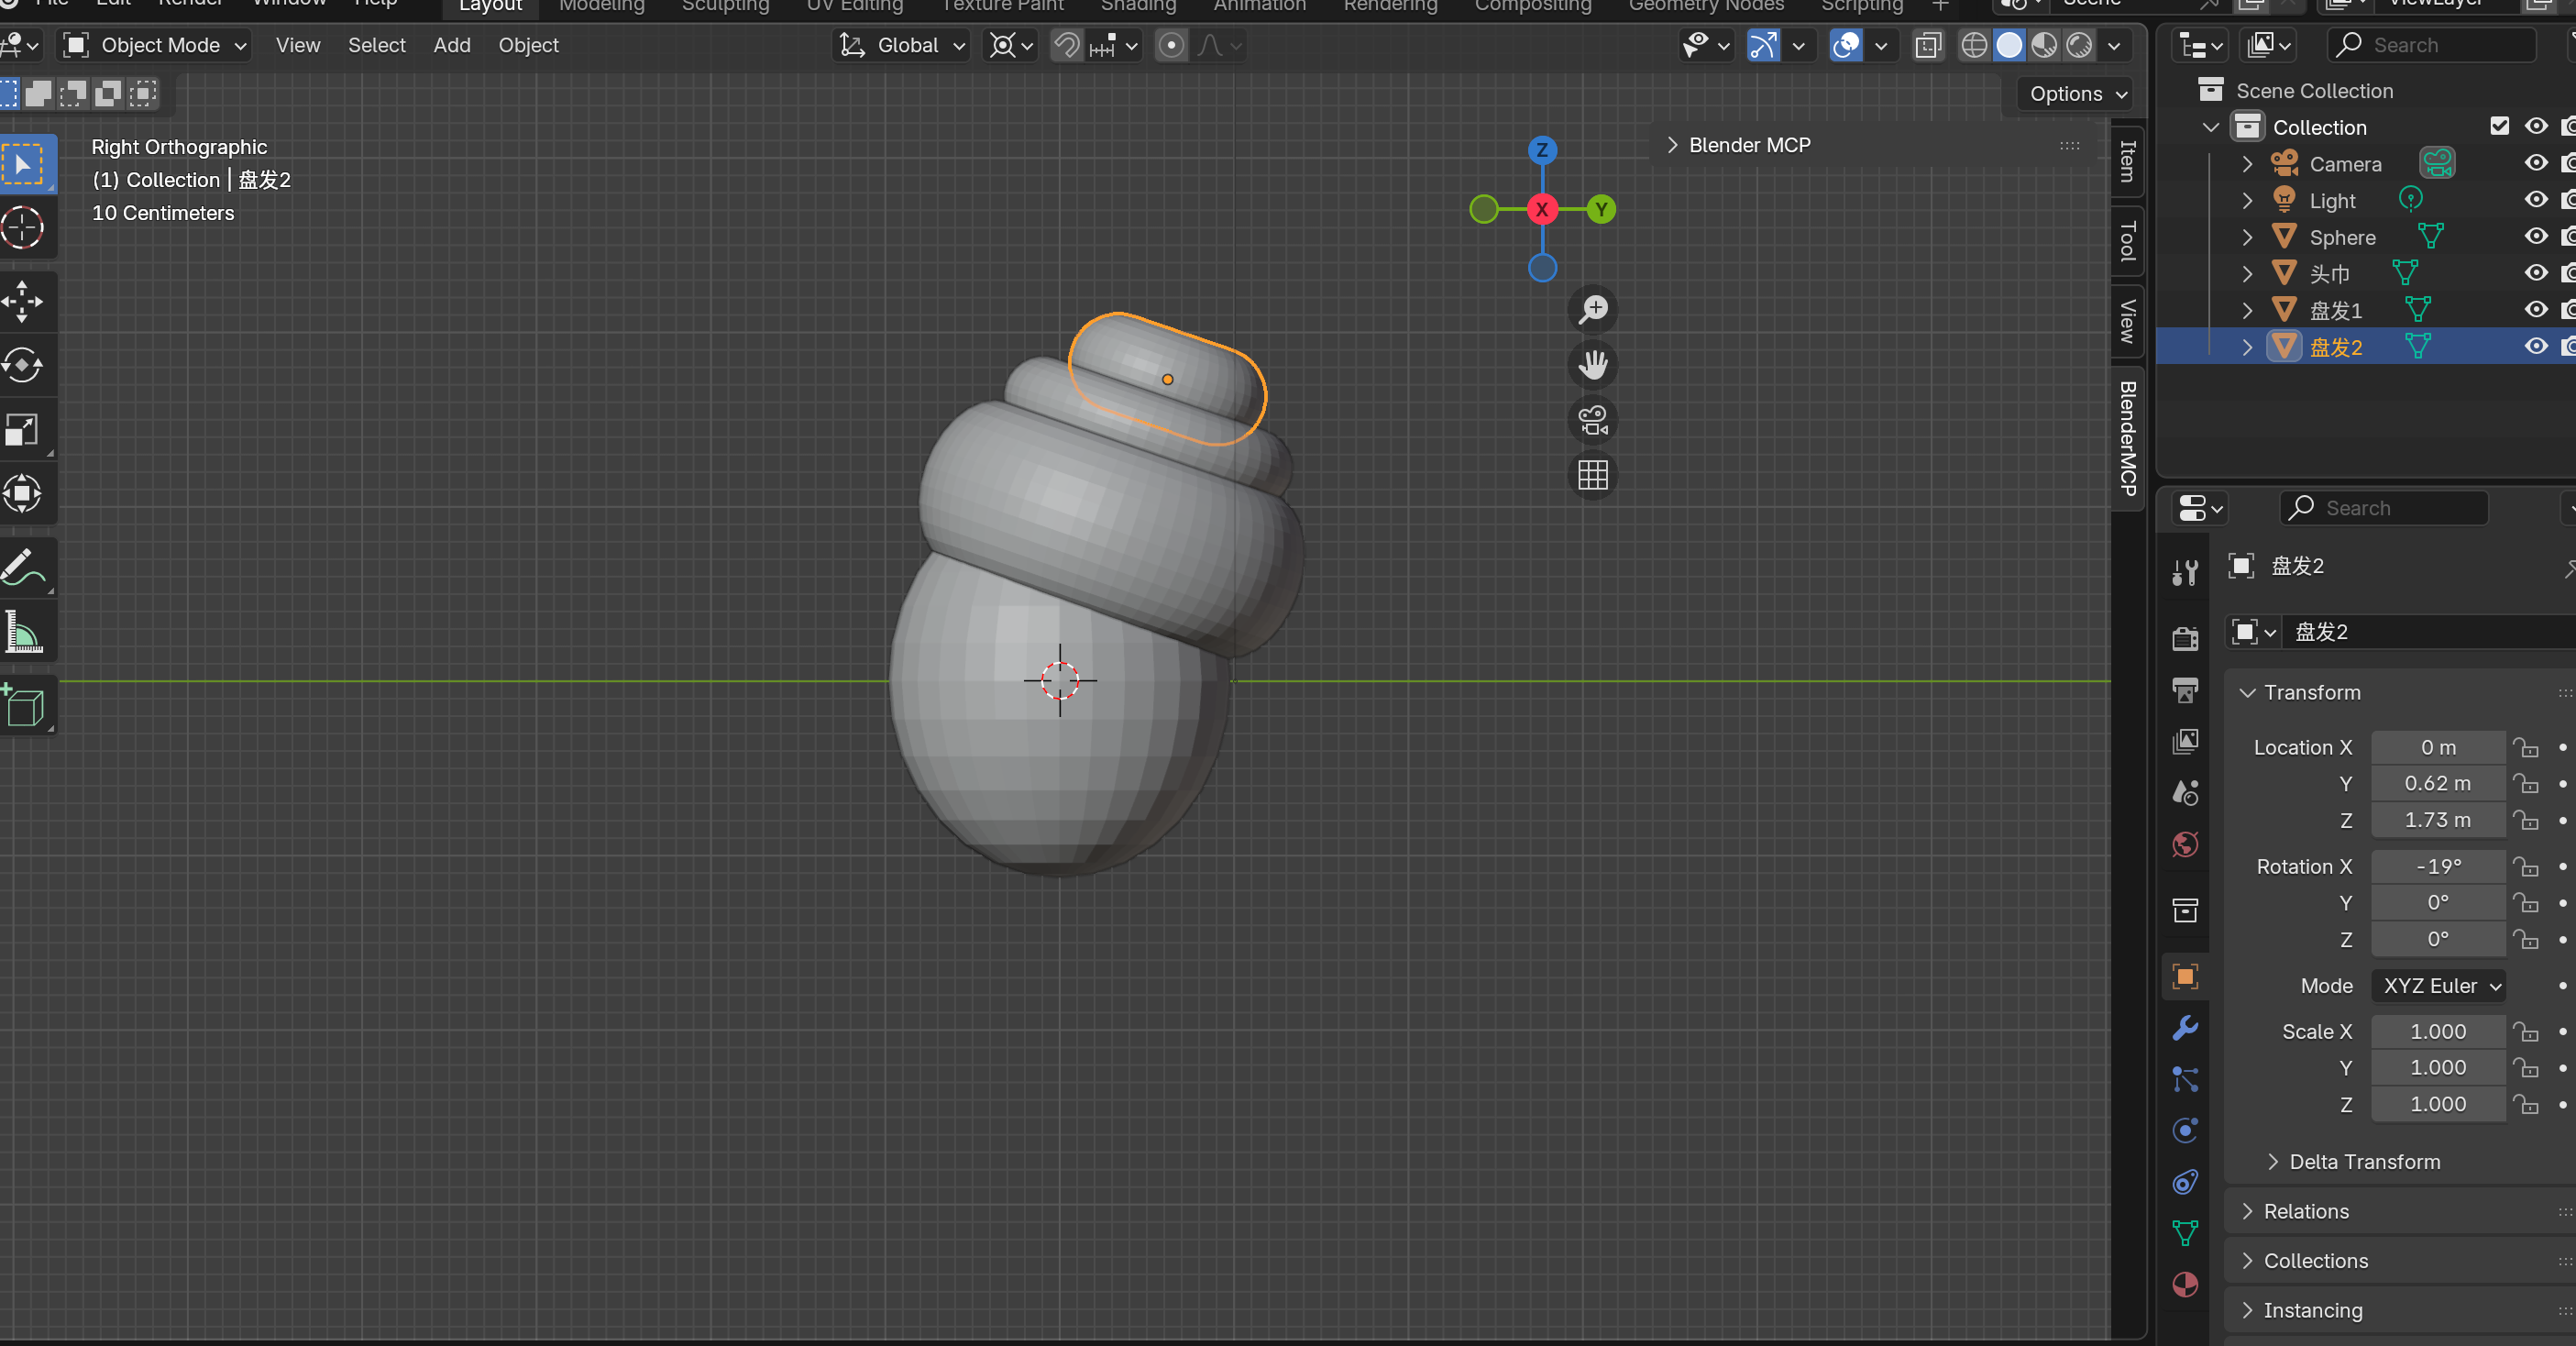
Second bun for the hair braid at the back
Combining into a Head Group
For easier manipulation, let's combine all head elements:
"Rename Torus to 'turban'"
"Combine Sphere, turban, bun1, bun2 together. Name the group 'head'"
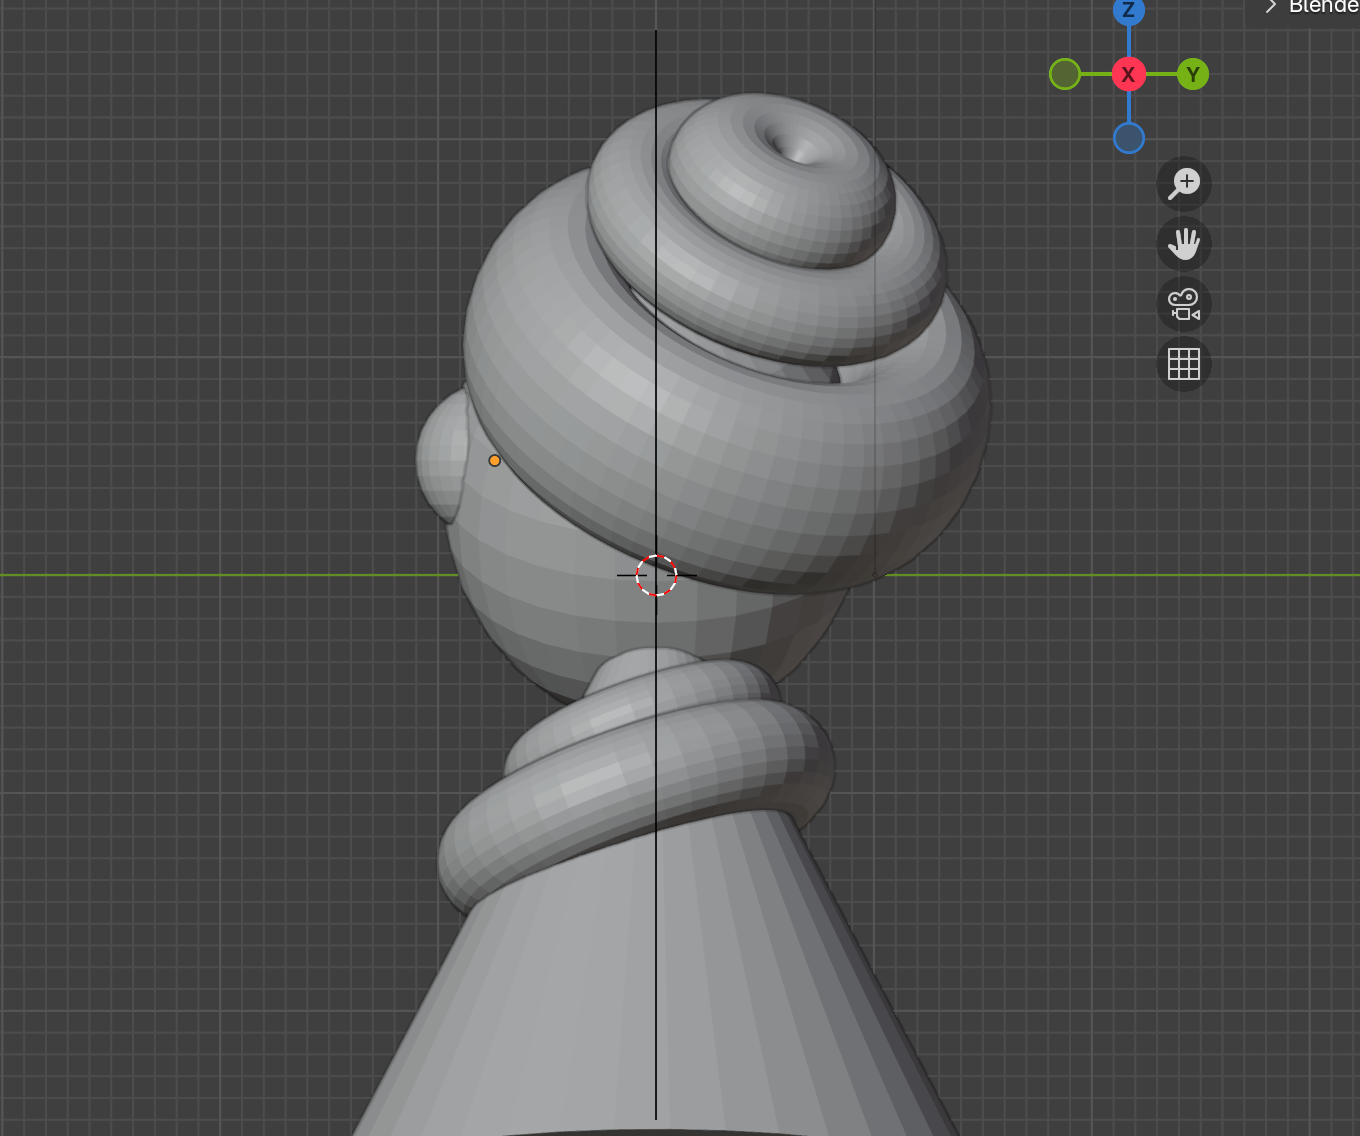
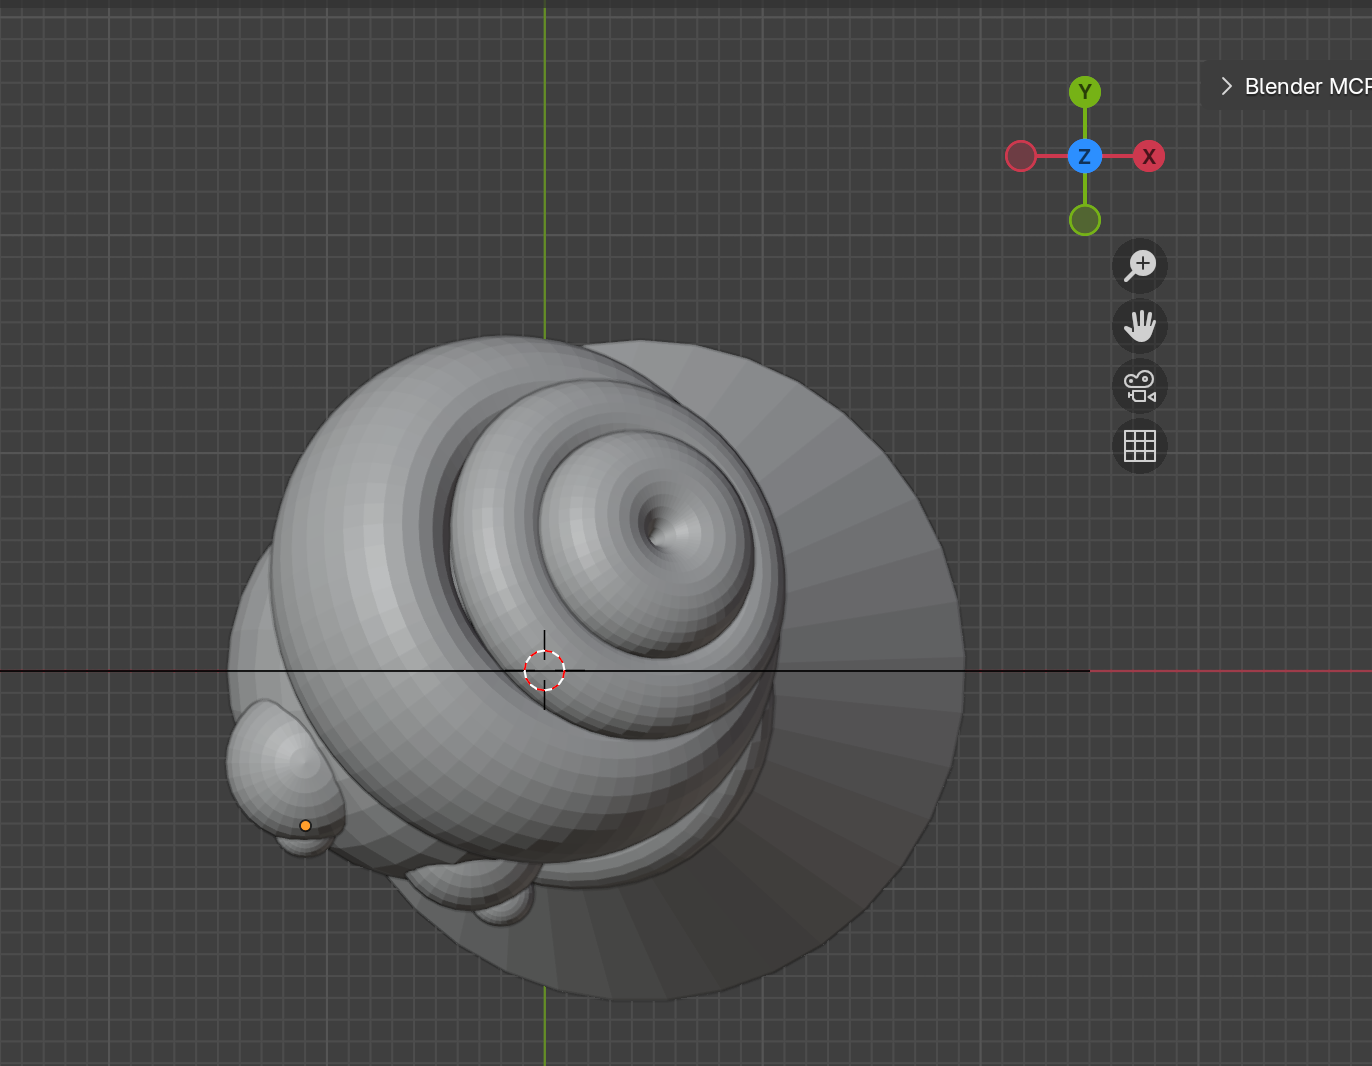
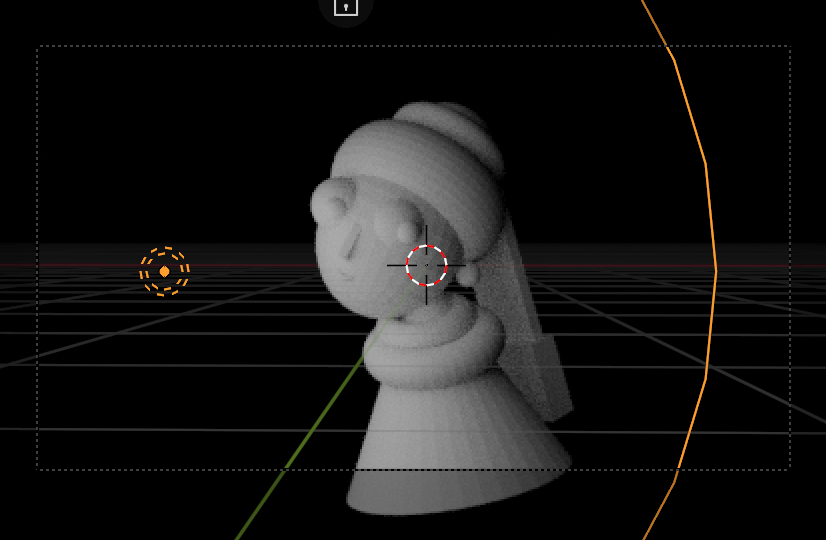
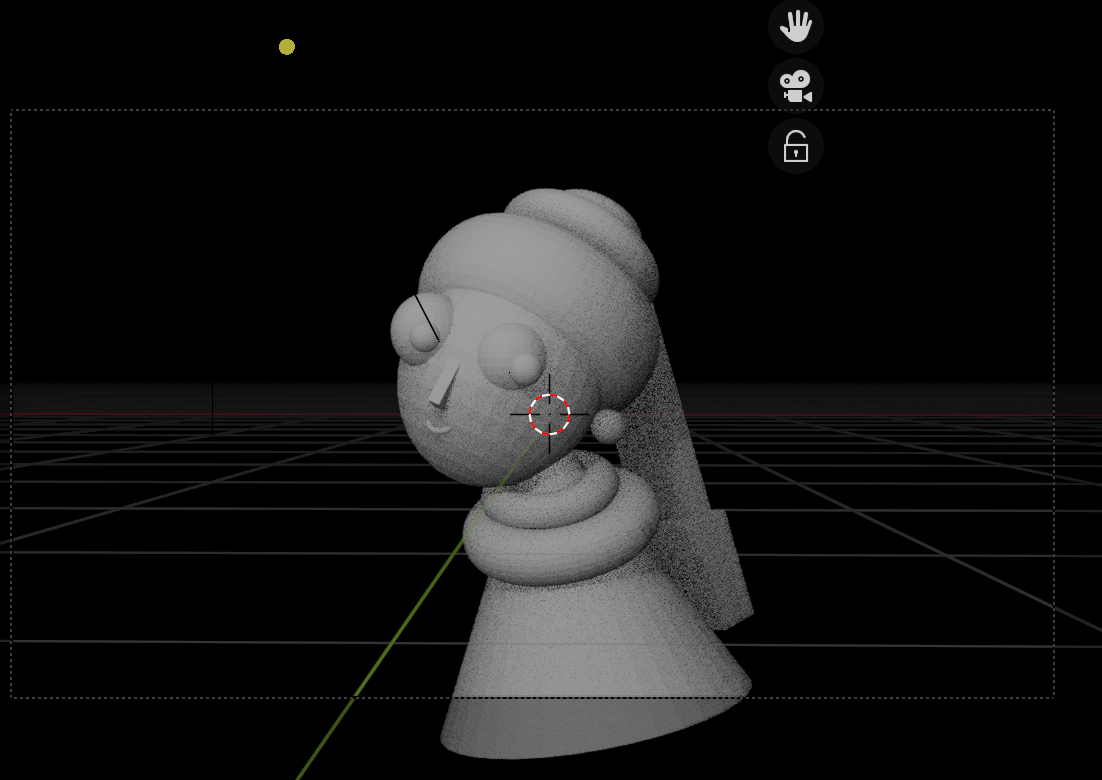
Front View showing all head elements combined
Head group combined and positioned to reference
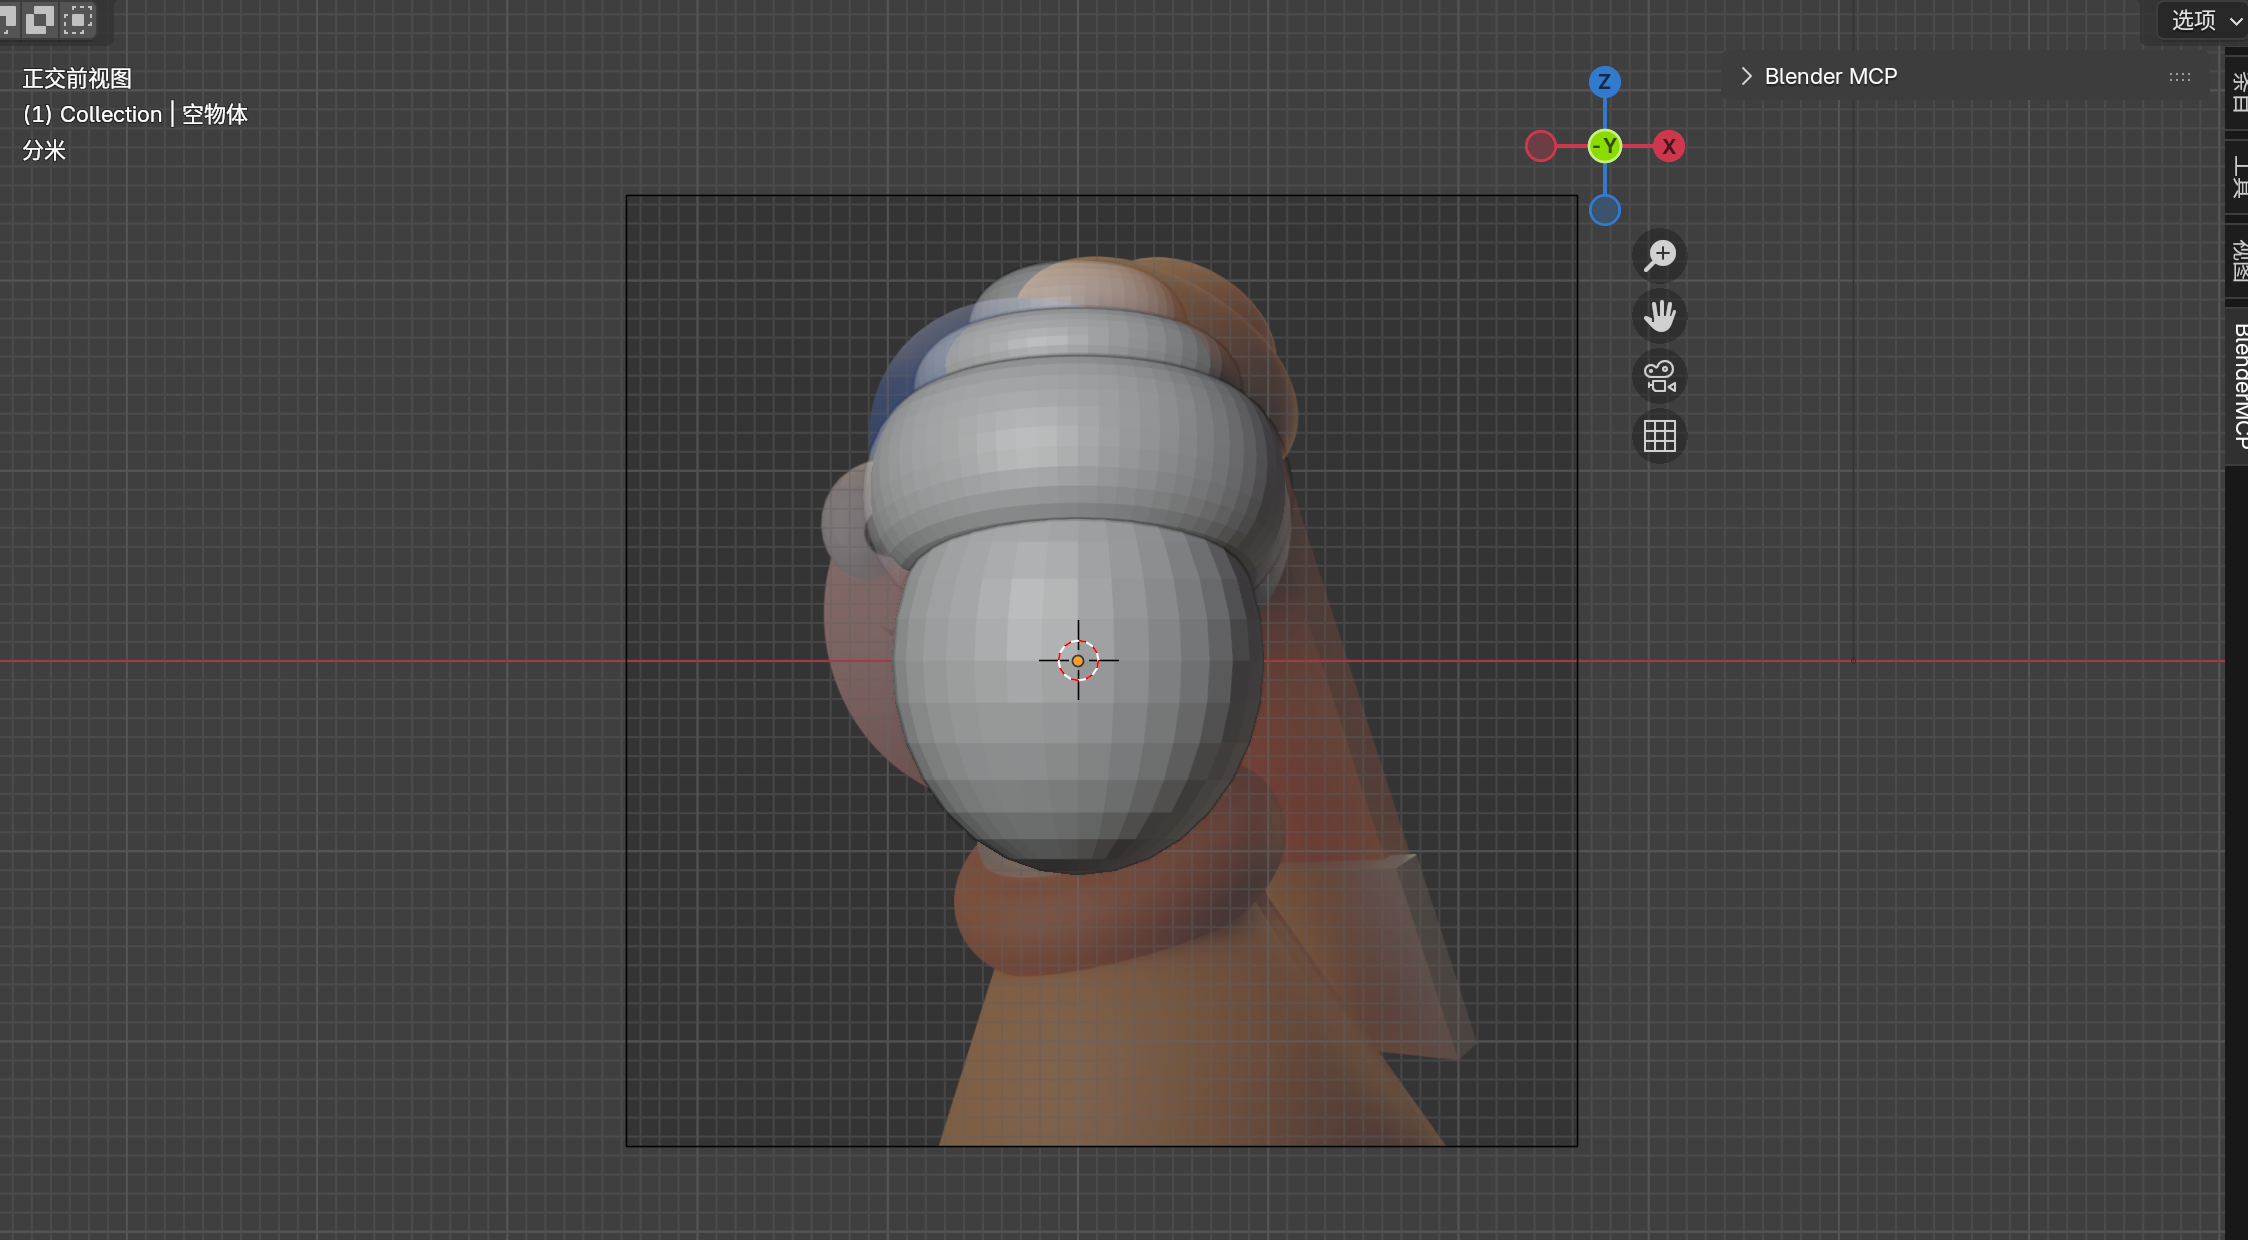
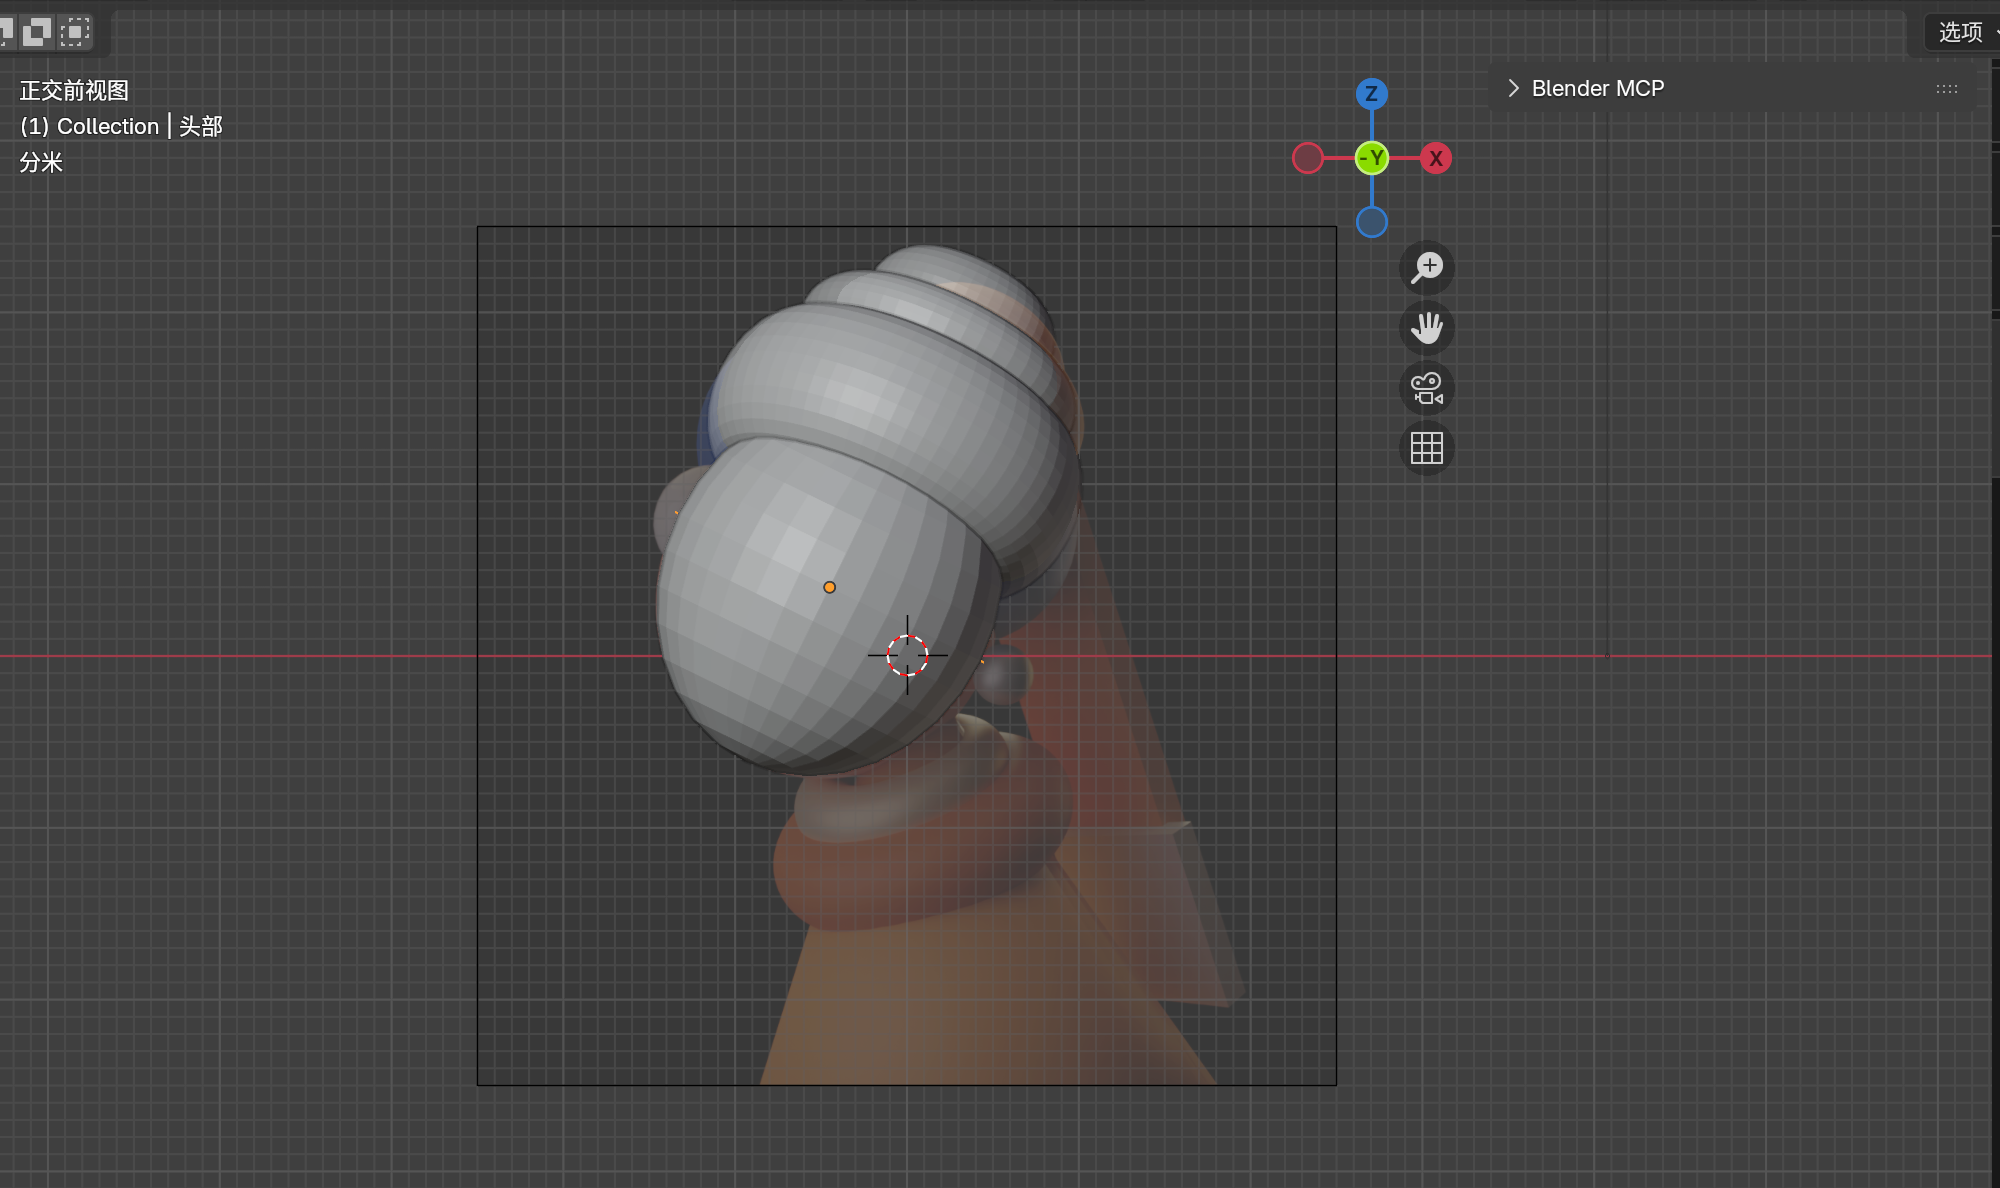
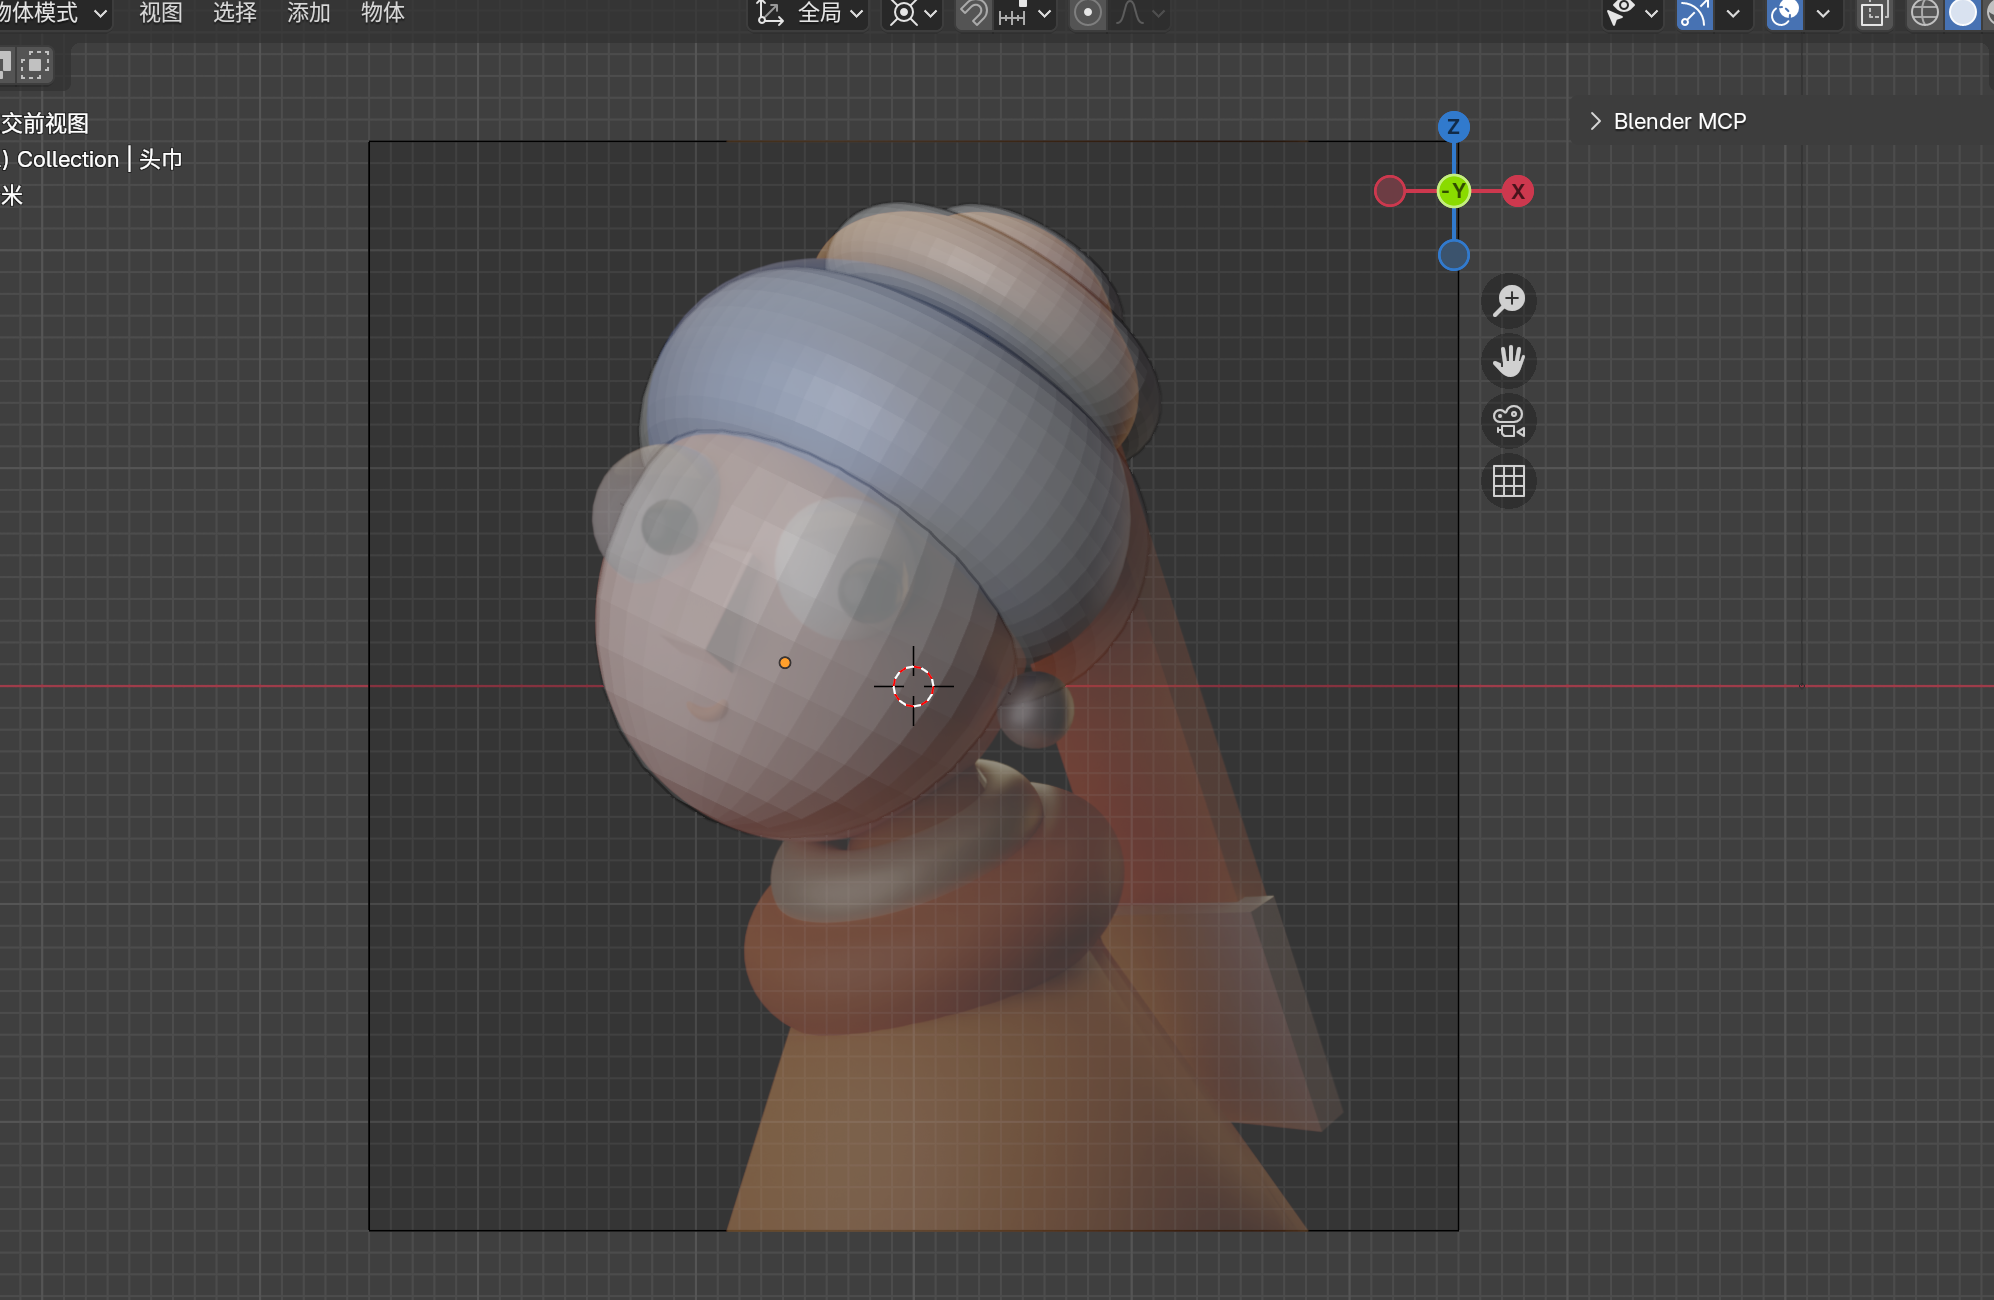
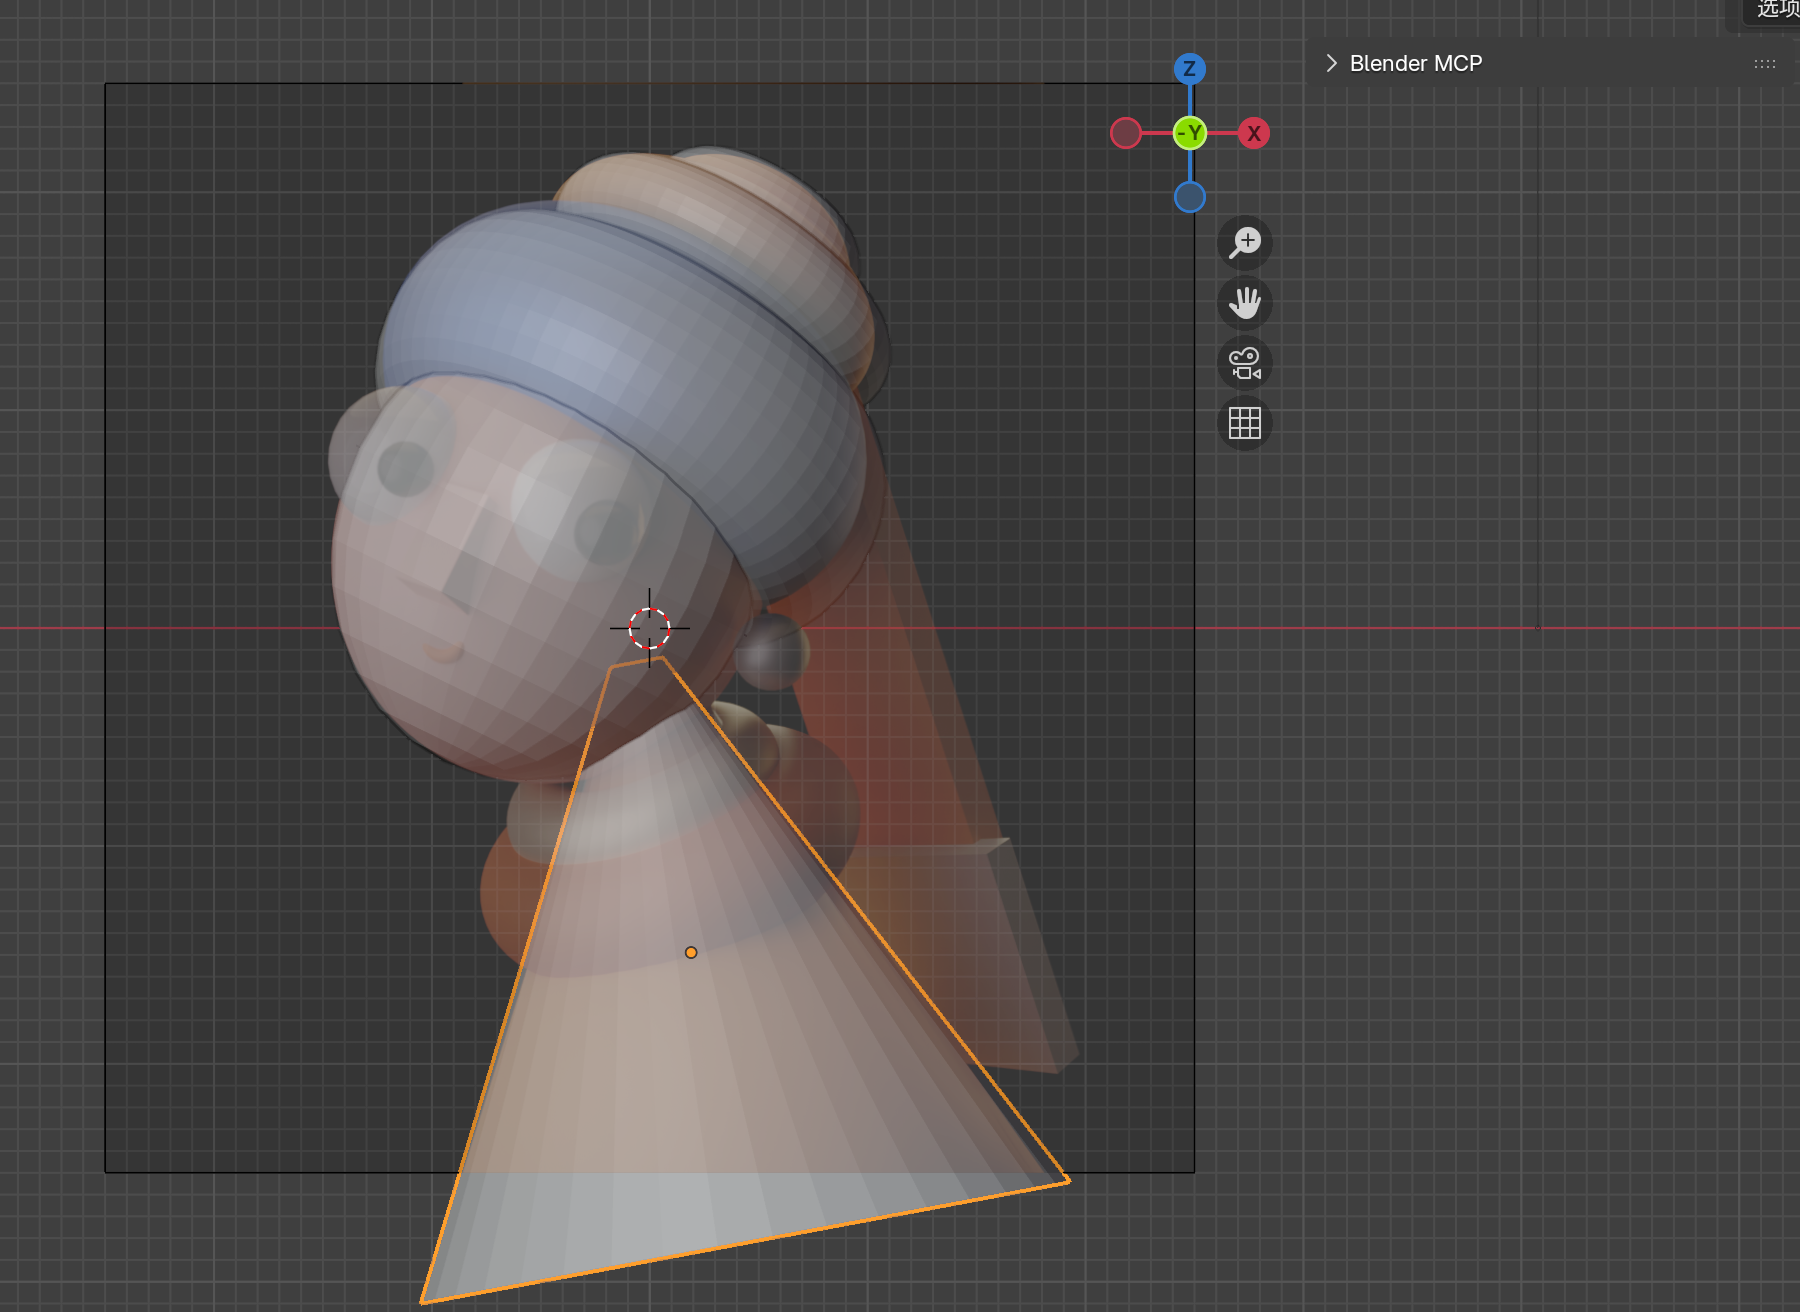
Fine-Tuning Position
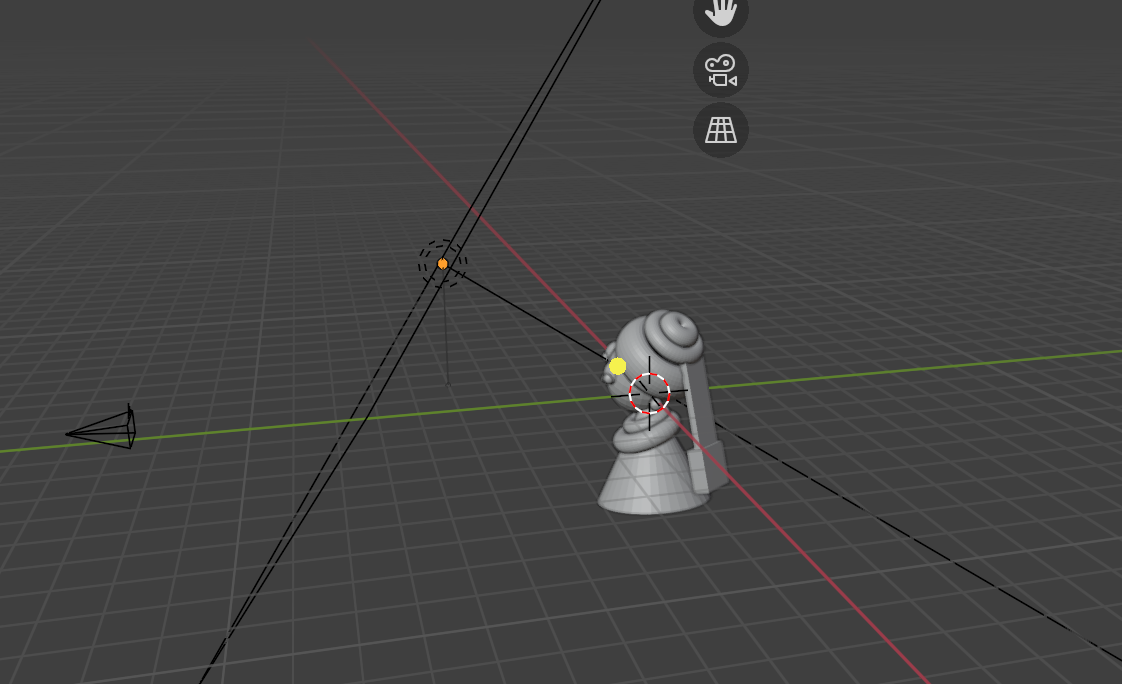
Enable the depth arrow on your reference to better match the 3D position. Adjust turban and bun positions iteratively until the silhouette matches your reference.
Reference image with depth enabled for better positioning
Head group after fine-tuning individual components
Phase 3: Modeling Facial Features & Body
Creating the Body
The body is a Cone (tapered cylinder):
"Create a cone named 'body', vertices 37, radius 1 set to 1.12m, radius 2 set to 0.09m, depth 2m"
"Scale body to 1.356. Move body along X-axis to 0.2m, along Z-axis to -1.488m, rotate Y-axis -11 degrees"
Cone shaped and positioned as body
Creating the Collar
"Create a torus named 'collar', major segments 41, minor segments 28, major radius 0.74m, minor radius 0.28m"
"Move collar along X to 0.11m, along Y to -0.09m, along Z to -1.1m. Rotate X 20°, Y -11.5°, Z -3.9°. Scale to 0.935"
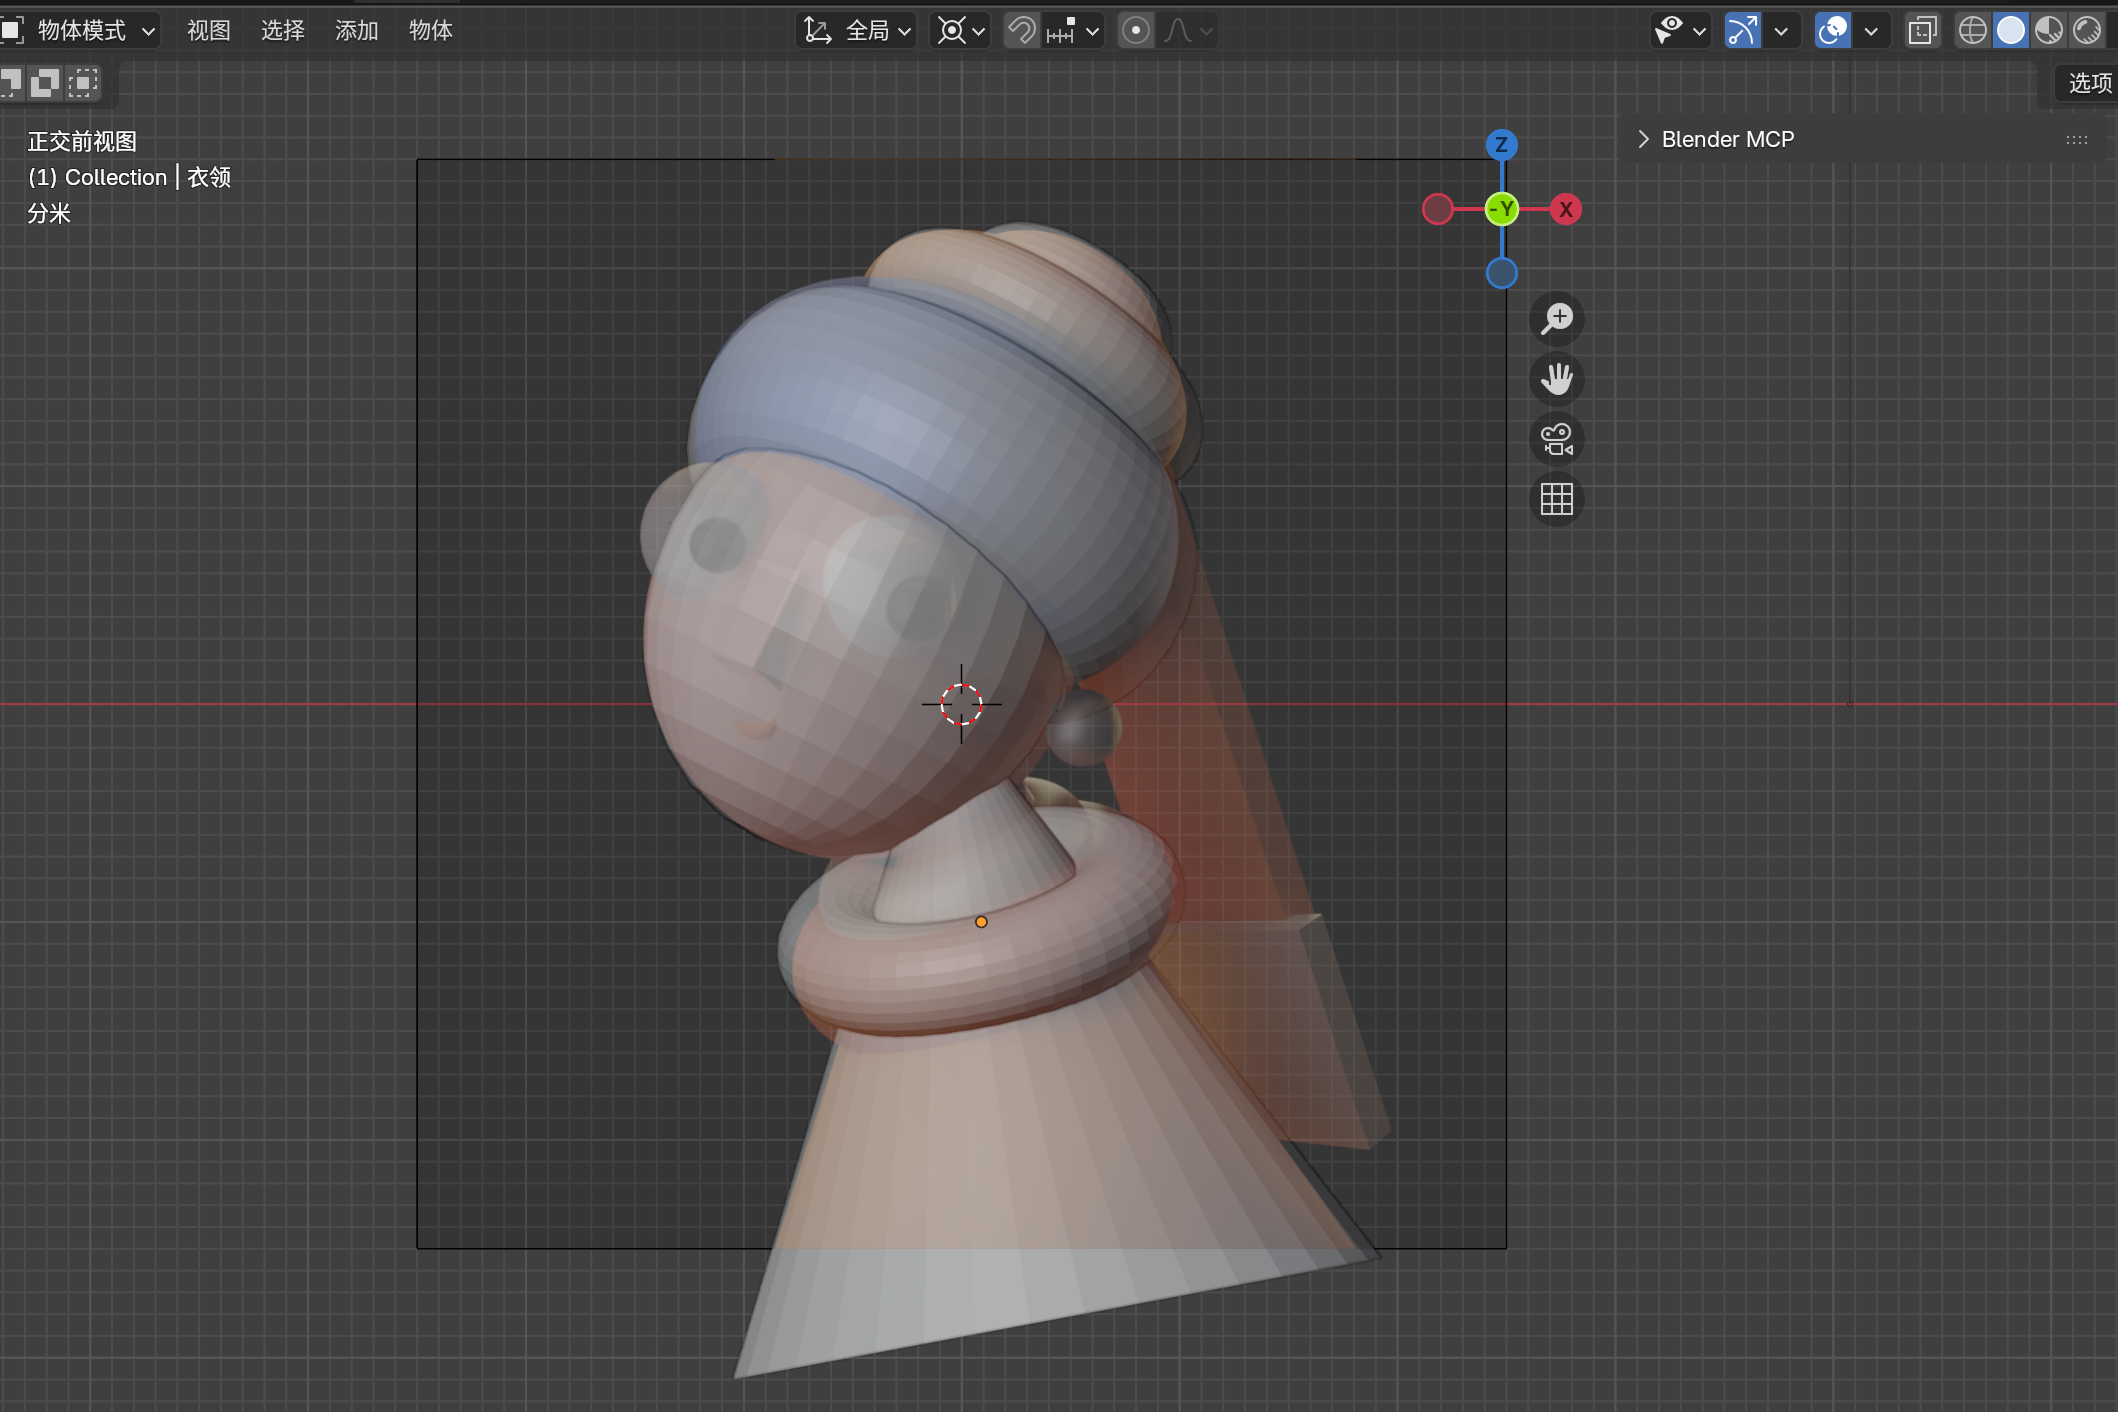
Torus positioned as collar
Creating the Necklace
Simply duplicate the collar and adjust:
"Copy collar, name the copy 'necklace'. Move necklace along X to 0.03m, along Y to -0.06m, along Z to -0.76m. Scale to 0.653"

Necklace created by duplicating and scaling collar
Creating the Eyes
Eyes need to protrude slightly from the head. Use UV Spheres:
"Create a UV Sphere named 'left_eye'. Move along X to -0.342m, along Y to -0.77m, along Z to 0.52m. Scale to -0.364"
"Copy left_eye, name the copy 'right_eye'. Move right_eye along X to -1.1m, along Y to -0.534m, along Z to 0.777m"

Left eye positioned in Front View
Left eye protruding from head in Right View
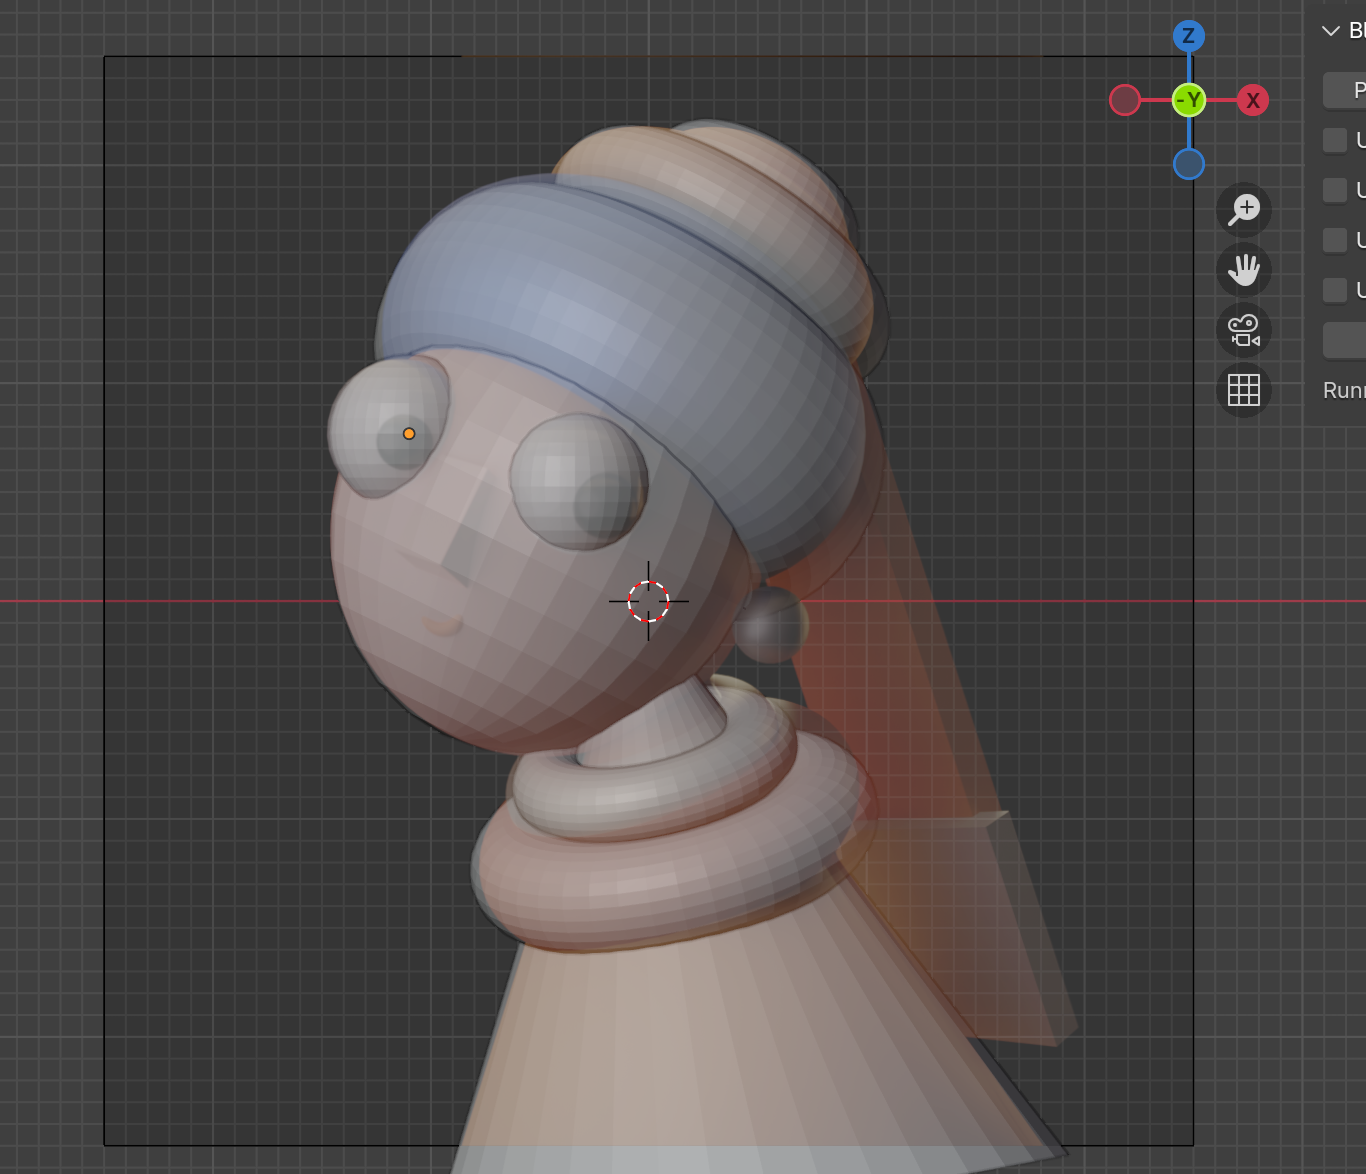
Both eyes positioned in Front View
Creating the Pupils
"Copy left_eye, name the copy 'left_pupil'. Move along X to -0.203m, along Y to -1.035m, along Z to 0.433m. Scale to -0.154"
"Copy left_pupil, name the copy 'right_pupil'. Move along X to -1.11m, along Y to -0.819m, along Z to 0.729m. Scale to -0.149"
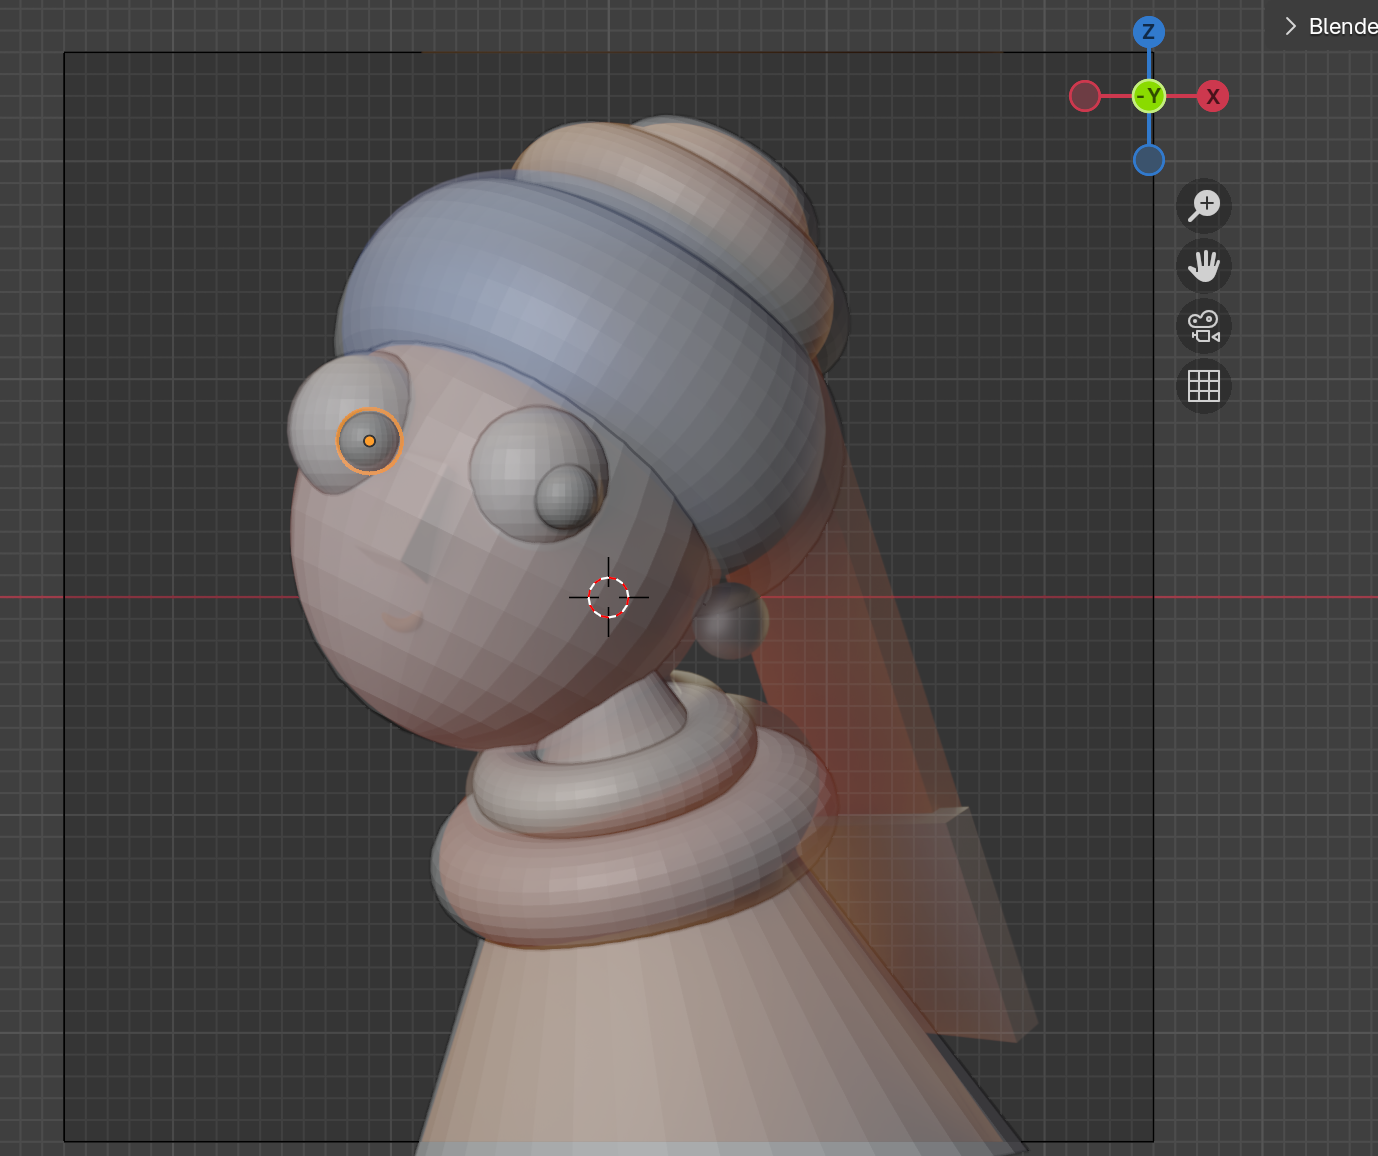
Pupils added to eyes in Front View
Pupils positioned in Top View
Creating the Nose
A flattened cube works well for a stylized nose:
"Create a cube named 'nose'. Scale along X to -0.057, along Y to 0.157, along Z to 0.219"
"Move nose along X to -0.897m, along Y to -0.84m, along Z to 0.281m. Rotate X -18.72°, Y 22.58°, Z -17.23°"
Cube scaled and positioned as nose

Nose positioned in Front View
Nose positioned in Top View
Creating the Mouth
"Create a torus named 'mouth', body segments 41, minor segments 28, major radius 0.78m, minor radius 0.18m"
"Move mouth along X to -0.967m, along Y to -0.731m, along Z to -0.0355m. Rotate X 48.178°, Y -14.089°, Z -0.455°. Scale to 0.16"
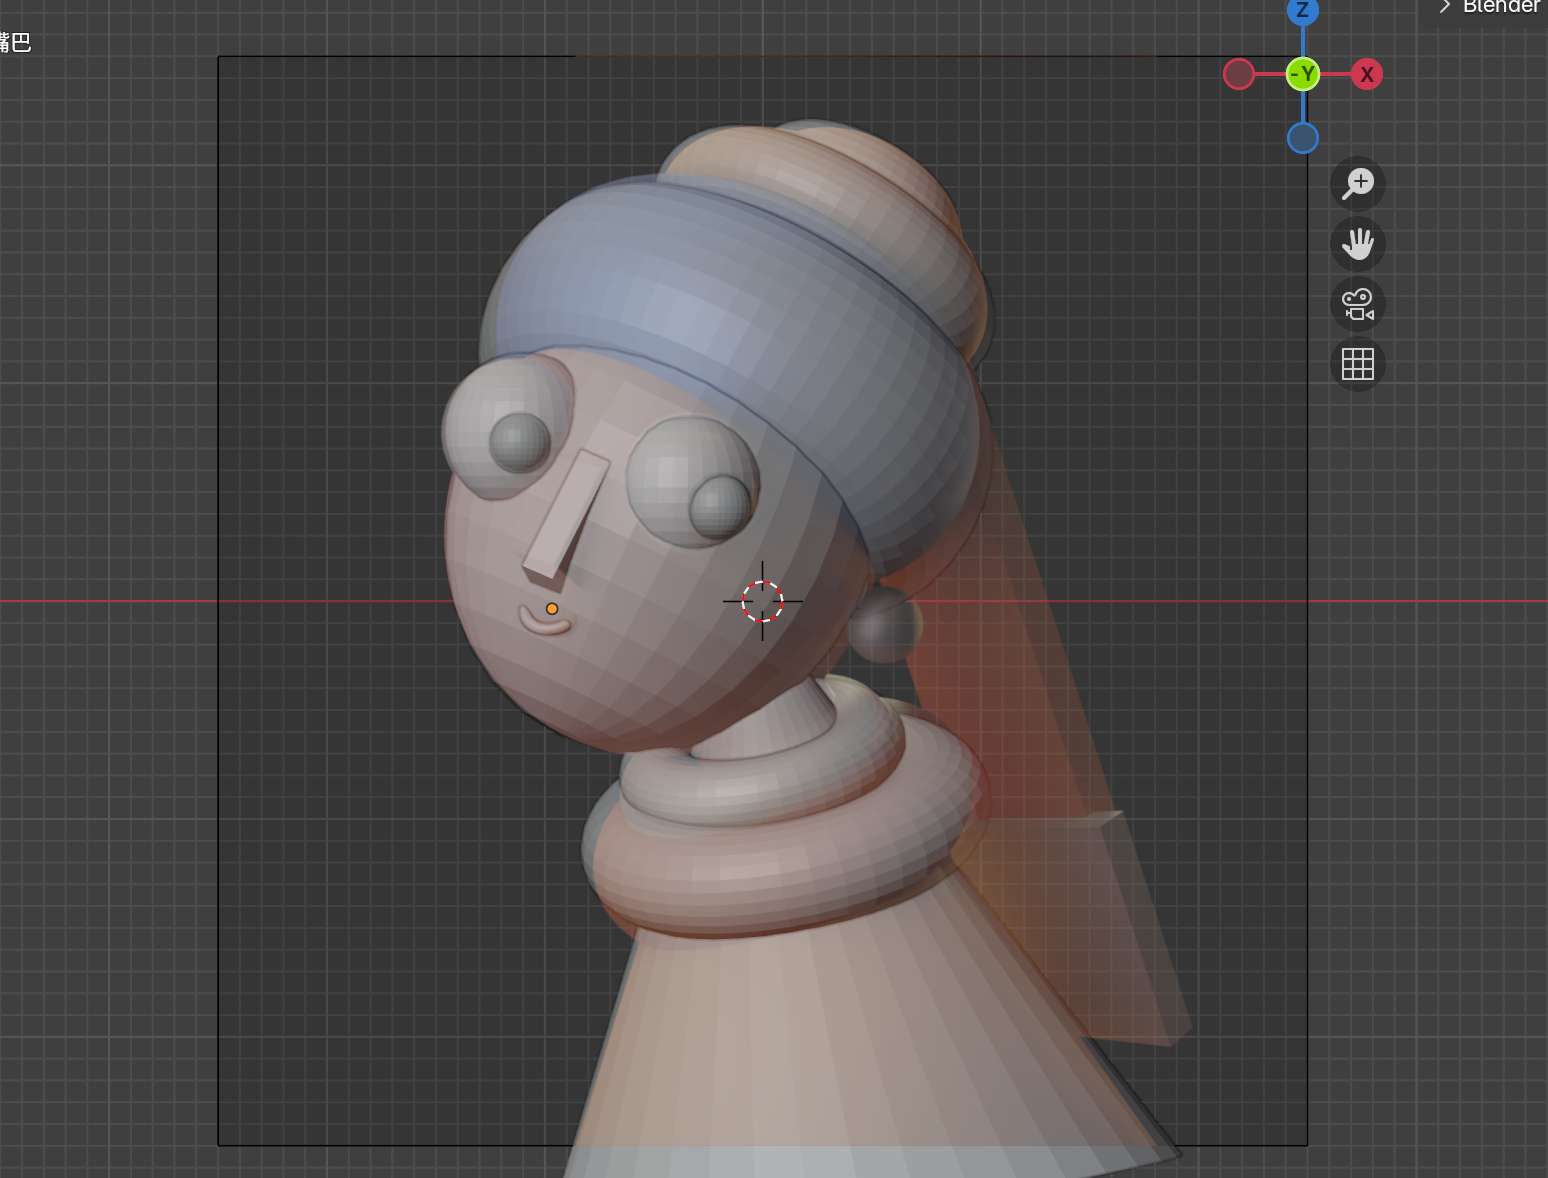
Torus scaled and positioned as mouth
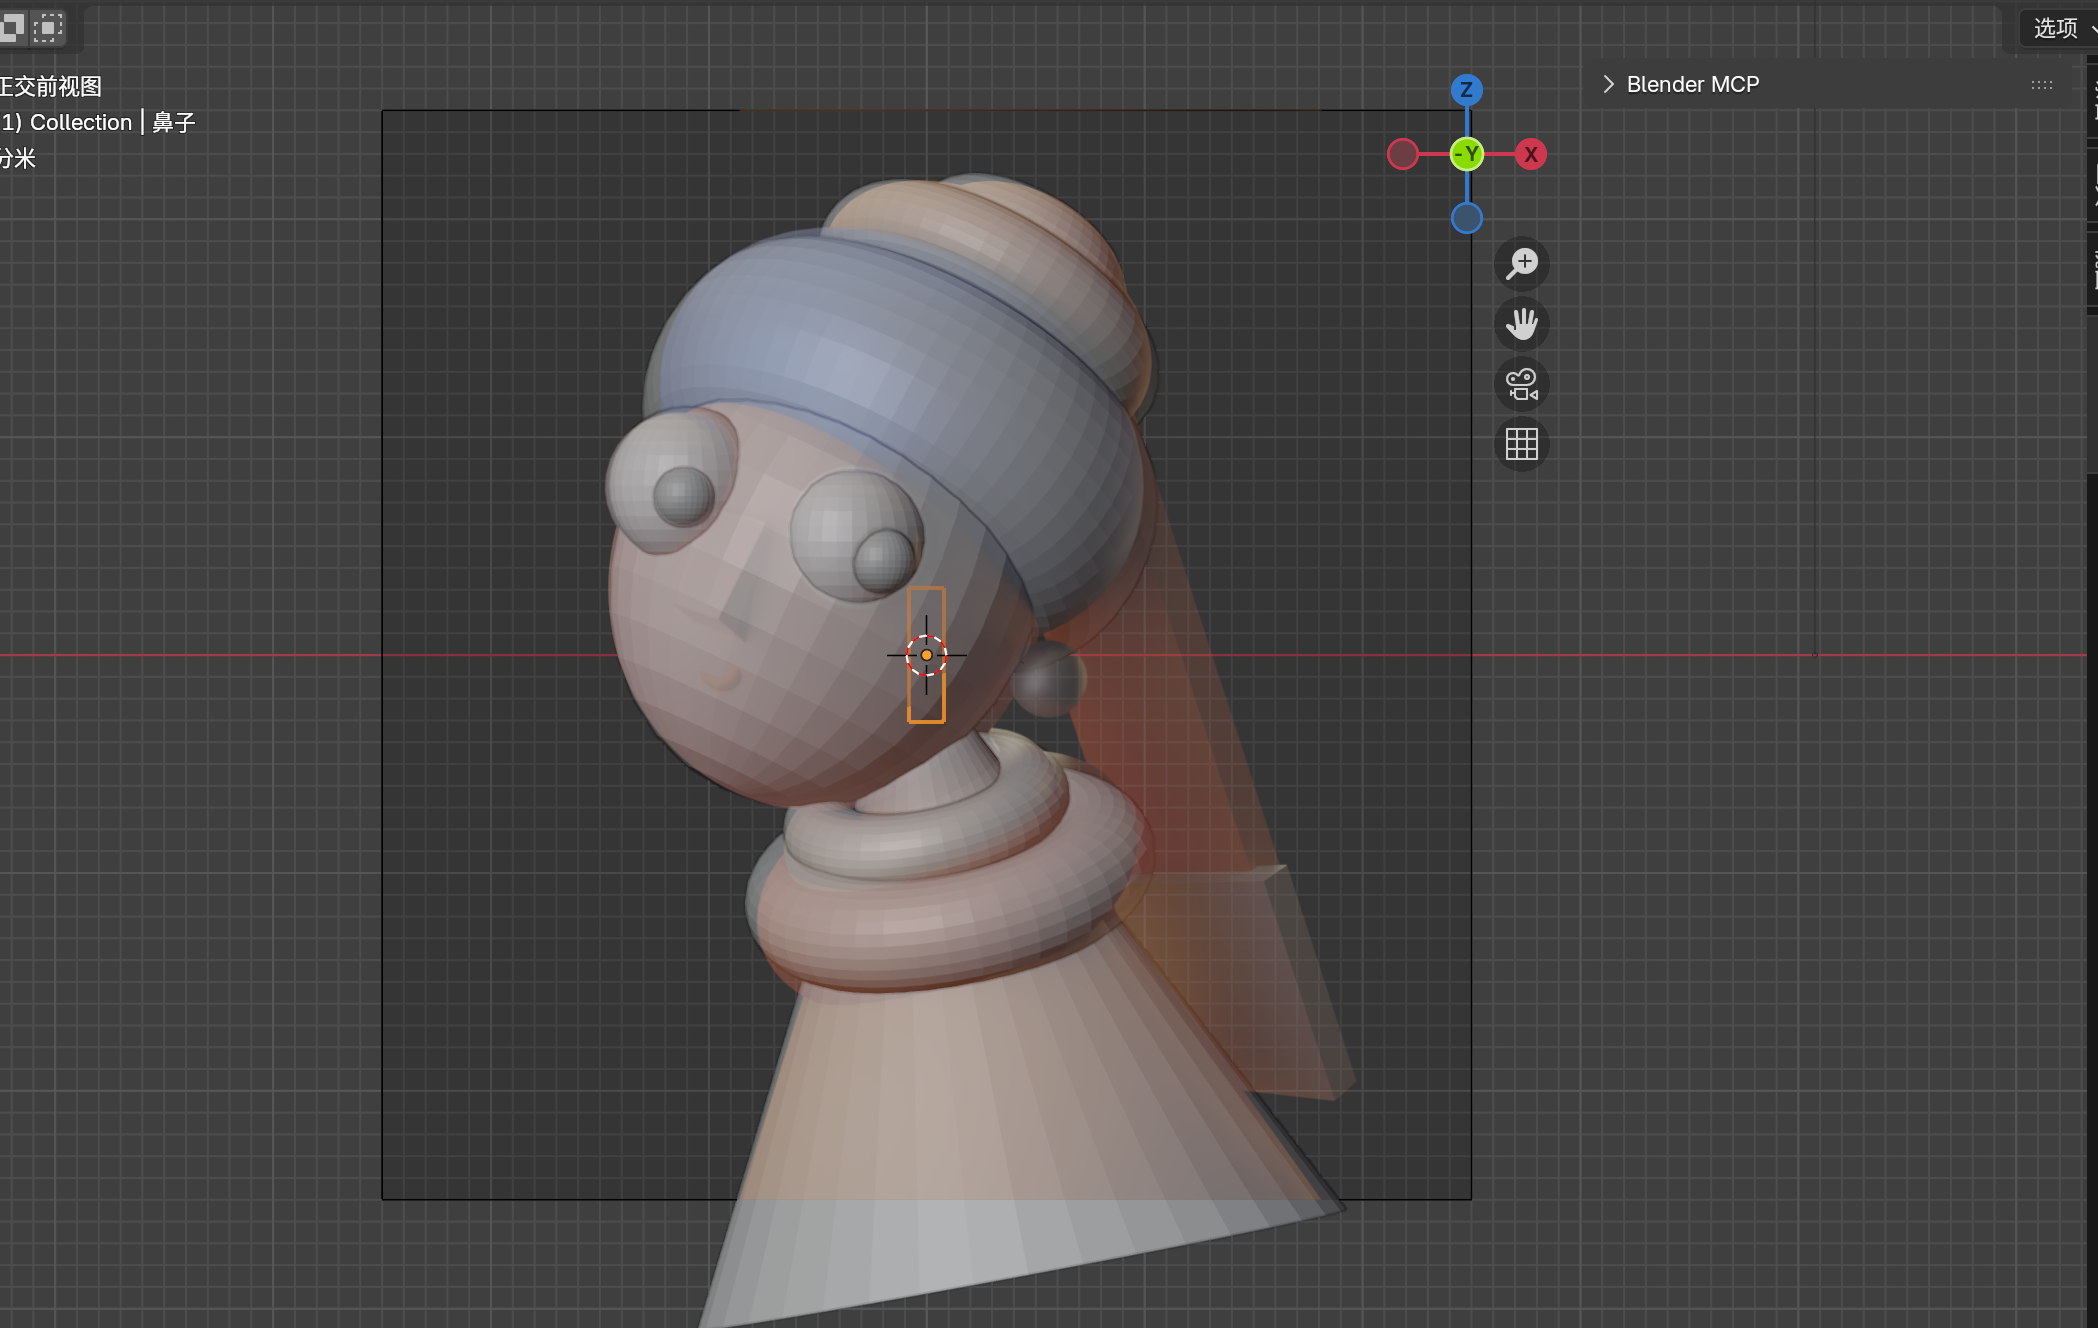
Creating the Earring
"Create a UV Sphere named 'earring'. Move along X to 0.559m, along Z to -0.114m. Scale to 0.168"
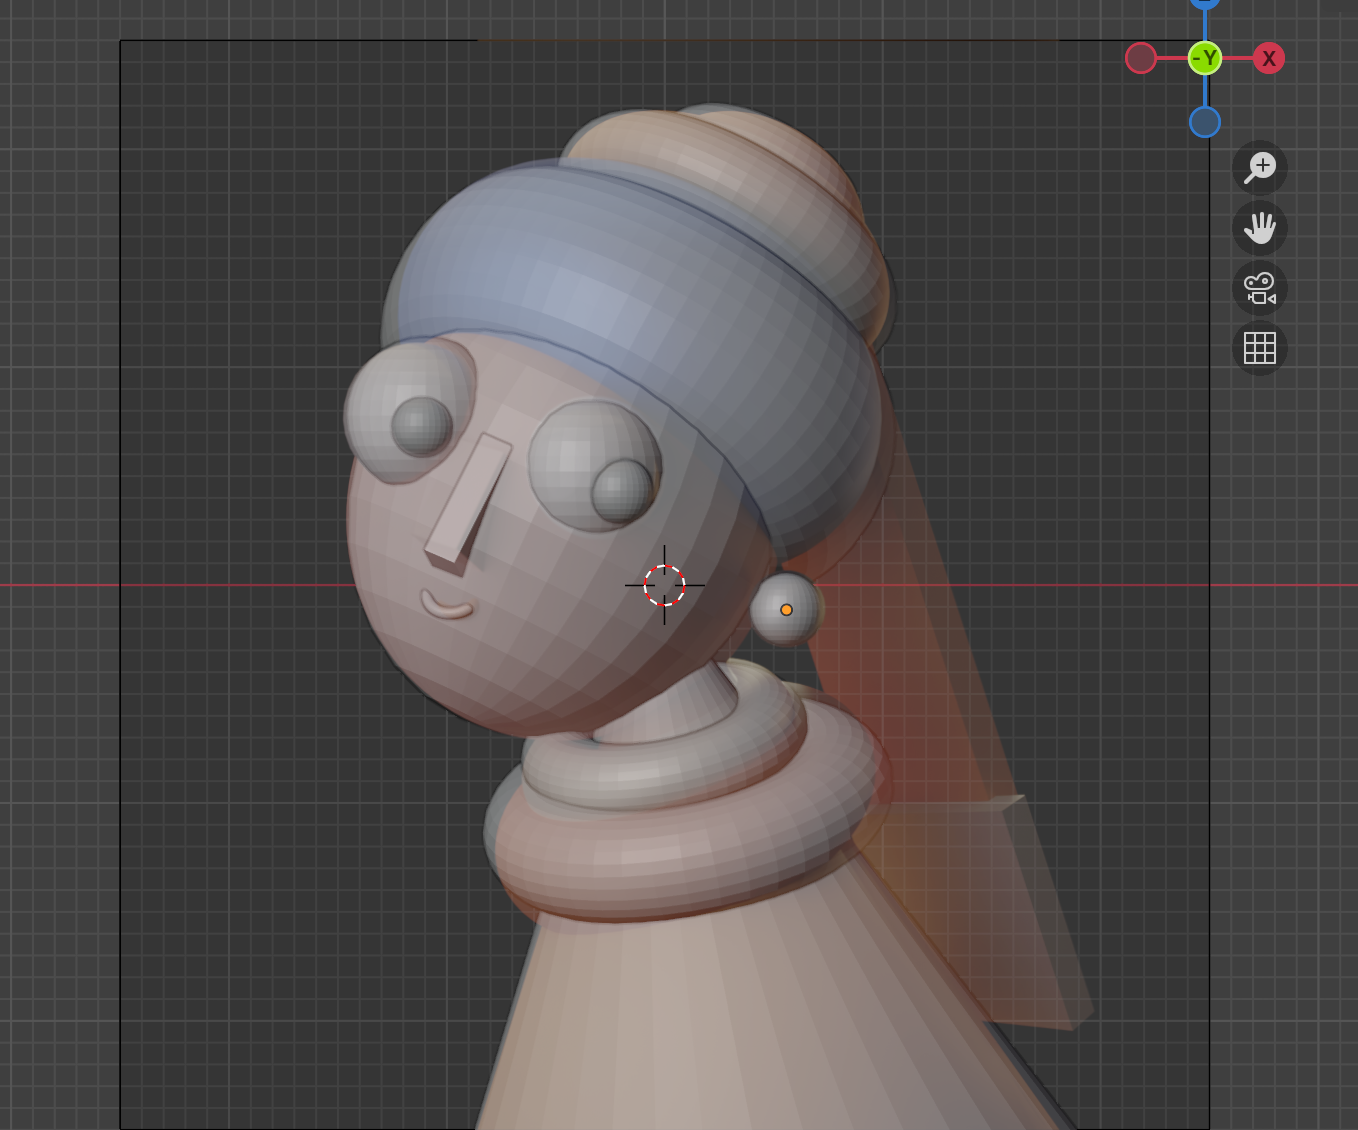
Pearl earring positioned
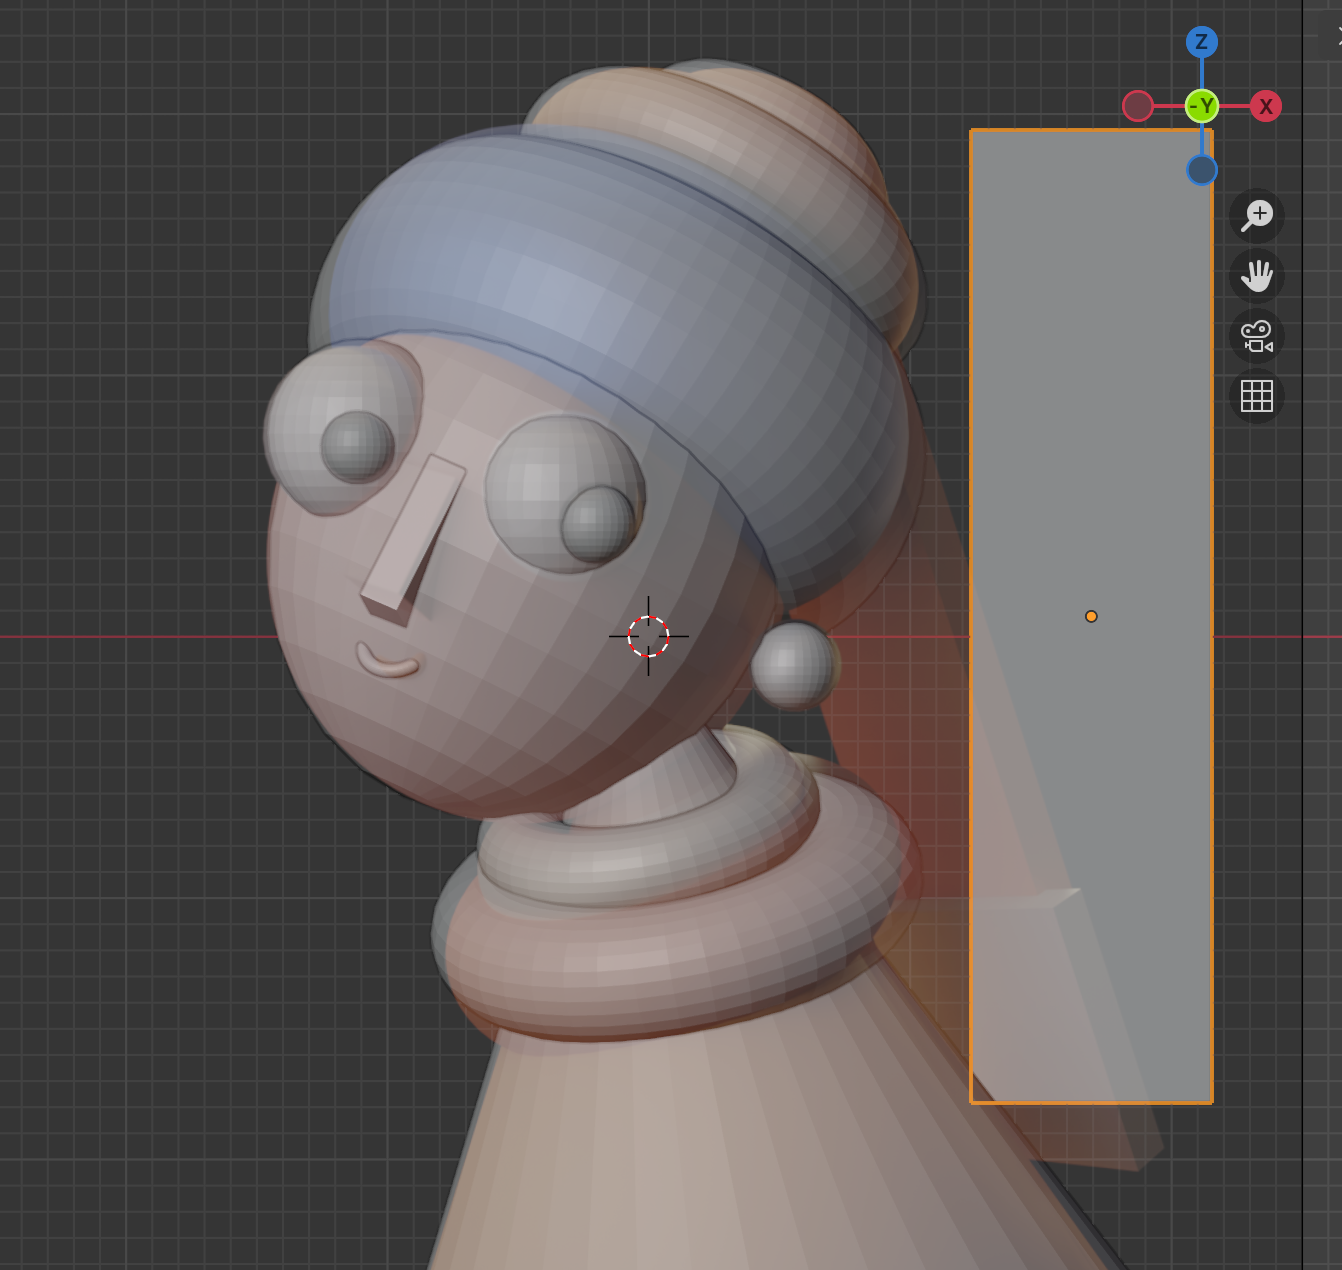
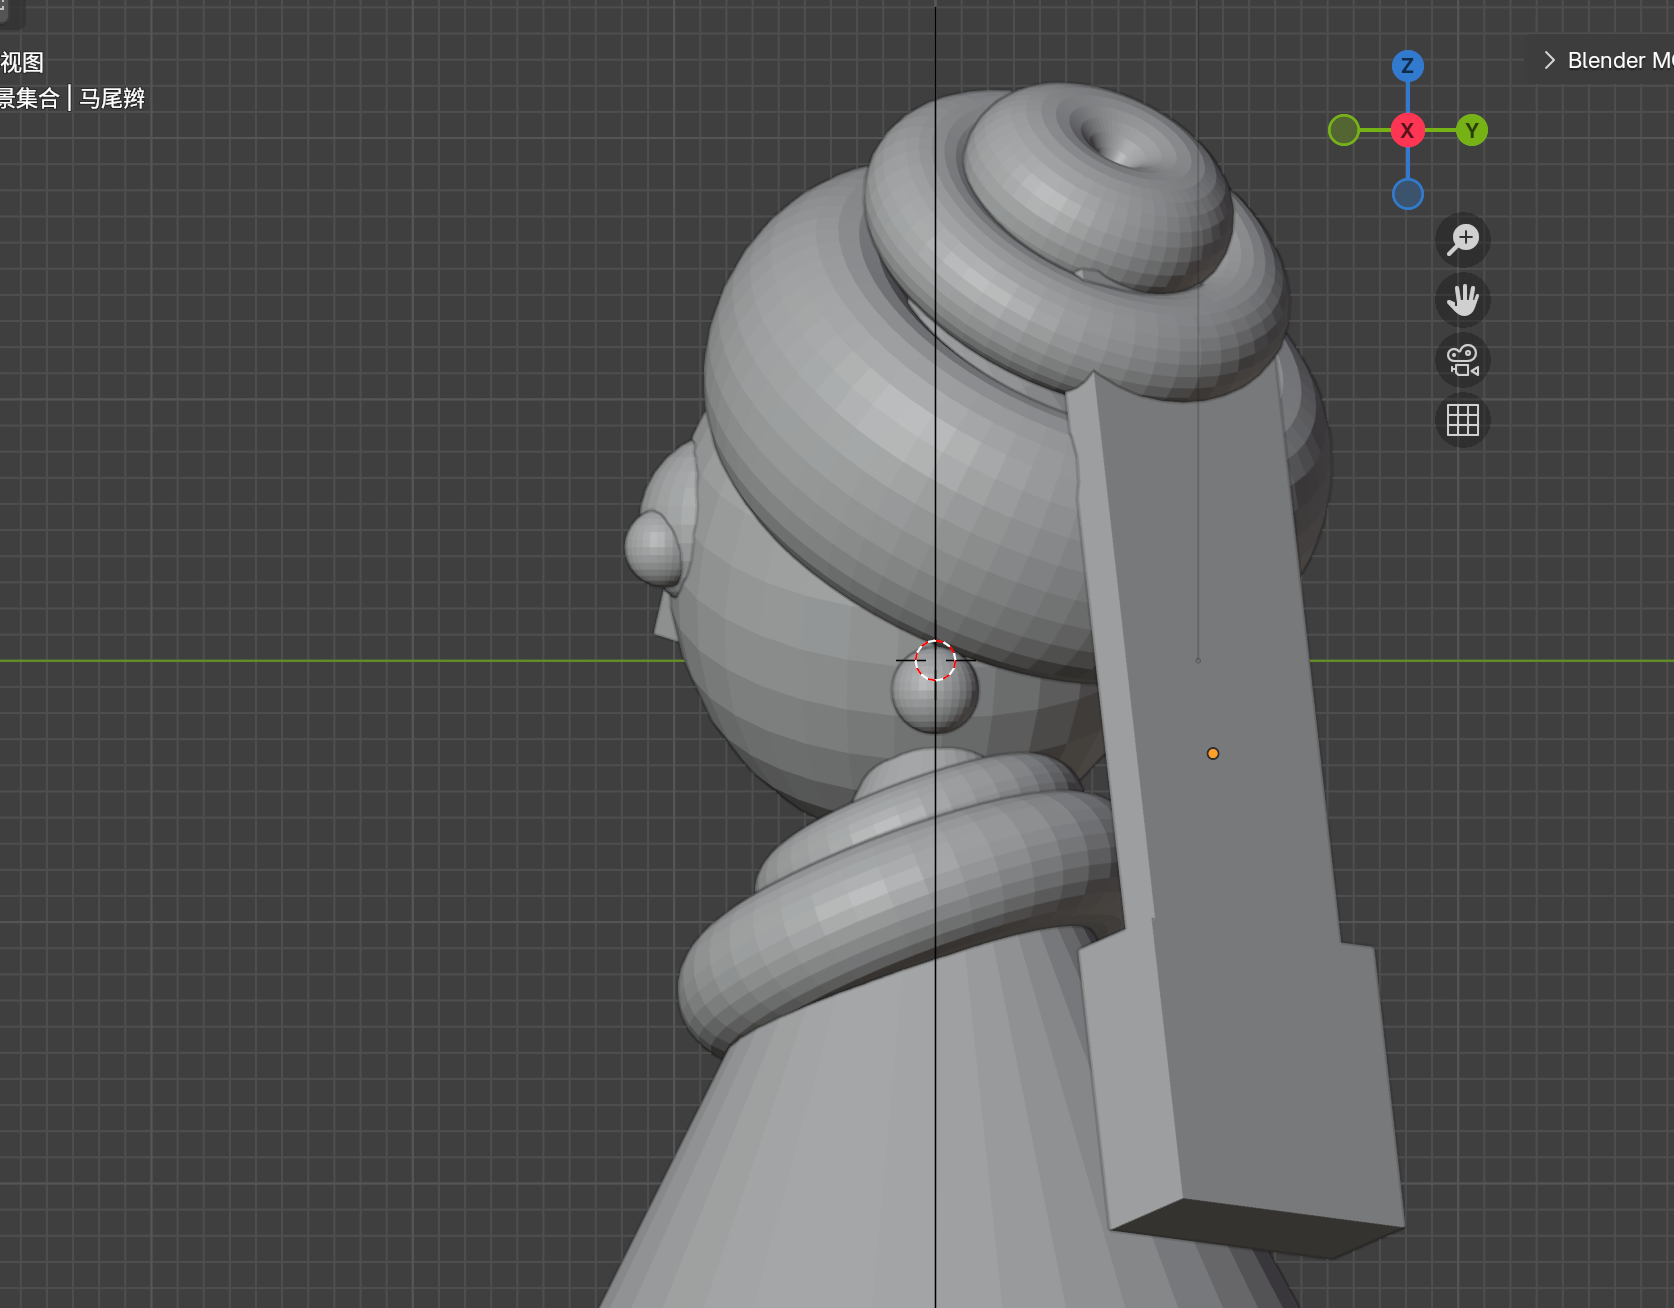
Creating the Braid
"Create a cube named 'braid'. Move along X to 1.693m, along Z to 0.078m. Scale along X to 0.46, along Y to 0.08, along Z to 1.86"
"Copy braid, name the copy 'braid_tail'. Move braid_tail along X to 1.7m, along Y to -0.038m, along Z to -1.248m. Scale along X to 0.55, along Y to 0.2, along Z to 0.56"
"Combine braid and braid_tail, name the group 'braid'. Move braid along X to 1.053m, along Y to 1.062m, along Z to -0.355m. Rotate X 16.335°, Y -5.77°, Z -49.944°"
Cube scaled as braid section

Braid with tail section added
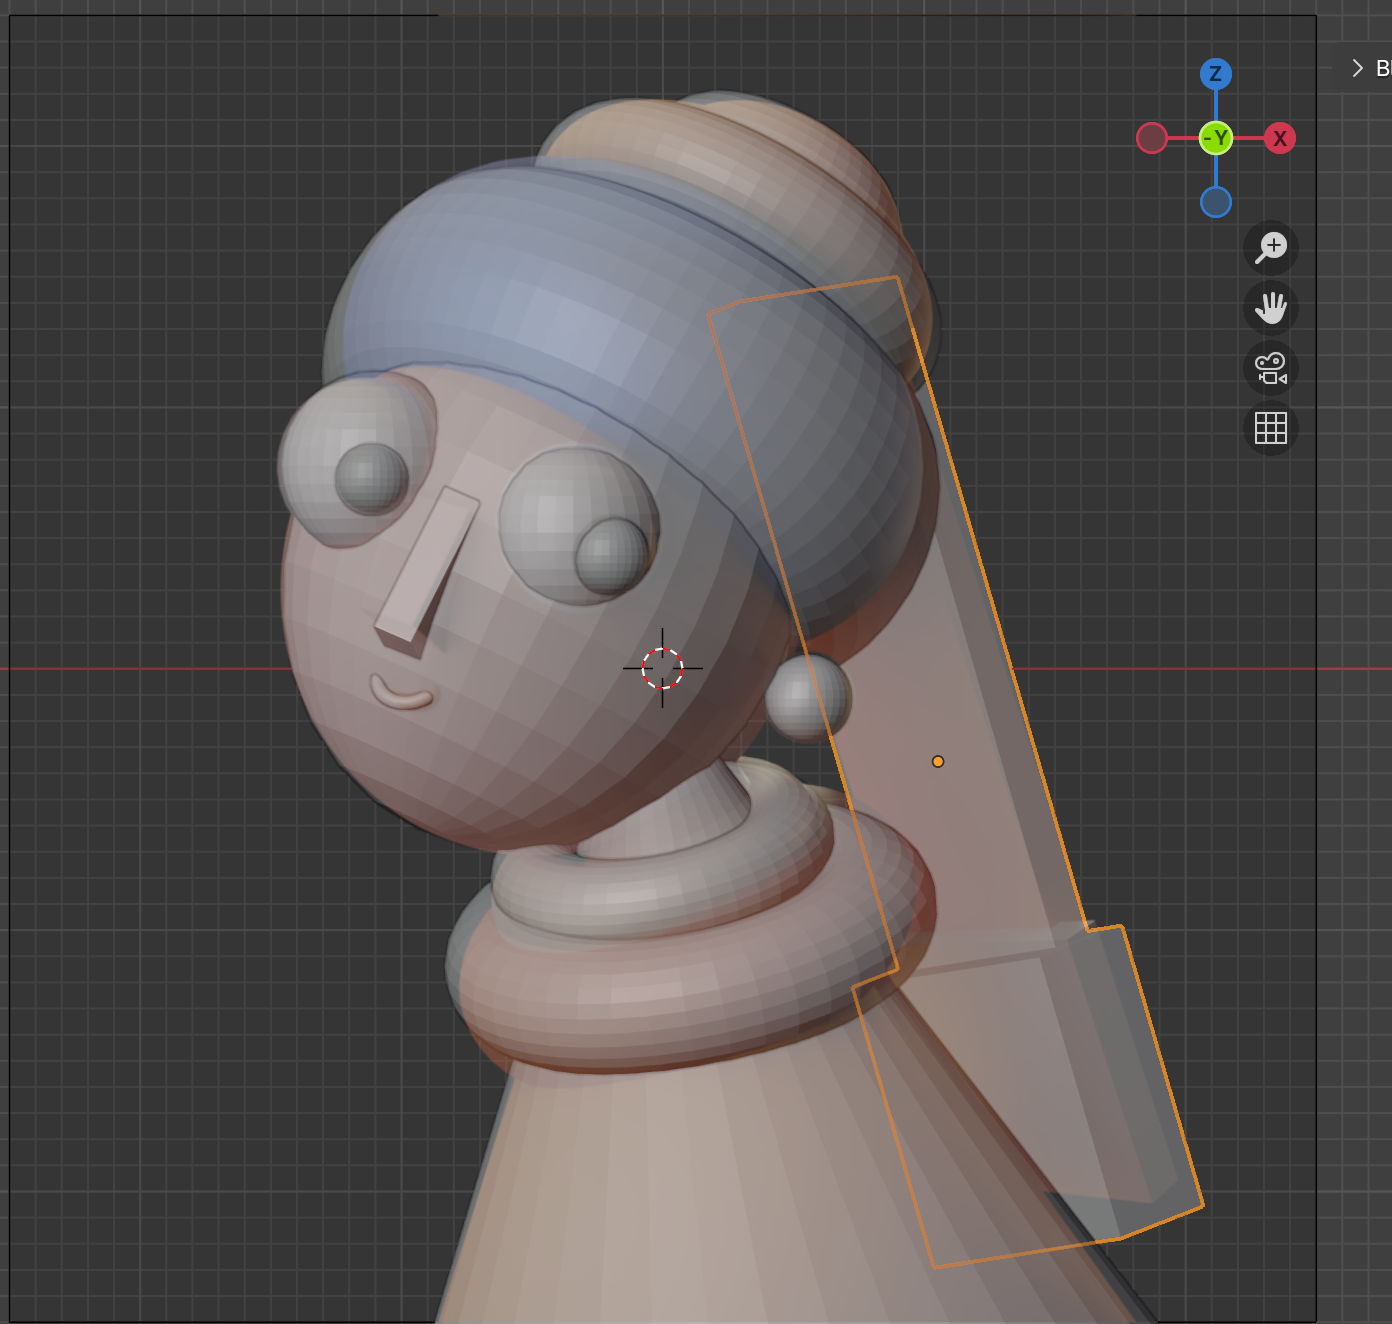
Complete braid positioned in Front View
Complete braid positioned in Right View
Phase 4: Camera & Composition
Setting Up Camera View
| Action | Shortcut |
|---|---|
| Enter Camera View | Numpad 0 |
| Lock Camera to View | N panel → View → Lock Camera to View |
Positioning the Camera
"Switch to camera view using blender mcp"
"Move camera along X to 0.250m, along Y to -13.97m, along Z to 0.362m. Rotate X 88.95°, Y 0°, Z 1.69°"
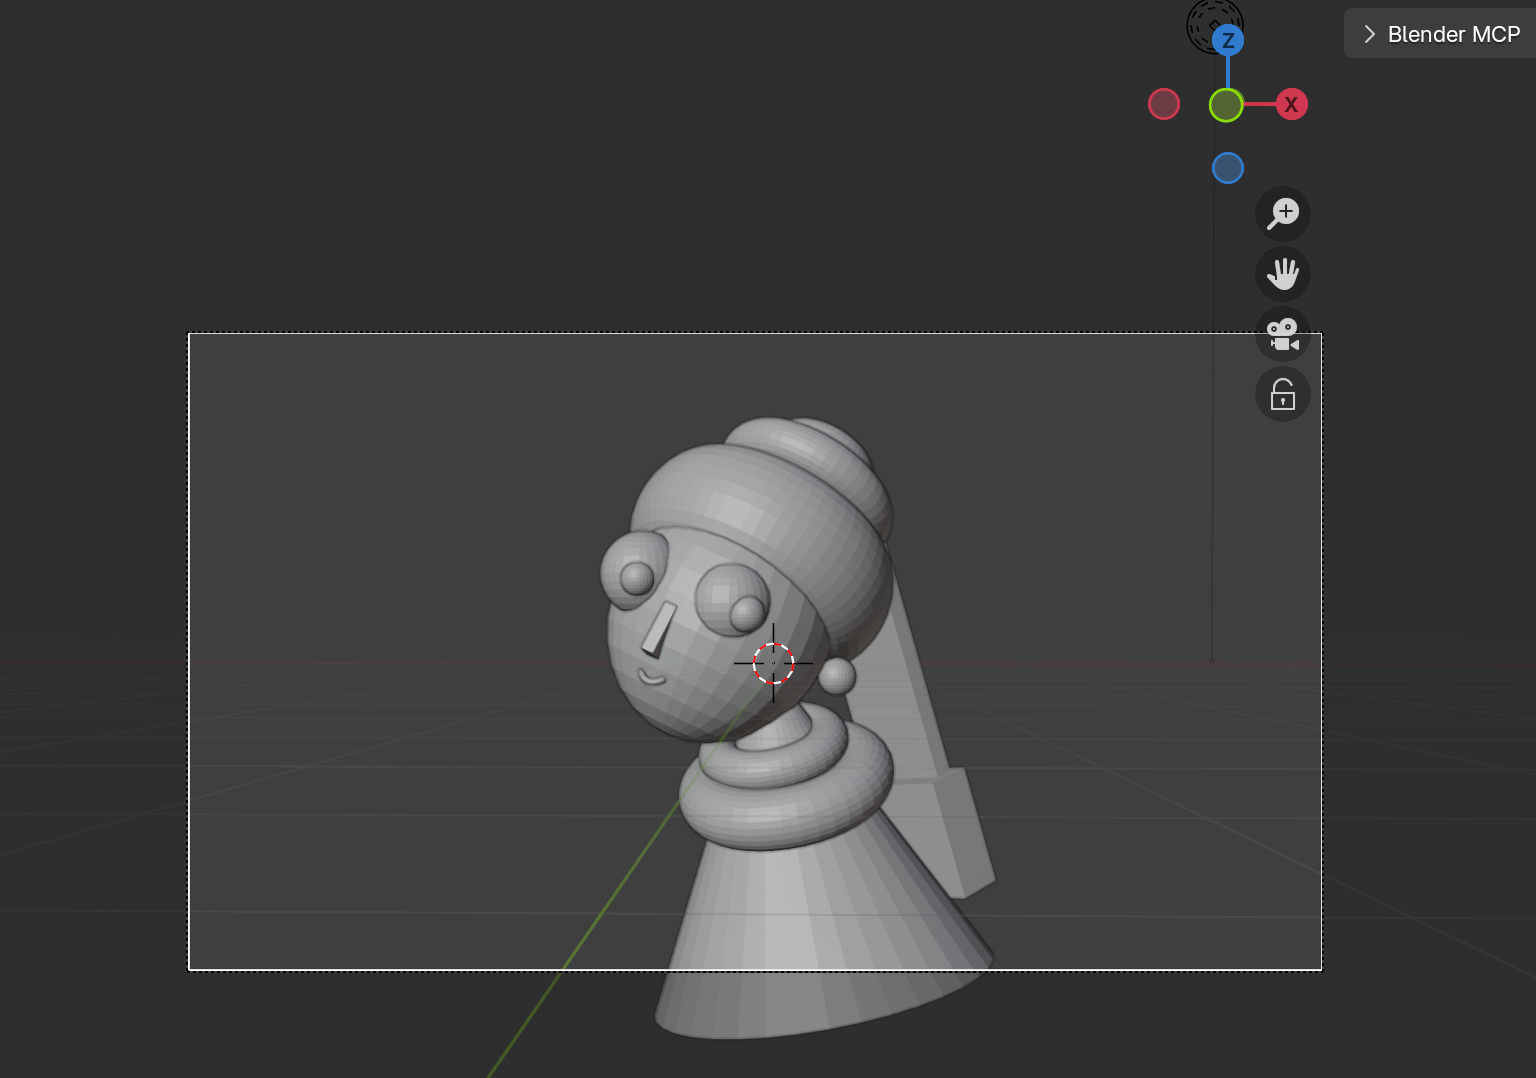
Camera positioned and view composed
Output Settings
Go to Output Properties and set resolution to 1080×1080 px for a square composition matching the original painting's aspect ratio.
Phase 5: Rendering & Lighting Setup
Lighting can make or break a render. Let's set up a professional three-point lighting setup.
Initial Render Check
Press F12 for a quick render. If lighting looks off, let's adjust:
"Move light along X to -7.128m, along Y to -4.26m, along Z to -0.085m. Set exposure to 1.79, radius to 7.0, power to 1000"

Initial render showing basic lighting
Light Radius = Softness
The larger your light source's radius, the softer your shadows. Small radius = harsh, sharp shadows. Large radius = soft, diffuse shadows. For portraits, go large.
Render after adjusting light position and radius
Understanding World Environment
By default, Blender sets World Environment strength to 1. This provides ambient light even without lights. Let's eliminate it for full control:
"Delete the light"
"Set World Environment light strength to 0"
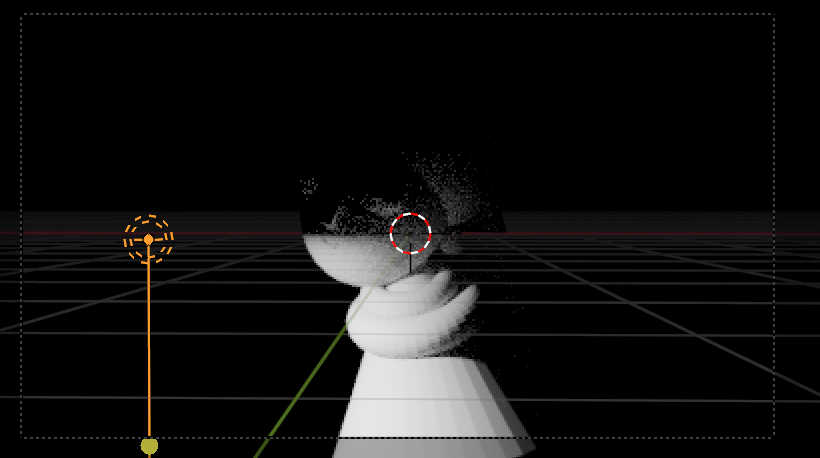
Result: Completely black render. Now we have full control over every photon in our scene.

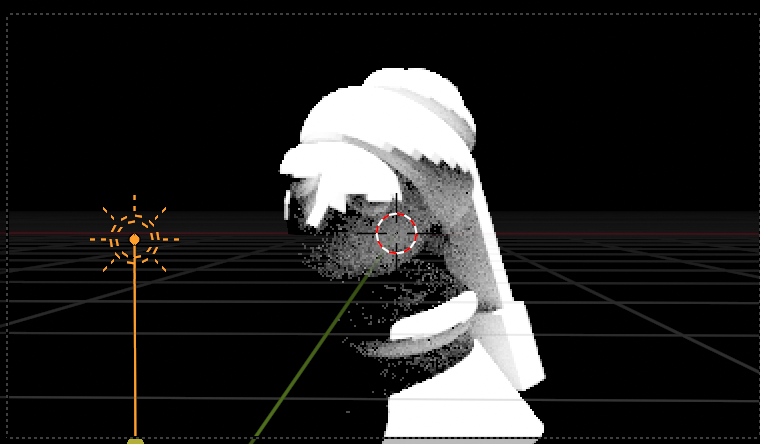
Scene after deleting light (still has ambient from World)
Completely black scene with World Environment at 0
Creating Main Light (Key Light)
"Create a light named 'main_light'. Move along X to -2.8m, along Y to -2.6m. Set power to 1000, radius to 6m"
Scene with Point Light
Light Types: Point, Sun, Spot, Area
Point Light
Omnidirectional, like a lightbulb
Sun Light
Parallel rays, like the sun
Spot Light
Directed cone, like a spotlight
Area Light
Rectangular emission, soft shadows — best for portraits
"Switch light to Sun"
"Switch light to Area"
Scene with Sun Light (parallel rays)
Scene with Area Light (soft shadows)
Setting Up Area Light
"Switch light to Area, shape set to Square, size 7m, power 700. Move along X to -2.0m, along Y to -5m, along Z to 3.3m. Rotate X 46°, Y -41°, Z 18.5°. Scale to 1.42"
Area light positioned in viewport
Render result with Area Light setup
Smooth Shading
Your model might look faceted. Let's fix that:
"Set all objects to smooth shading"
Scene with Smooth Shading applied
Selective Smoothing
Some objects need to stay sharp (like the nose and braid). MCP struggles with "Auto Smooth" commands. Manual method: Select object → Right-click → Shade Smooth → Object Data Properties → Normals → Enable Auto Smooth (usually 30°).
Auto Smooth applied to sharp objects like nose and braid
Render Engines: EEVEE vs Cycles
EEVEE
Real-time render engine
- Fast previews
- Game engine quality
- GPU only
Cycles
Physically-based path tracer
- Photorealistic output
- Accurate light transport
- Can use CPU or GPU
Pro Recommendation
Use EEVEE for setup and composition (instant feedback), then switch to Cycles for final renders. Set Max Samples to 500 for good quality without waiting forever.
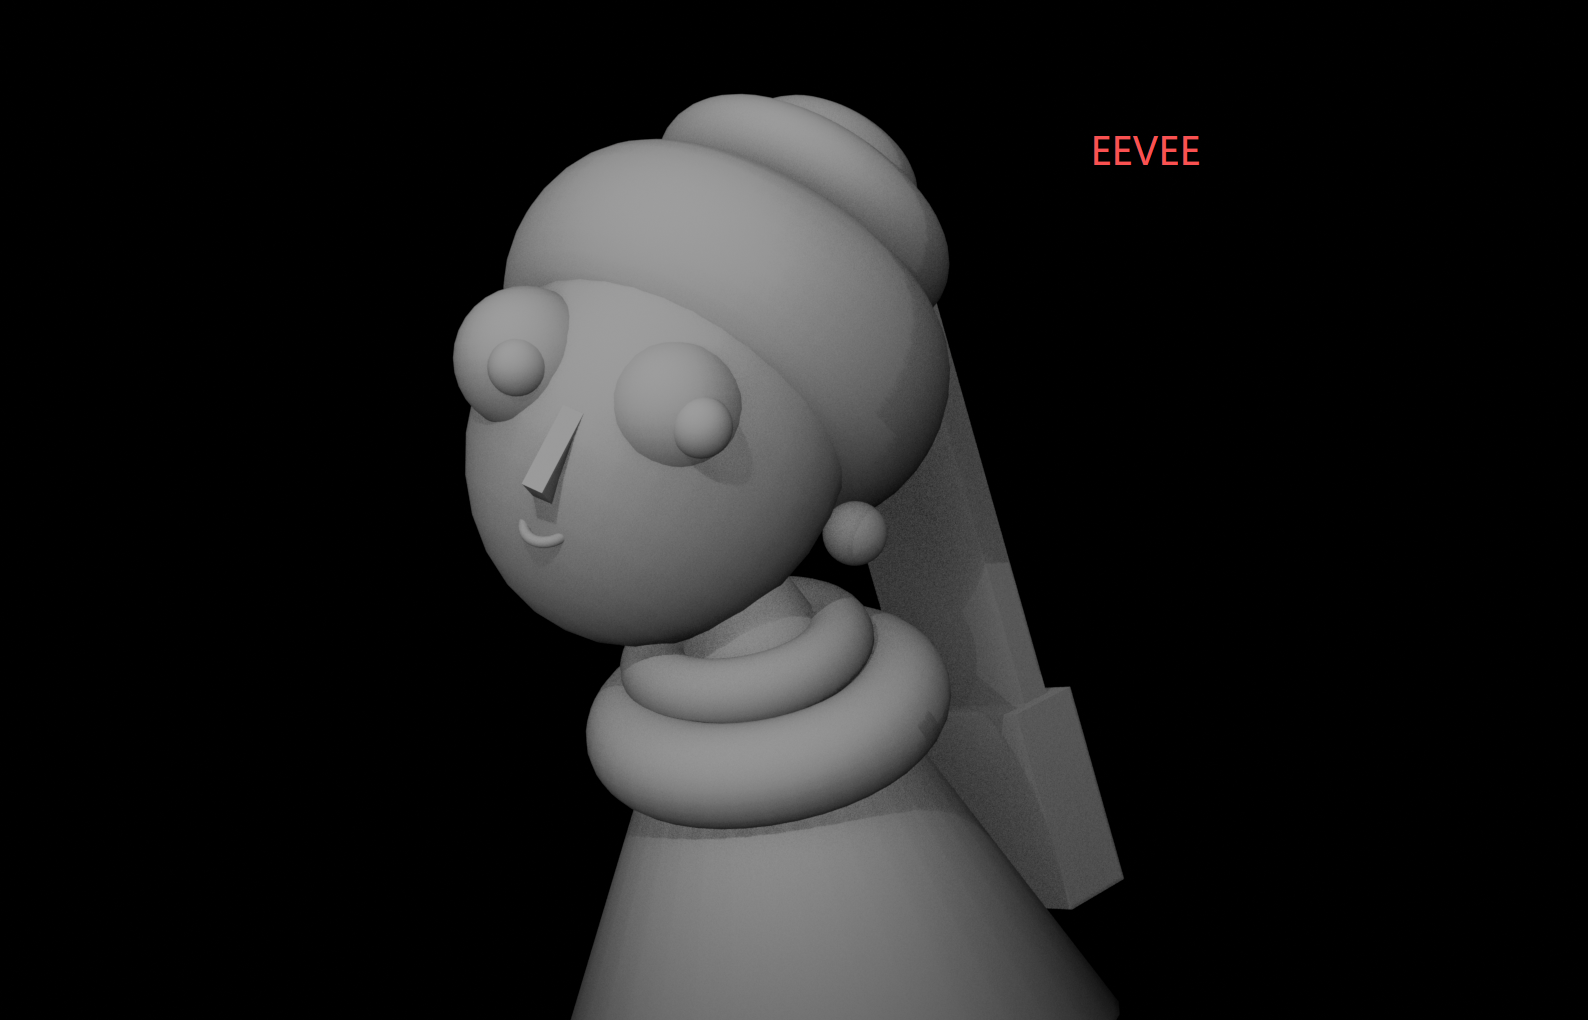
Render using EEVEE engine (real-time, game-like quality)
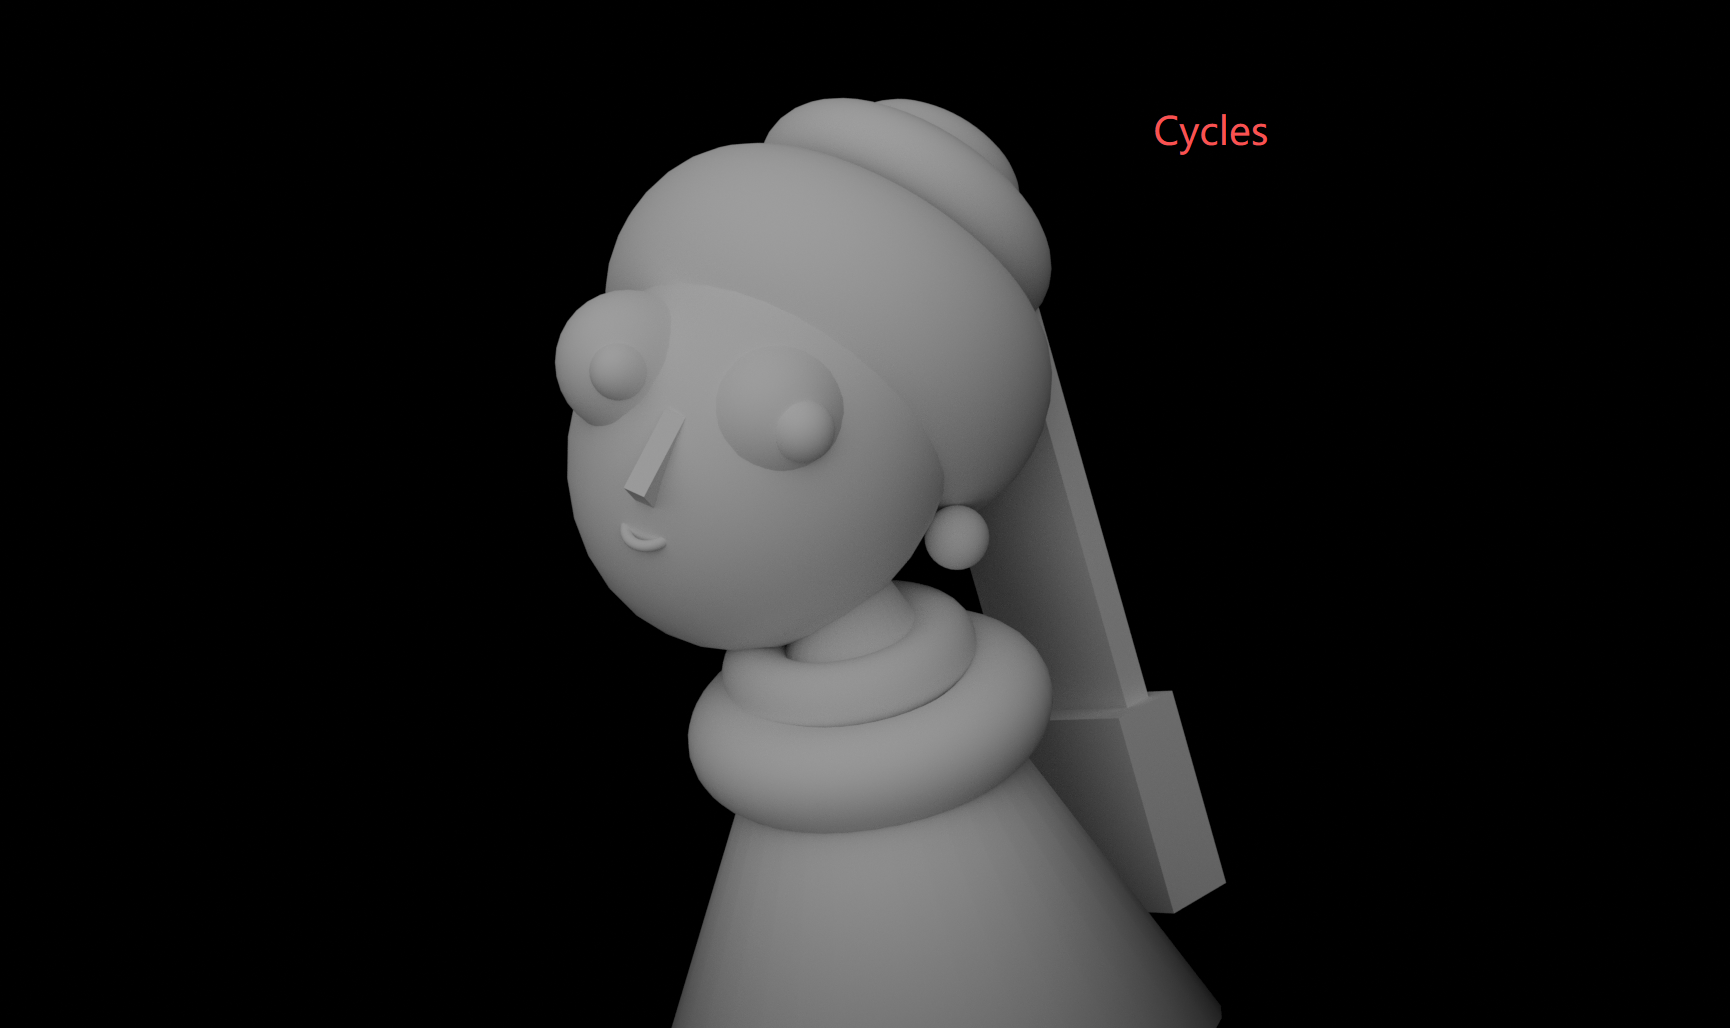
Render using Cycles engine (physically-based, photorealistic)
Phase 6: Three-Point Lighting Setup
Creating Fill and Rim Lights
"Using blender mcp, duplicate the light twice, name them 'light_2' and 'light_3'"
"Move light along X to -2m, along Y to -5m, along Z to 3.3m. Rotate X 46°, Y -41°, Z 18.5°"
"Move light_2 along X to 7.26m, along Y to 4.94m, along Z to -0.138m. Rotate X 106.66°, Y -201.64°, Z 478.16°"
"Move light_3 along X to -4.204m, along Y to 7.364m, along Z to 2.525m. Rotate X -75.55°, Y -29.17°, Z 13.722°"
Color Temperature
Let's add a warm tone to our main light:
"Set light hue to 0.1, saturation to 0.3"

Final render with three-point lighting setup and warm key light
Three-Point Lighting Diagram
Phase 7: Materials & Shading
Understanding Principled BSDF
Blender's Principled BSDF is a physically-based material that handles most use cases. Key parameters:
Base Color
The inherent color of the surface
Metallic
0 = dielectric (non-metal), 1 = metal
Roughness
0 = mirror-like, 1 = matte
IOR
Index of Refraction — glass-like transparency
Material Recipes for Our Scene
Skin
Base Color: Pink/tan
Roughness: 0.5
Metallic: 0
Blue Turban
Base Color: Deep blue
Roughness: 0.5
Metallic: 0.1
Pearl Earring
Base Color: White
Roughness: 0.1
Metallic: 0
Eye
Base Color: Black
Roughness: 0.2
Metallic: 0
Quick Material Application
Use Ctrl + L → Link Materials to copy materials between selected objects. Select your source material object first, then Shift+click destination objects, then link.
View Hide vs Render Hide
Clicking the "eye" icon in the Outliner hides objects in the viewport but NOT in renders. To hide from renders, click the "camera" icon (Disable in Renders). This catches everyone eventually — don't let it catch you.
Phase 8: Final Render
Rendering Checklist
Final Output
Press F12 to render. When satisfied, go to Image → Save As to export your masterpiece.
Summary & Key Takeaways
This tutorial covered the complete 3D workflow using only basic primitives:
🎨 Primitive-Based Modeling Works
Spheres, cubes, cones, and tori can create complex forms when combined thoughtfully. Not everything needs sculpting.
💡 Light Quality Matters More Than Quantity
One well-placed Area Light beats multiple Point Lights. Size = softness.
🔧 Smooth Shading is Essential
Low-poly primitives look faceted without it. Auto Smooth with 30° handles most cases.
⚙️ MCP Commands Streamline Workflow
Natural language excels at multi-step operations like "create sphere with parameters X, Y, Z and position at..."
🖥️ Cycles vs EEVEE
Use EEVEE for setup speed, Cycles for final quality. They serve different purposes.
You've now completed a full 3D modeling project from reference to final render. The techniques here — primitive modeling, three-point lighting, material creation, and rendering — form the foundation of professional 3D work.
Continue Your Journey
You've mastered Blender fundamentals. Ready for more?
- Try recreating another classical painting in 3D
- Experiment with different lighting setups
- Learn Edit Mode for vertex-level control
- Explore texture painting for more detail
The best way to learn is by doing. Pick a project that excites you and start modeling.